


Rinse Out Tuna Cans for This Gorgeous Lighting Idea

$5
15 Minutes
Easy
If you're looking for a simple way to add a little light to your space, here is the perfect project for you! It’s inexpensive, environmentally-friendly, and oh-so-pretty!
BEFORE:
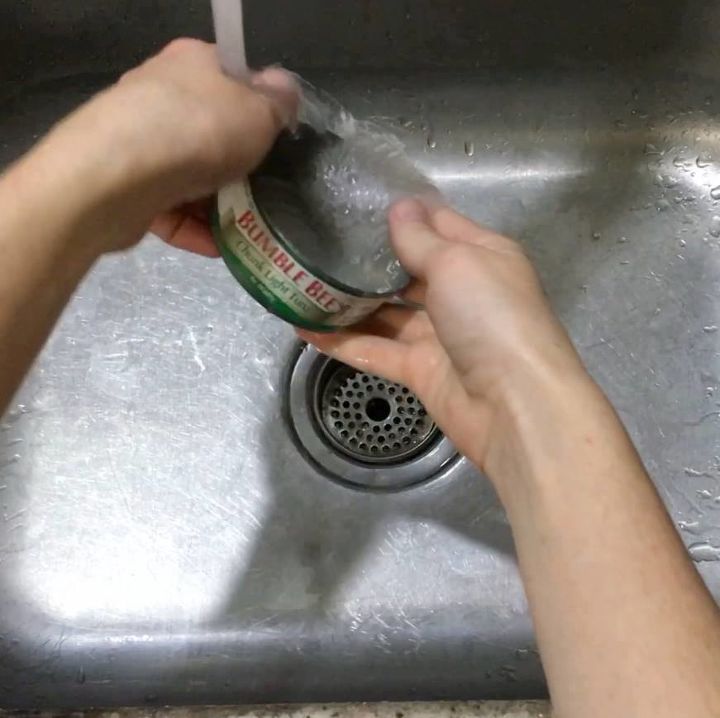
Start by rinsing out your cans and pulling off the label. Make sure to wash them well so there's no lingering smells (yuck).
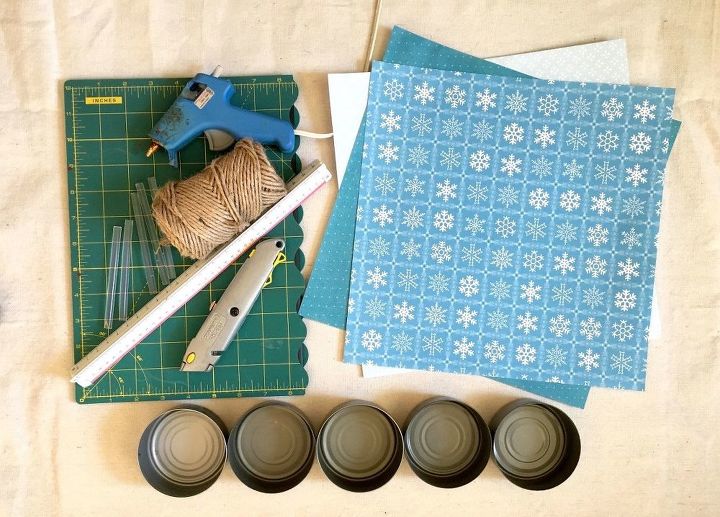
SUPPLIES:
-clean tuna cans with labels removed
-scrapbooking paper (or ribbon)
-cutting mat
-straight edge (I used a ruler.)
-hot glue gun/sticks
-box cutter (or X-Acto knife)
-twine
Not pictured:
-scissors
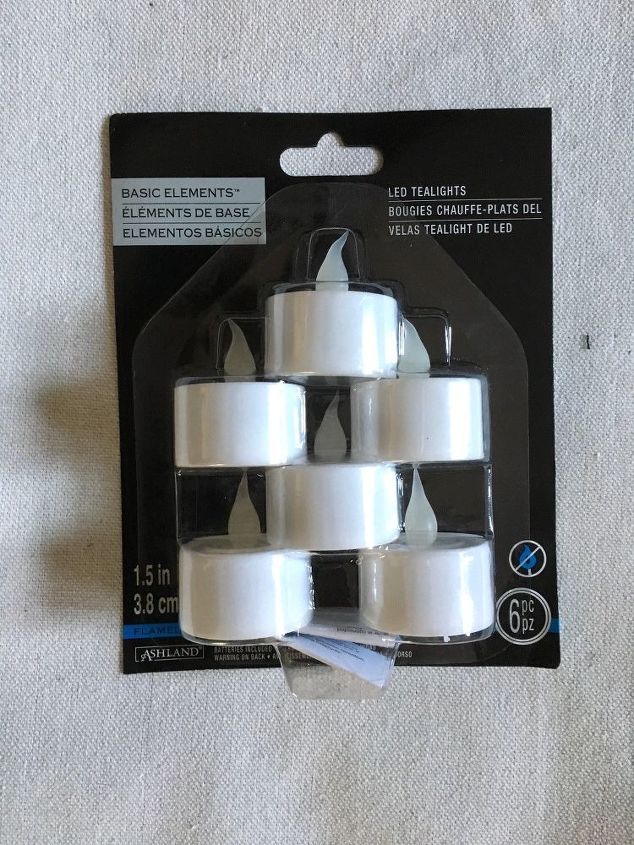
-tea lights candles (or battery powered...see photo further down in the tutorial)
-wire hanger
*Note: this project only cost me $5 as I only had to purchase the battery powered tea lights -- I had everything else on hand.

STEP 1: Cut scrapbooking paper
The first step I took was to cut strips of scrapbooking paper. I wrapped a full piece of scrapbooking paper around one of my tuna cans, with the edge of the paper just under the lip of the can, to get an idea of how wide the finished paper strip needed to be -- it ended up being roughly 1-1/4".
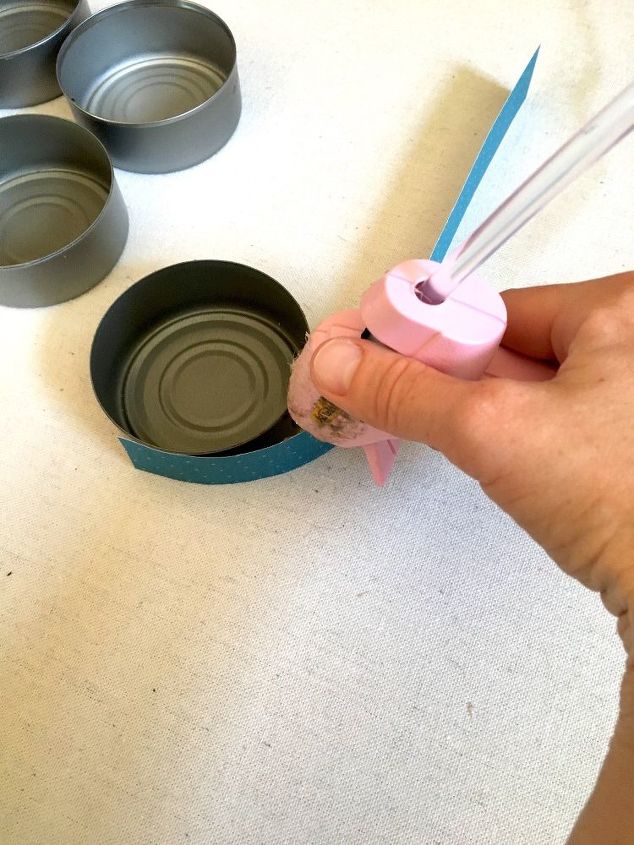
STEP 2: Hot glue paper strips to cans
Next, I used hot glue to adhere the scrapbooking paper strips to my cans. I started with a small line of glue to get the end adhered to the can, then every inch or so I added more glue until the entire strip was glued to the can. You could do any arrangement you like, but don’t all those patterns look nice together?
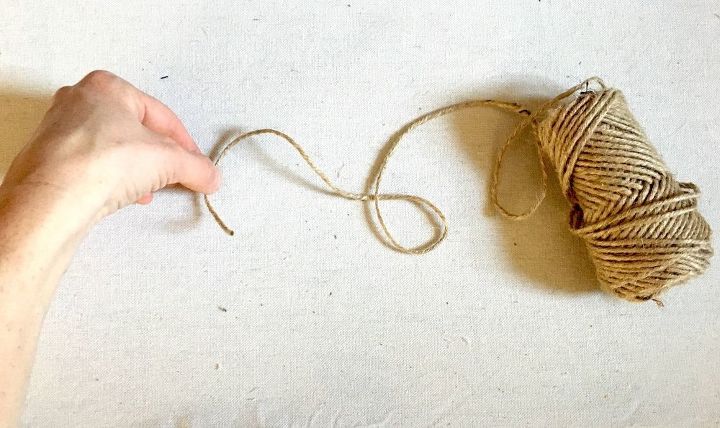
STEP 3: Make hanger for cans
Once all of my cans were covered, I took my twine and...
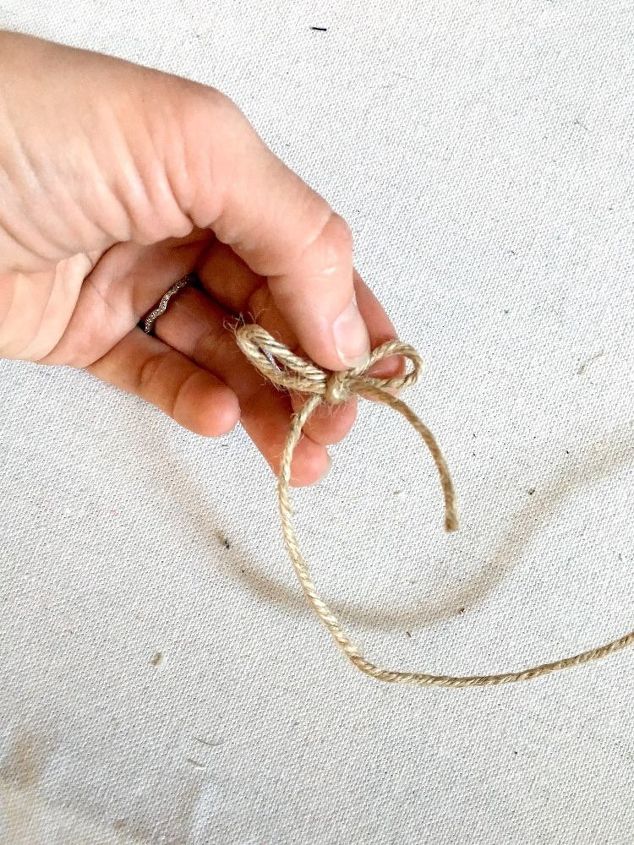
...made a bow from the end of the twine...
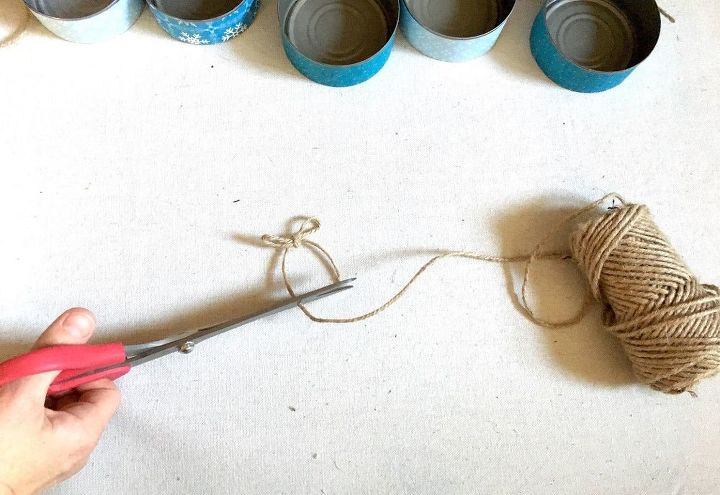
...then I cut the bow loose. I'd recommend making small bows -- maybe an inch and a half to 2" or so. These are basically just to add an extra little touch to the cans.
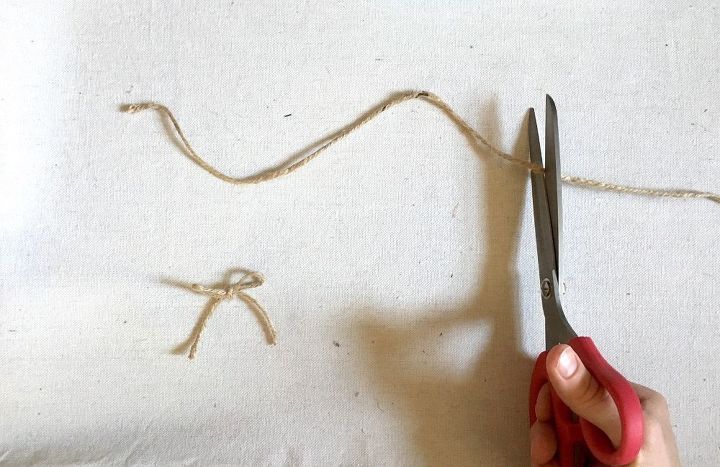
Next, I cut different lengths of twine. I didn't measure anything -- just simply started with one length, laid it out and then cut the other lengths, so that all of the cans would ultimately hang at different heights. Go to the bottom to see how nice the end effect is when they’re not all perfectly lined up.
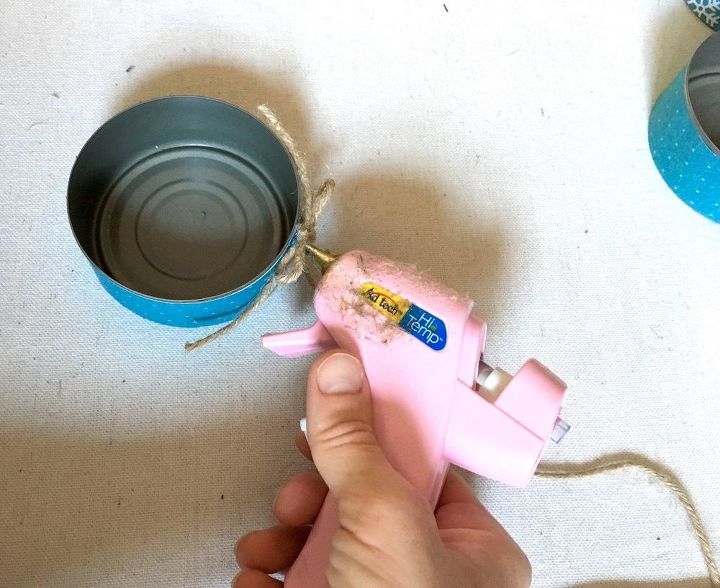
STEP 4: Hot glue bows and twine strings to can
For this step I adhered the bows and twine strings to the cans. I first glued the end of the twine string to the can (I glued it at the seam of the paper), then I glued the bow on top of the end of the twine string.
STEP 5: Hang and add your tea lights
Don't forget your tea lights! You can use real tea light candles but I wouldn't recommend it as you never know who is going to come along and bump the wax out.
AFTER:
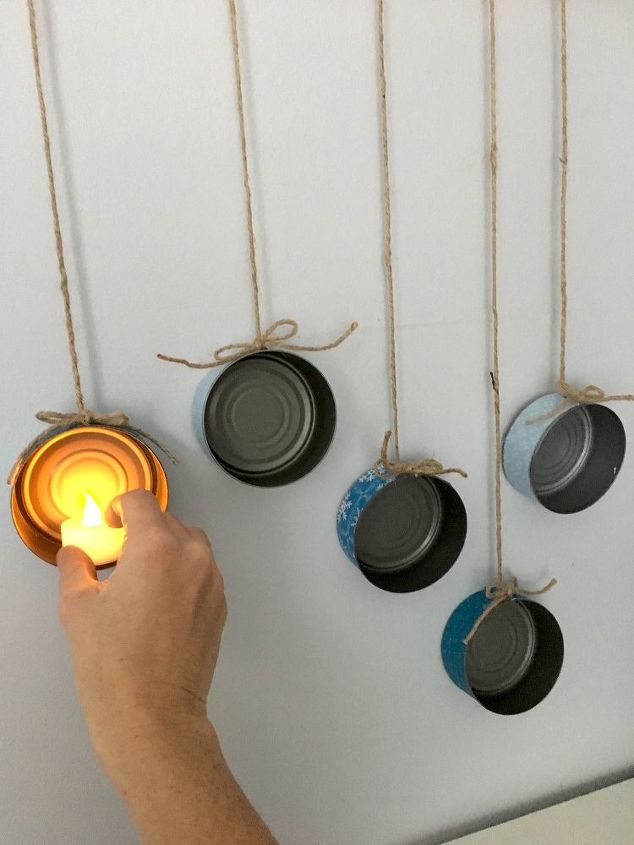
Isn't that just so perfectly simple and stunning? And it's great for any time of year. All you have to do is change the paper and the ribbon, and you can have hanging lighting perfect for your Thanksgiving feast, Easter lunch, Christmas dinner...anything!
I've gotten so many compliments from guests, and every time, they're flabbergasted that it all started with tuna cans!
If you want to make these little upcycled luminaries yourself, you can see the full step-by-step instructions below.
Comments
Join the conversation
2 of 38 comments
-
Yes I may at some point
-
I'm seeing a Christmas lighting idea in my future. 😄


Frequently asked questions
Have a question about this project?
Do you have any pictures of the finished project?
How did you hang them? What did you hang them from?
where do you get the tea lights