


DIY Leather Baby Moccasins

by
Zest it Up
7 Materials
$20
2 Hours
Medium
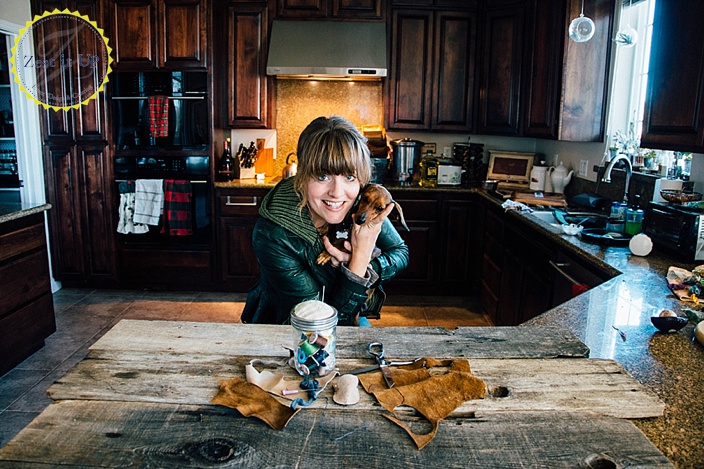
I kinda laugh and tease my sister and brother-in-law that I am going to turn their baby into a little hipster!
They both love modern clean lines with a gentle nod to early 60’s mod vibe…but the SLO (that’s San Luis Obispo for those of you not in the loop) in me is craving the baby-hipster-adorableness. And in true hipster fashion, all the baby gifts coming from my house are homemade. Case in point: these adorable leather baby moccasins. Honestly, who can resist something so cute? And leather? Forget about it!
Photo Cred: Anya McInroy
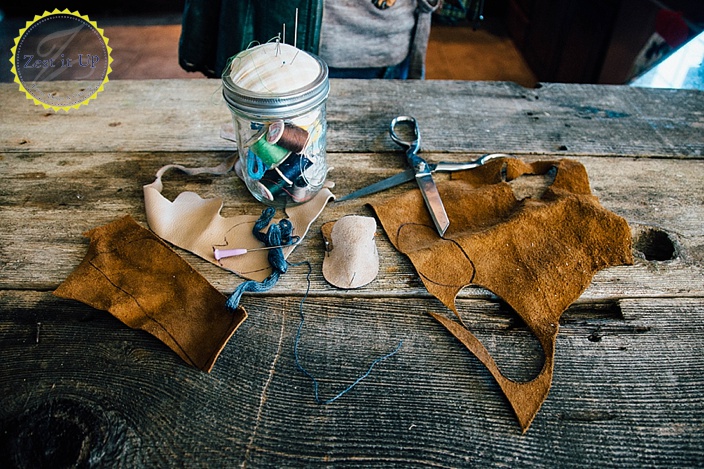
Leather Baby Moccasins Supplies:
- leather scraps
- scissors
- pins, for pinning things in place
- embroidery thread
- craft needle
- awl or leather punch
- waxed cotton twine (or such for laces)
Let’s get going with these shenanigans! If you click on the below diagram, you can download a pdf for printing to make this easy 
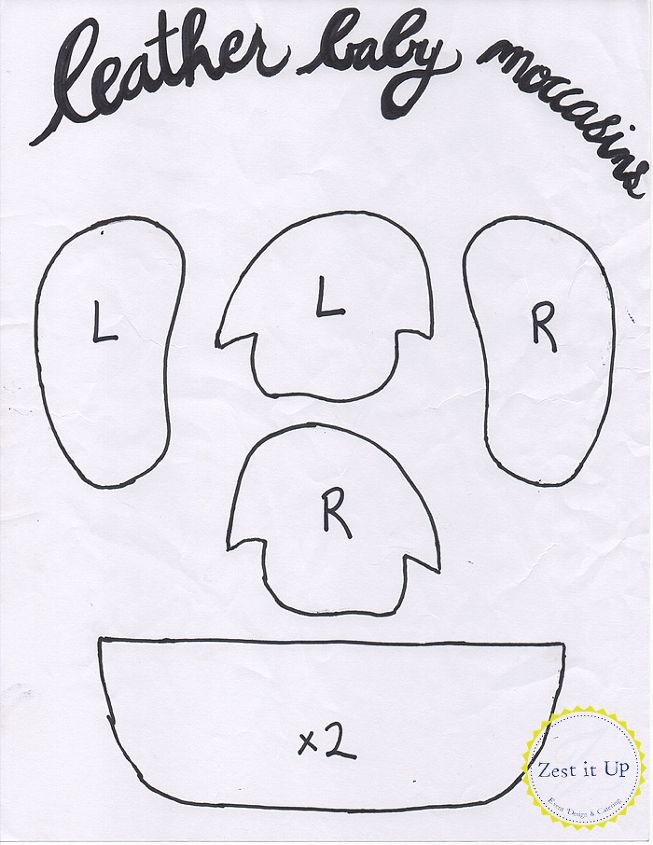
Once you print out the pattern, cut out the paper shapes and trace them directly onto your leather scraps.

There is something so dang cute about little baby shoes. They are completely unnecessary, but they are just the perfect amount of sweet that they make peeps sigh. How could anyone’s foot be this tiny!?!?!
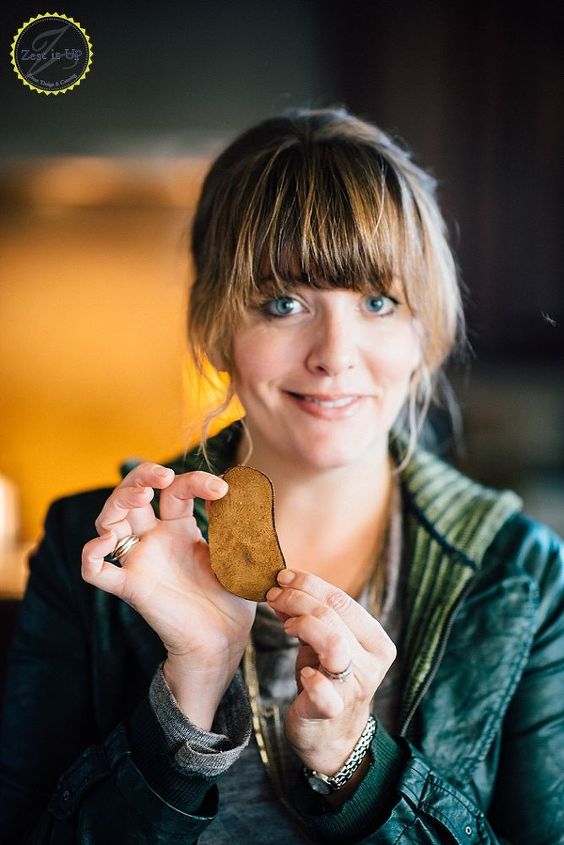
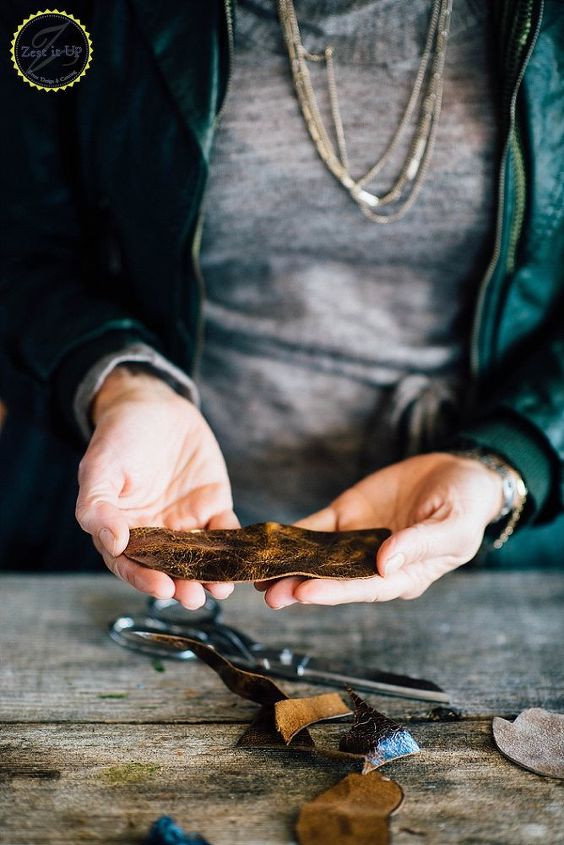
Once you have cut out the soles, cut the top part of the shoes. I chose a different leather, just to make the moccasins a tad cuter.
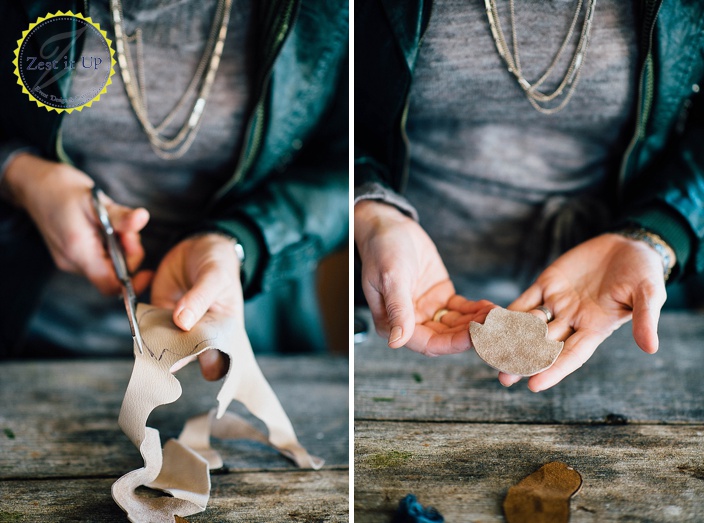
Last piece to cut out is the back of the moccasins. Now it’s time to pin!
Start by lining up the top of the moccasin with the toe of the sole. Pin the edges together…it will naturally form room for the footsies!
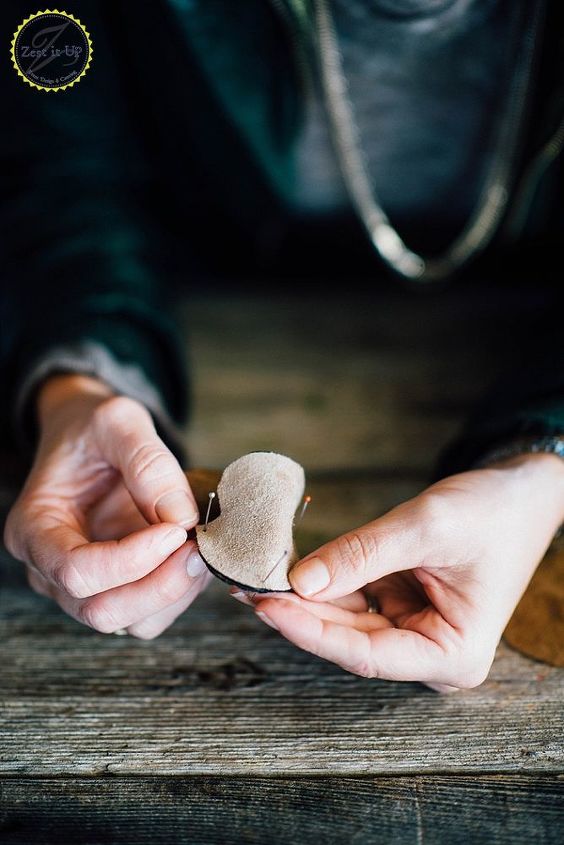
Using an awl or a leather punch, make holes every 2 centimeters or so. You want to make a way through the tough leather before you pick up your needle and thread.
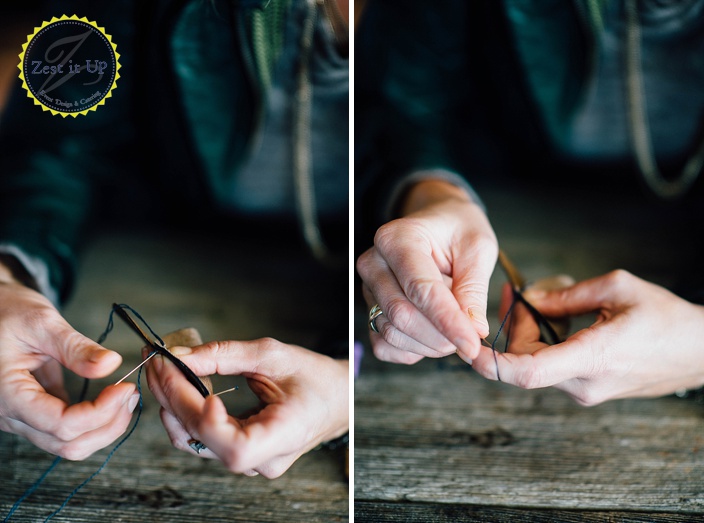
I chose a dark thread so that the detail would stand out on the light leather uppers.
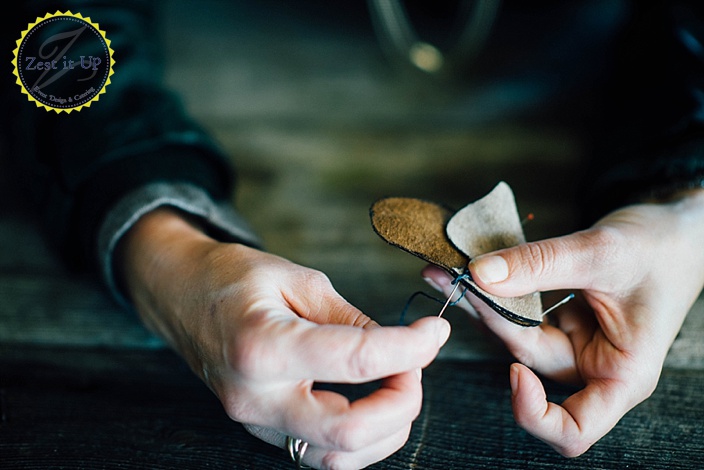
Go up and through both pieces of leather. When you go to dive back down through the leather, send your needle through your stitch first. It will create a blanket stitch as such:
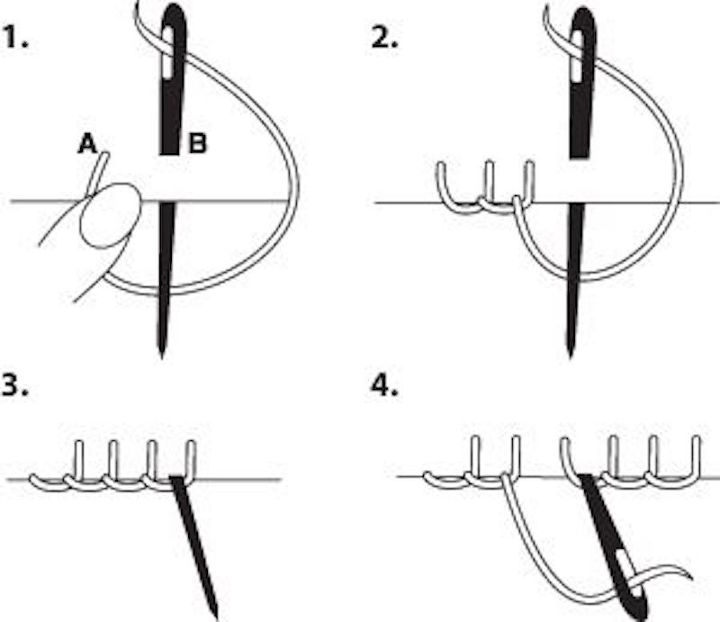
I love the look of a blanket stitch. It does the work of keeping your seams together while adding adorable detailing to your project at the same time. Gotta love nabbing two birds with one stone!
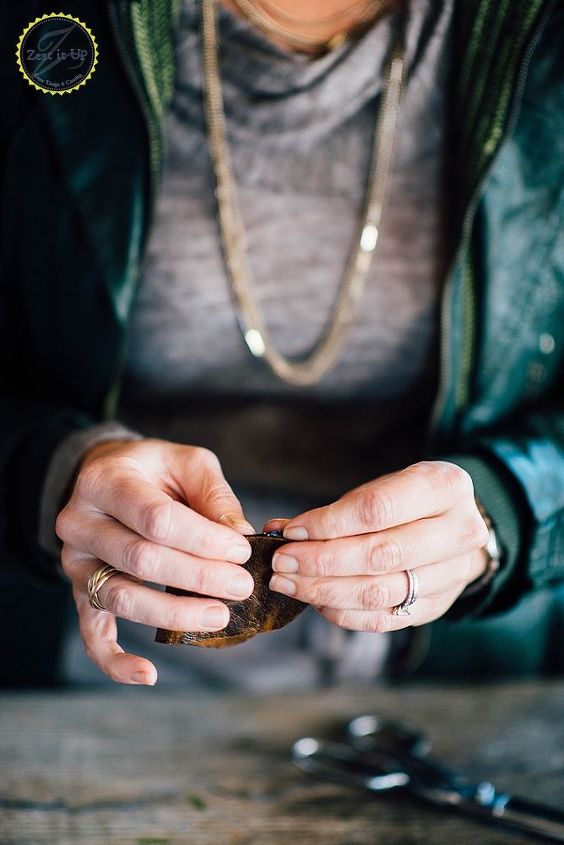
So dang precious!!! Time for the back of the moccasin. I made these pieces extra tall because in the end, I will be folding it over to give it a bit more of a detailed design. Check it out.
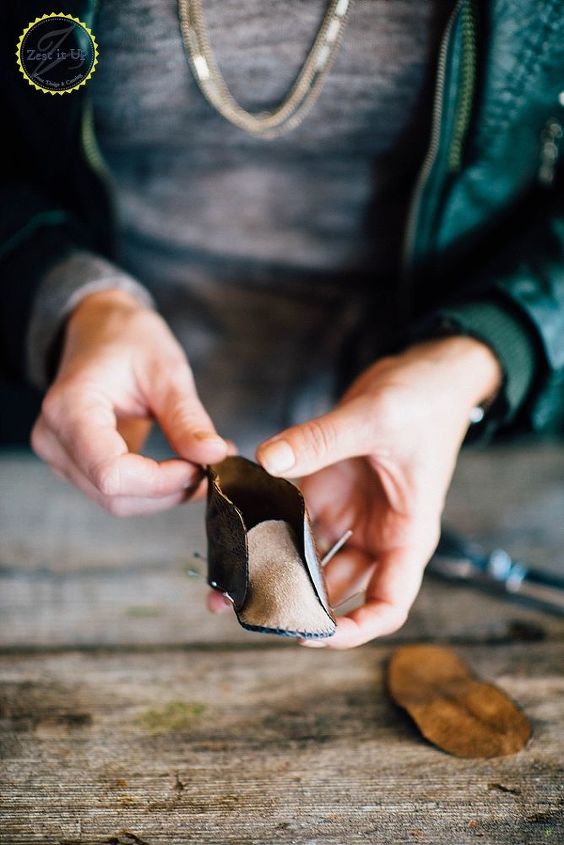
Line up the center of the back of the shoe with the heel of the sole. Pin in place and get going with the awl or leather punch. Lined up and cute. It is time for some more blanket stitching. When you have finished attaching the heel, fold the back of the shoe down before making holes for your laces. You can see that for the top hole, I went through the folded leather so that my fold would be permanent.
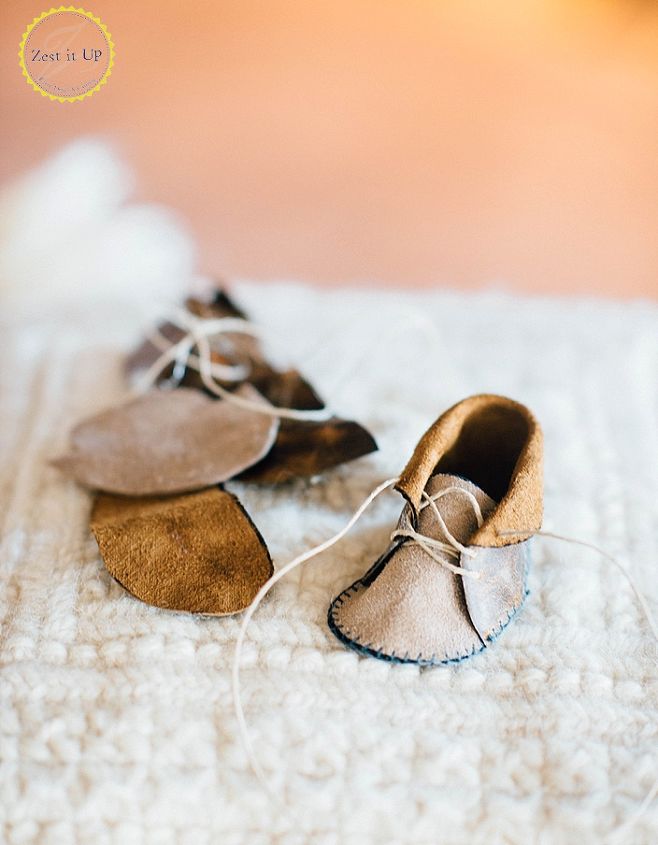
The finished moccasin is so crazy adorable. I could only imagine how cute this could be in white and pink leather for a little girl. Ohhhh, you could even paint little sweet designs on the leather! Or punch a lacy design. So many possibilities with this upcycled leather scraps!
Hahaha! Now, I have to make the other one! That is the only problem with shoes…there has to be two! Honestly, I busted this first moccasin out in about an hour or less…so, I guess I shouldn’t whine. And, now I can call myself a novice cobbler!
xoxo
Chanda
Want more details about this and other DIY projects? Check out my blog post!
Comments
Join the conversation
4 comments
-
So cute! So cool!
-
I love baby shoes, and these are adorable!


Frequently asked questions
Have a question about this project?