


Change a Knob to a Cup Pull
4 Materials
$80
1 Hour
Medium
Without painting or patching your cabinet, install a cup pull where your knob used to be. Create that farmhouse look in less than 5 minutes.
For more tips and inspiration follow the link to my website at the end of this article!
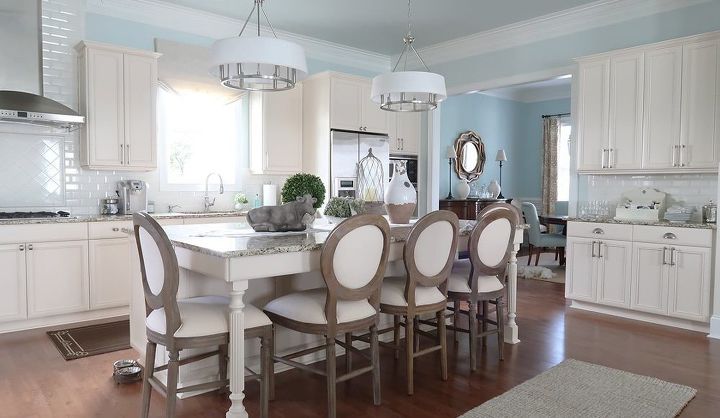
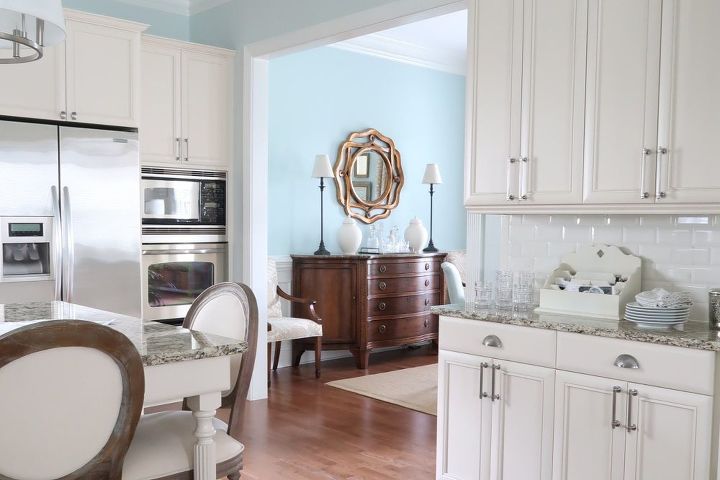
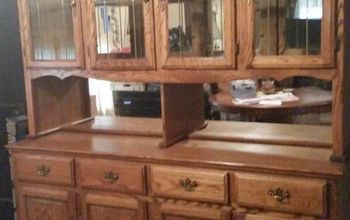
Completed and updated cabinet hardware.
All the cabinet hardware has been updated in my kitchen, in addition to adding about 8 cup pulls where the knobs used to be. Just a little inspiration to get you started!
{
"id": "4105193",
"alt": "",
"title": "",
"video_link": "https://www.youtube.com/embed/CJZ8aLyrLTI",
"youtube_video_id": "CJZ8aLyrLTI"
}
{
"width": 634,
"height": 357,
"showRelated": true
}
Here is a 5 minute video on how-to install a cup pull directly over where a knob used to be.
Please read the tutorial below and watch the video for live how-to instructions!
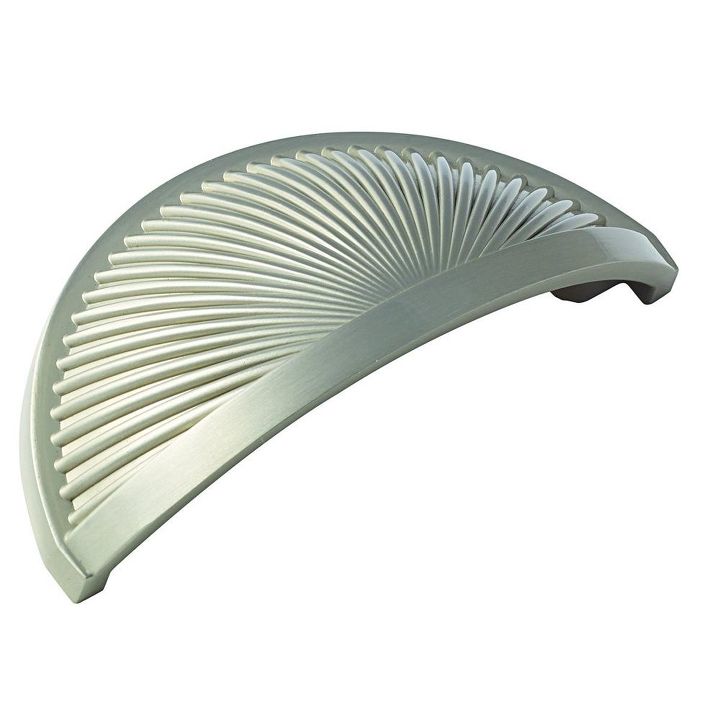
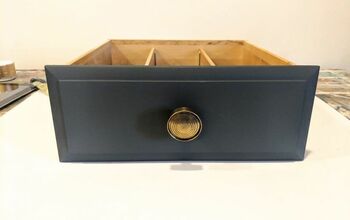
Sea Grass Cup Pull
Step1: Find cabinet hardware that you love! This tutuorial can be used for kitchen, bath or furniture installations.
I used the Sea Grass Cup Pulls from Amerock Be creative and find a mix of knobs, pulls and cup pulls for more visual interest.
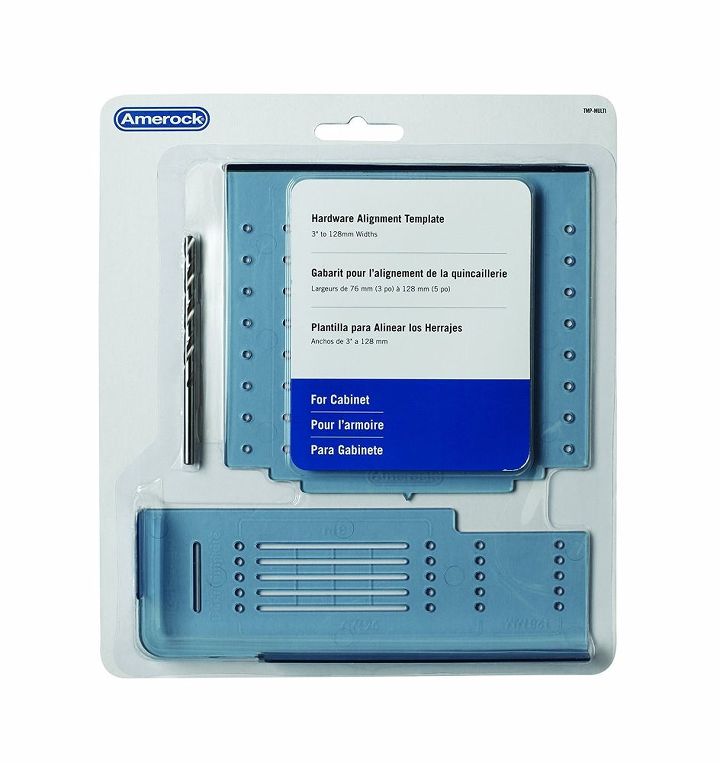
Step 2: Purchase an installation template for drawers that have the holes pre-specificed for you to mark the center to center drill hole placement.
I used Amerock's Drawer and Door template that has the drill bit included!

Step 3: Gather your power drill, a pencil and level.
If you are looking for a power drill recommendation the one I use in the video is from Porter & Cable.
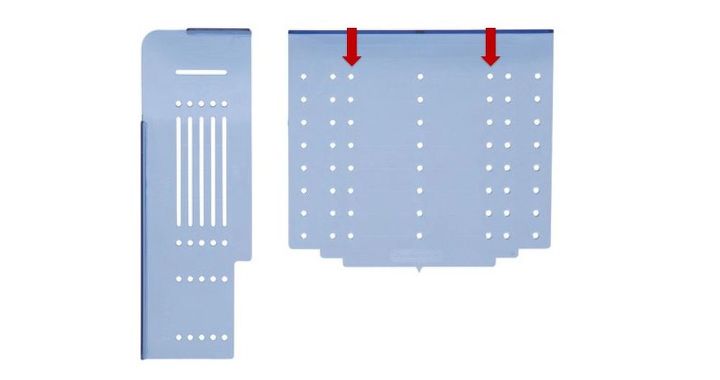
Step 4: Lay the template on the drawer to mark the drill holes. Make sure that the holes are slightly above where the knob hole is, so the cup pull covers over it completely.
The drill holes or center to center measurement on the cup pulls I used are 3 inches, which is marked on the picture above.
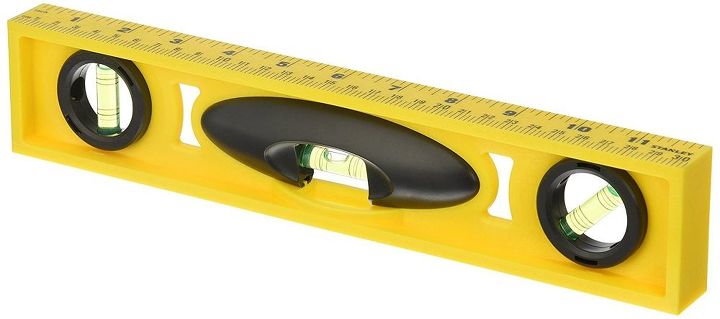
Step 5: BEFORE you drill anything. Use the level to make sure the holes are level (that means that the air bubble is between the two lines, in the middle of the level).
If It's not level, draw a pencil line when level and re-mark the 2nd hole.
CHECK one more time that the previous knob hole is covered by holding up the cup pull to the drawer lining up with with marked drill holes.
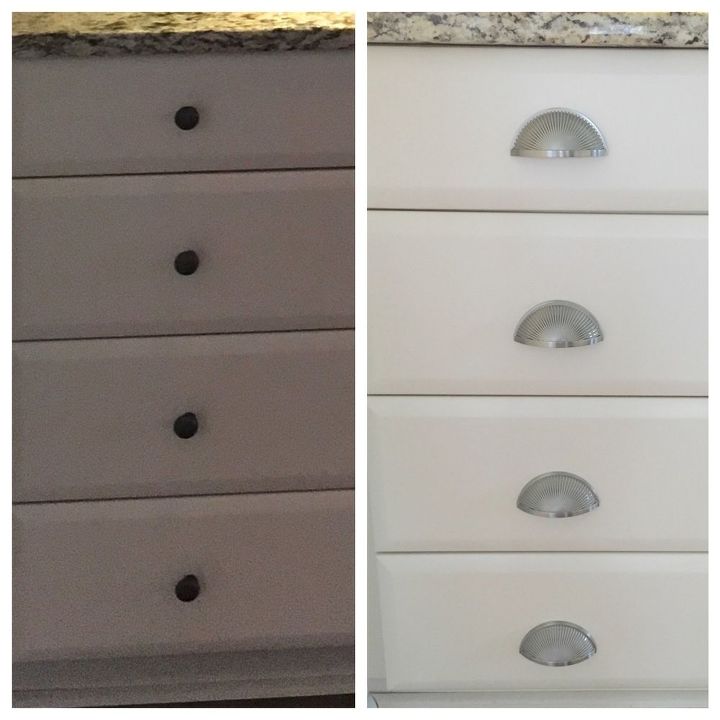
Knob to Cup Pull Down Drawers
Step 6: Drill the two holes. Keep your drill level and straight as you go! I will go around, after I am through the drawer, in a tiny circular pattern to make sure I have a little room to make sure the screws are aligned.
Step 7: Hold the hardware up to the front of the cabinet and with your fingers thread in the screw through the back into the cup pull.
Step 8: Using the Philips head attachment on your drill bit tighten the screws, but go slowly and don't over tighten and risk damaging your cabinet.
COMPLETE! The new hardware made my kitchen look lighter and brighter. Plus all of the different variety of knobs, pulls and cup pulls adds visual interest.

Want more details about this and other DIY projects? Check out my blog post!
Comments
Join the conversation
3 comments
-
You have a beautiful home.
- See 1 previous


Frequently asked questions
Have a question about this project?