


DIY Calendar From Thrift Store Art
6 Materials
$15
3 Hours
Easy
I don't know about you, but I need to be able to physically see a calendar to any idea of time. Yeah, I know that I have a digital calendar on my phone that I can access anywhere, but I still love physical calendars. I wanted a BIG one to see at a glance from my desk. Using a piece of thrift store art allowed me to create one easily for cheap!
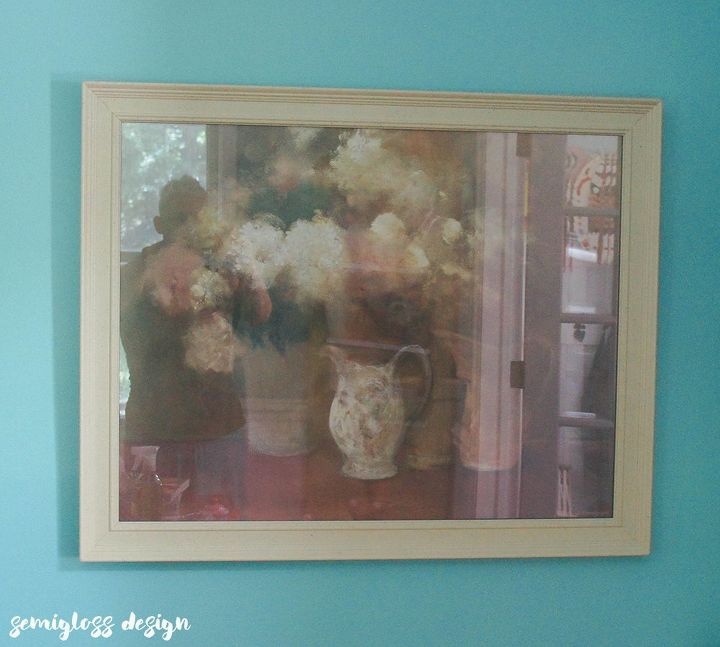
Find your art.
Go to the thrift store and find a large piece of art with a sturdy frame and glass. This piece is large at 22"x28" and only cost $8!
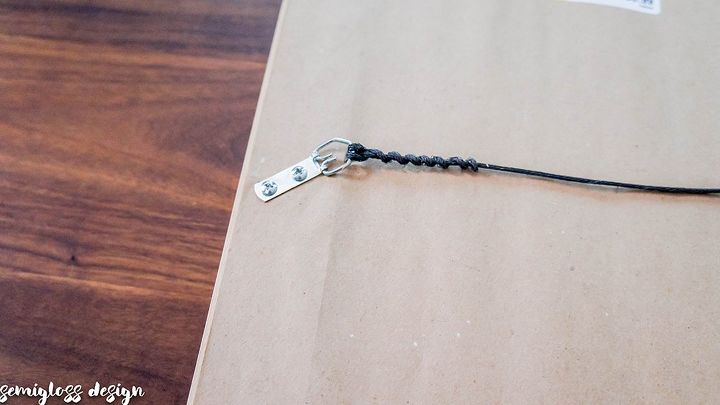
Remove art from frame.
Remove the hanger and the backing. Then carefully remove the art and glass from the frame.
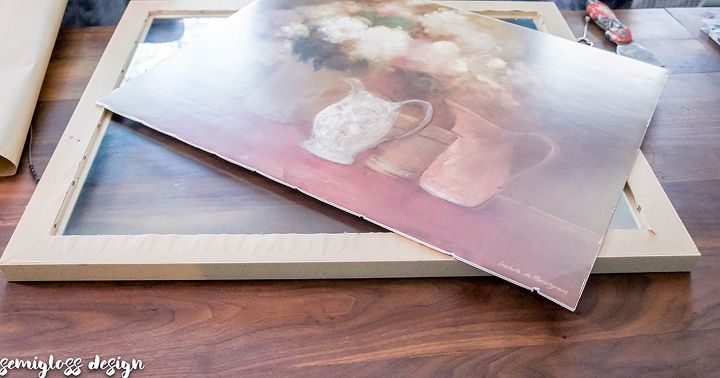
My art was shiny, so I gave it a quick coat of flat white spray paint so that paint would stick to the surface.
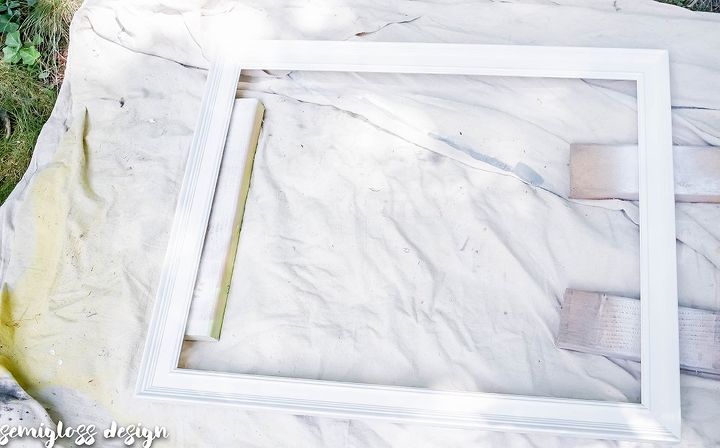
Spray paint the frame. I chose white, so that it would pop against my teal walls.
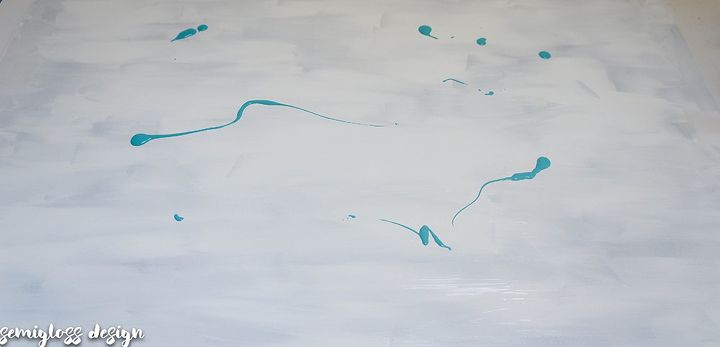
Once your art is dry, start painting the surface. I started with a few squirts of acrylic paint in colors I liked and smeared them around with a paintbrush.
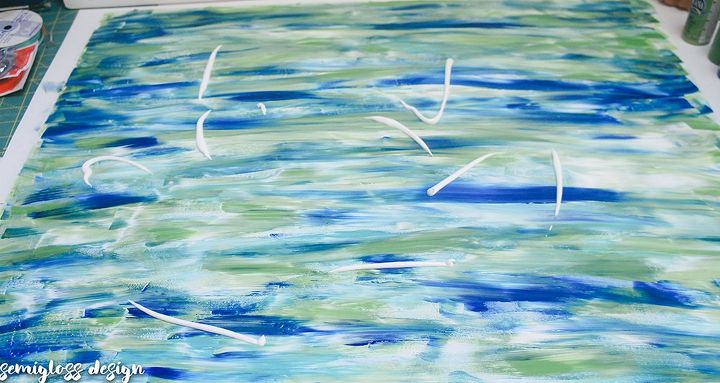
I layered colors until I was happy, and then added more white to the top. White and light colors are important so that you can see what you write on your calendar!
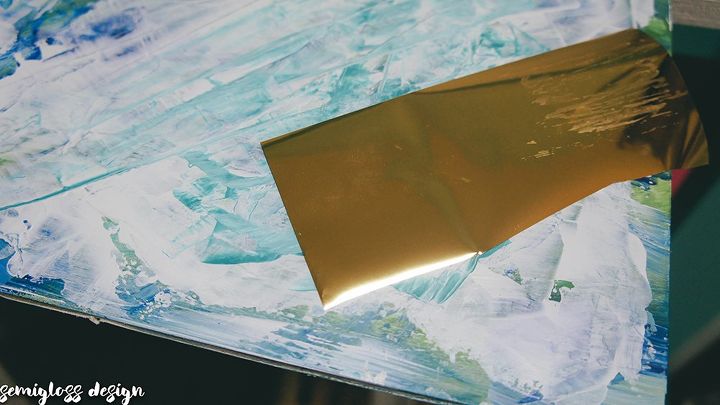
Once I was happy with the composition, I added gold leaf to the art in a few spots. Just apply the glue, wait a few minutes and rub. I love the shiny gold spots!!
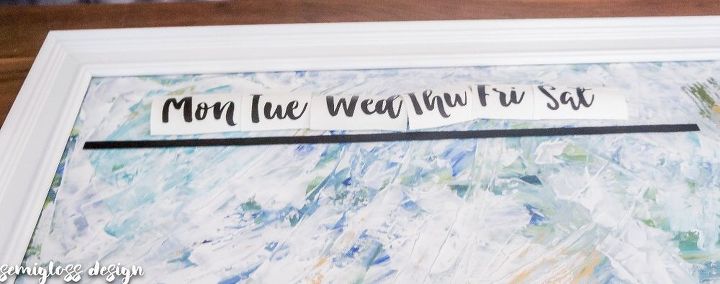
Place it in the frame. You could leave it like this and have a new piece of art, or you can add decals to make it a calendar. I cut out days of the week with my silhouette and applied them.
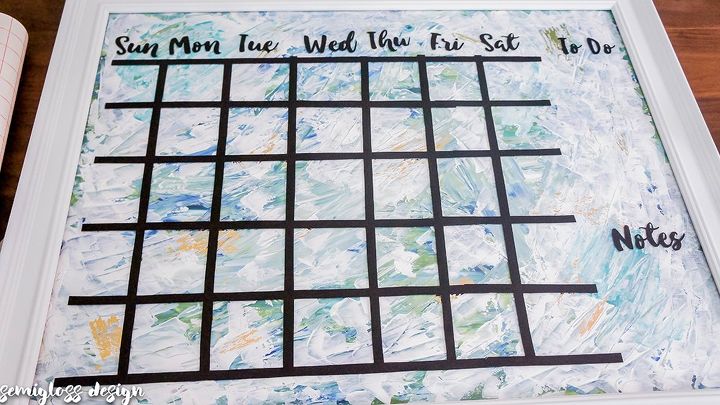
Then I added a grid with adhesive vinyl strips.
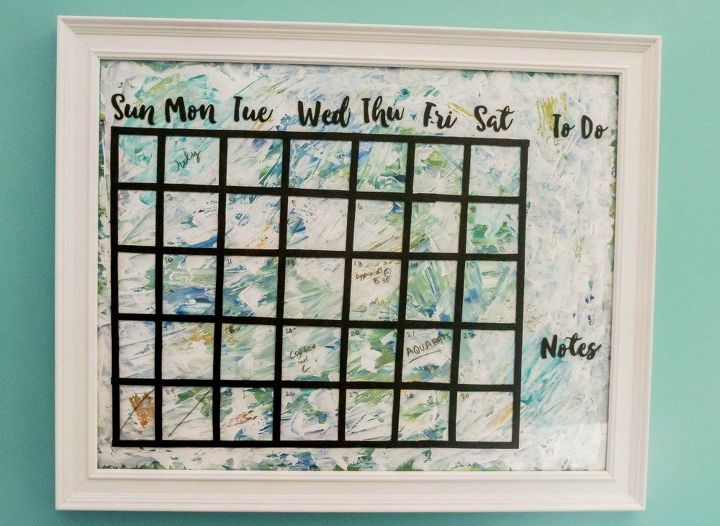
Hang and enjoy your new calendar! For more details, check out my in depth post!

Want more details about this and other DIY projects? Check out my blog post!
Comments
Join the conversation
1 comment
-
So useful! Great job! Thanks for sharing!


Frequently asked questions
Have a question about this project?
Did the glass go in and the vinyl put on the glass? That step was not noted. I sure wouldn't want to write on the art itself. Do you use white board pens? This is a very neat project! Thanks for sharing with us.