


Easy Set of Spats

by
ʎɐɹǝ◖ ɐʞʌıᴚ
6 Materials
$20
4 Hours
Medium
In the 19th and 20th centuries, spats were once used as a fashion statement, as well as by the middle class to cover their shoes and make them appear less worn. They fell out of fashion in the 1920s but have started making a comeback recently. Today, they are used to add a touch of whimsy to any pair of shoes, usually heels, although flats work as well.
Here's a relatively simple way to make them. I say relatively, because it depends on your level of sewing expertise and which materials you get how long and how difficult this project will be. Details below.
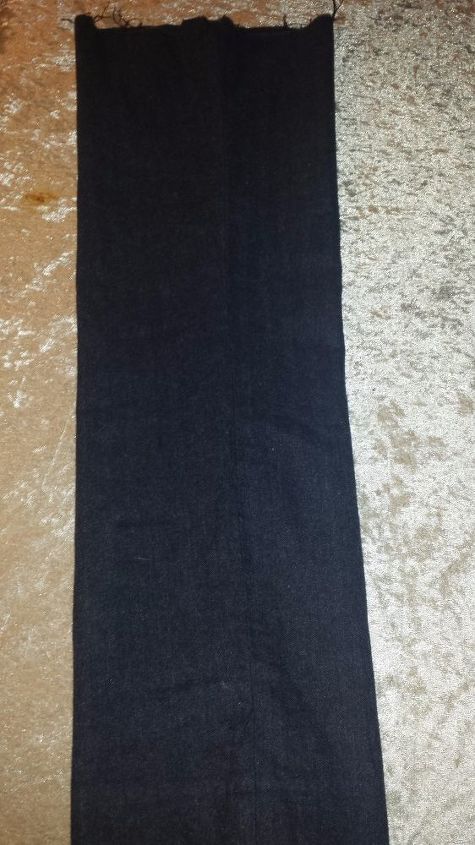
Step 1: Find a pair of pants that will complement the pair of shoes you are creating spats for. Make sure they have a snug fit on your calves or you will get stuck in the same scenario as me and have to re-hem the pants to fit, something that took me (a level 0 sewer) almost 2 hours to do by hand.
Step 2: Cut the legs off the pants. Depending on how high up you want your spats to go is how much of the leg you should cut off. I recommend at about mid calf to knee. Don't worry about the extra pants that are left, simply hem them into a pair of shorts!
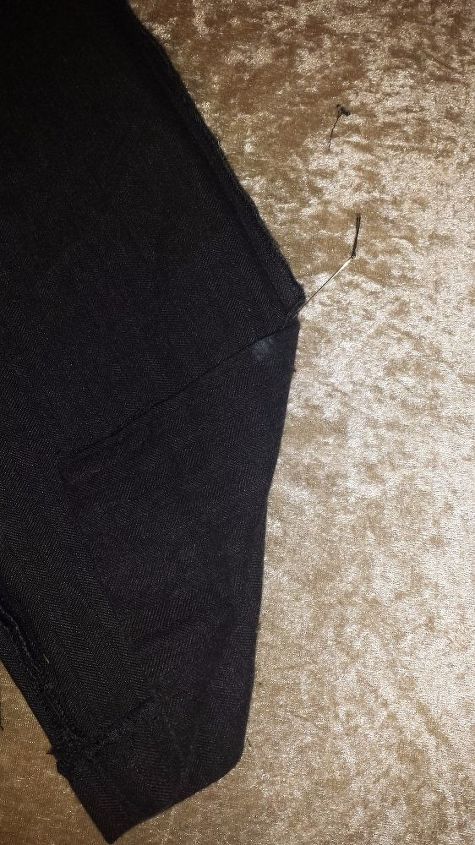
Step 3: Cut the back seam of each pant leg about 4-5 inches up depending on how big the shoe is. The bigger the shoe, the more you should cut. For a 3 inch heel in size 9, I cut these about 5 inches up. Once you have cut the seam, take a needle and thread and reinforce the end to keep it from splitting further.

Step 4: Next you will need to create holes in this newly cut split to thread your ribbon through. The holes should be no more than an inch apart. These holes NEED to match on both sides or the threading later on will look like a drunken mess. There are 2 ways to do this: Use sewing chalk to mark on either side, or pin the pants in the same spot and fold the fabric over before cutting both sides at once. I used pins, since chalk can be imprecise and therefore has a larger margin for error.
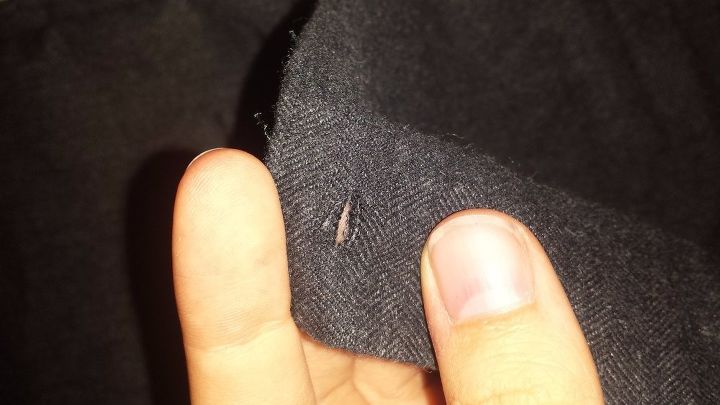
Once cut, the holes will look like this. Don't make them too big, but do not make them too small either--just wide enough for the type of ribbon you've chosen with just a touch extra. You can take the time to reinforce the holes on all sides if you have the skill and time.
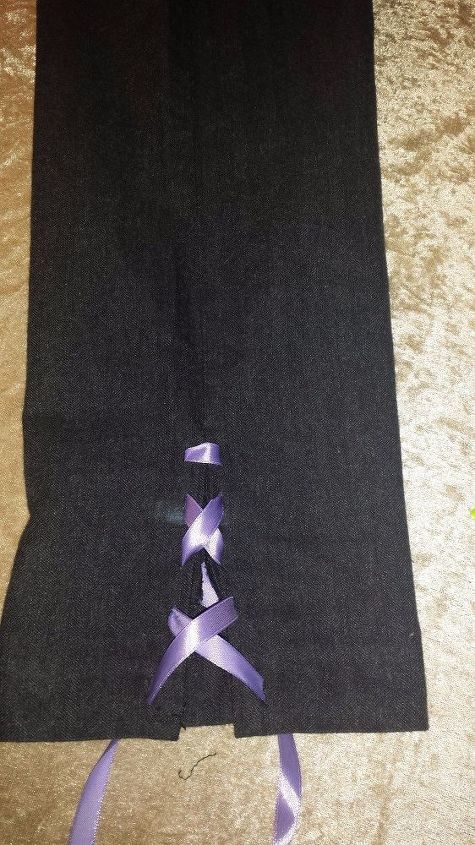
Step 5: Pick your ribbon. The ribbon does not necessarily need to match the shoe. The ribbon I chose matches the outfit I am wearing with the shoes, and really helps pull everything together.
Put safety pins through both ends of your ribbon, and use them as "needles" to help pull your ribbon through the holes. this saves you a lot of time trying to pull the ribbon through and keeps the ribbon from fraying in the process. Make sure to match the holes on both sides or your spats will look off-keel and the ribbon will sit strangely. Do not lace the spats tightly, or they will not fit over your shoes--give space to make adjustments later.

Step 6: Put on your shoes of choice and slide your spats over them. Make sure the front of the spat goes to almost the middle of your foot in the front, adjusting the laces in the back as needed. You want the middle front seam of the spats to rest on your shin bone for a crisp look.
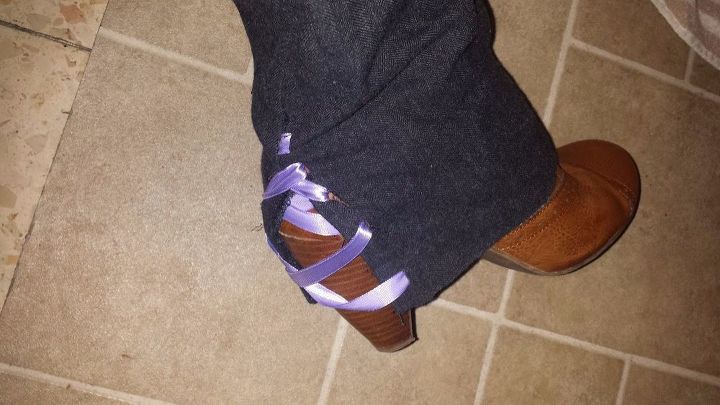
Step 7: Once the front is taken care of, gently tighten the laces in the back and tie them as desired. And you're done!
I kept my spats simple to match my chosen outfit, but they are highly customizable: Add a set of buttons down the side, belt them at the top of ankle, cuff the tops, tie ribbon at the top to match. Lace them with shoe laces or actual lace! Fill in the gap in the back with a desired material of choice. It's up to you!
Enjoy!
Comments
Join the conversation
2 of 3 comments
-
I love it! Great project :)
-
Love this idea!


Frequently asked questions
Have a question about this project?