


ReStore Retro Record Repository
4 Materials
$20
4 Hours
Easy
Sometimes the true gems in furniture rehab are those that are hidden in plain sight. It was so ugly I walked right past it during a recent visit to my local Habitat ReStore. But something about it made me turn around, and I’m glad I did. When I saw the neat fold-down door and the partitions inside, I felt like it was $20 well spent.
Turns out, this nondescript ugly duckling is actually a vintage record cabinet with inner slats to hold the albums upright. I wasn’t able to find one online with this particular type of door but I’m guessing it is from the ’50s or ’60s (I mean, when was the last time you bought a record?).
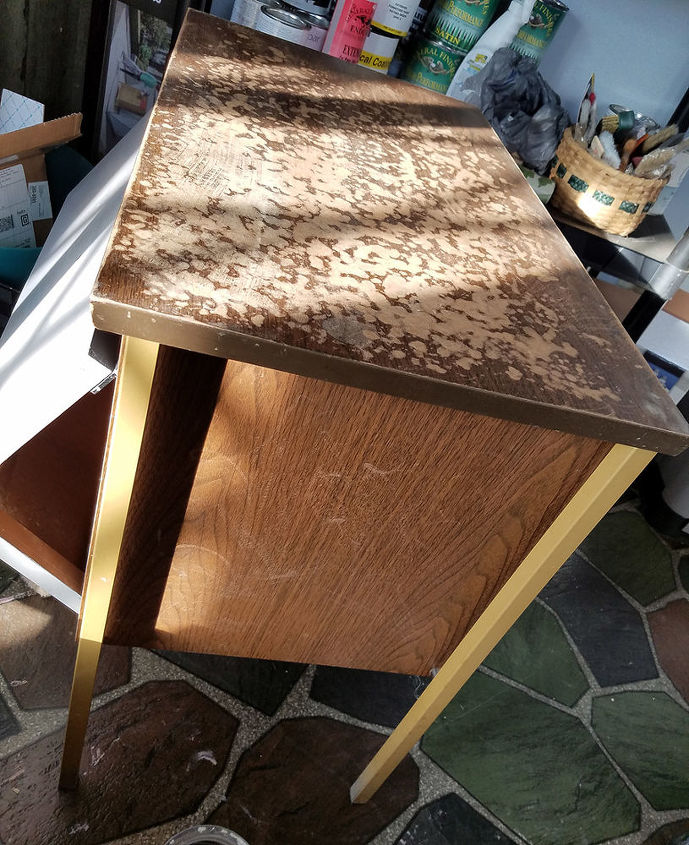
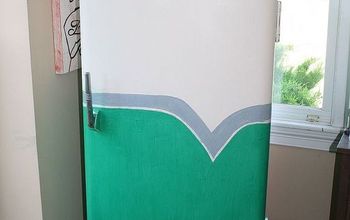
Before - eeek
I wish I had a better “before” picture, but here it is, in all its ugliness just after I had removed the door handle, sanded and was starting to paint.
Something like this would make a great bar cart, but that didn’t interest me much, so I decided to make it into a cute little table with photo album/book storage.
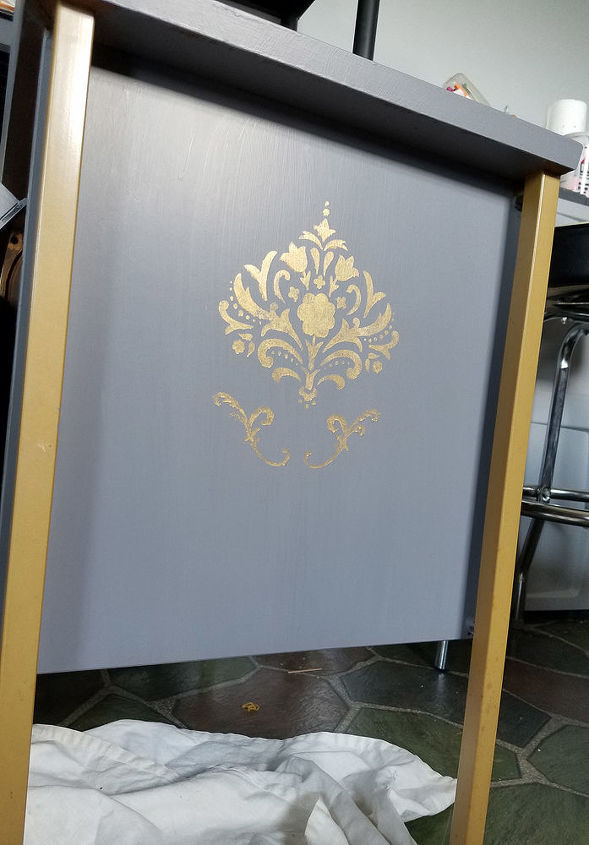
I gave the outside of the cabinet two coats of General Finishes Milk Paint in Driftwood, which I had left over from another project. I decided I wanted to give it something “extra” so I chose to do a stencil with General Finishes Pearl Effects in Burnished Pearl, a shimmery pearlescent gold, to complement the table’s legs.
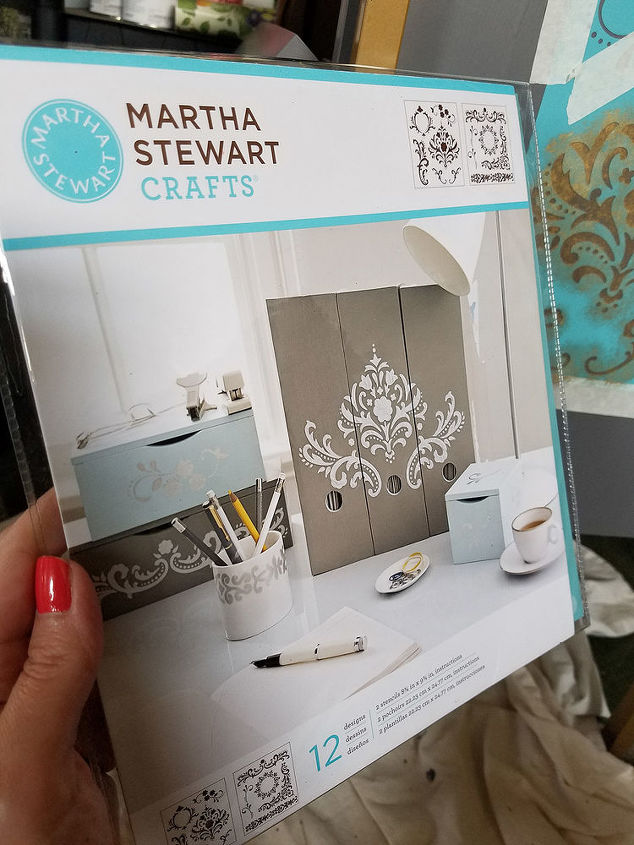
Stencil by Martha Stewart Crafts
The stencil is from Martha Stewart Crafts “Flourish” set, which has 12 designs on two sheets. I found it on Amazon.

Center design and tape in place
I centered up the stencil on the side of the cabinet, and then taped off the areas nearby so I wouldn’t accidentally get paint where I didn’t want it.
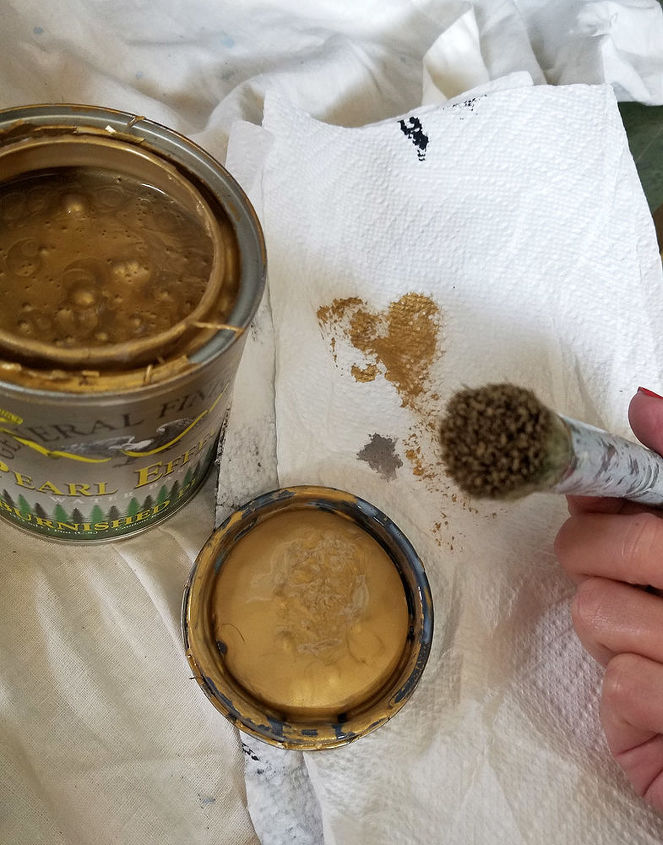
Dab off excess before proceeding
I lightly dipped a stiff stencil brush into the Pearl Effects, dabbing it on a paper towel to remove the excess.
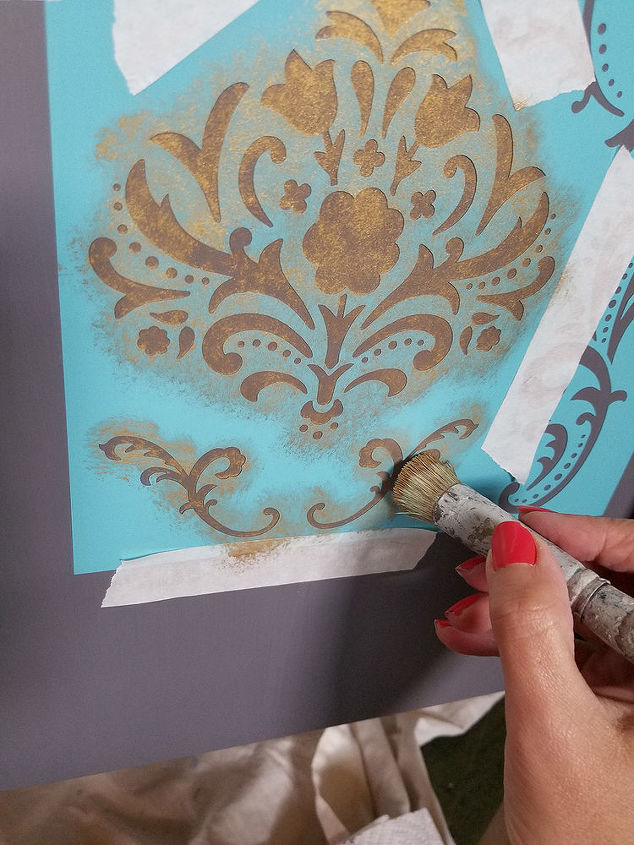
Fill in color with stencil brush
With a crisp “stippling” motion (tapping the brush repeatedly), I filled in all the areas of the stencil. I repeated this on the other side, and did a small stencil on the front door in the same manner.
Add topcoat
Lastly, I brushed on two coats of General Finishes HP Topcoat in Flat and re-attached the drawer handle (which my husband shined up) after it was dry.
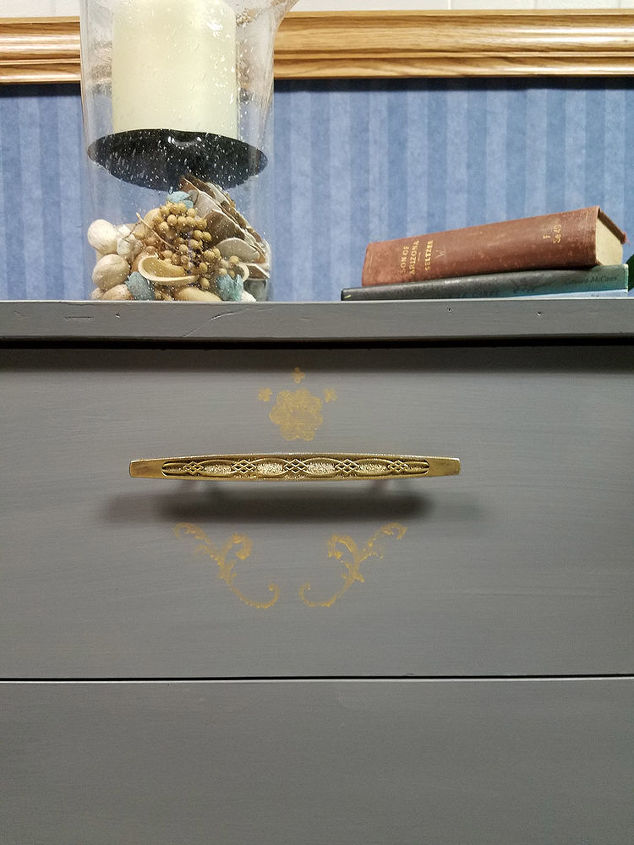
Reattach handle

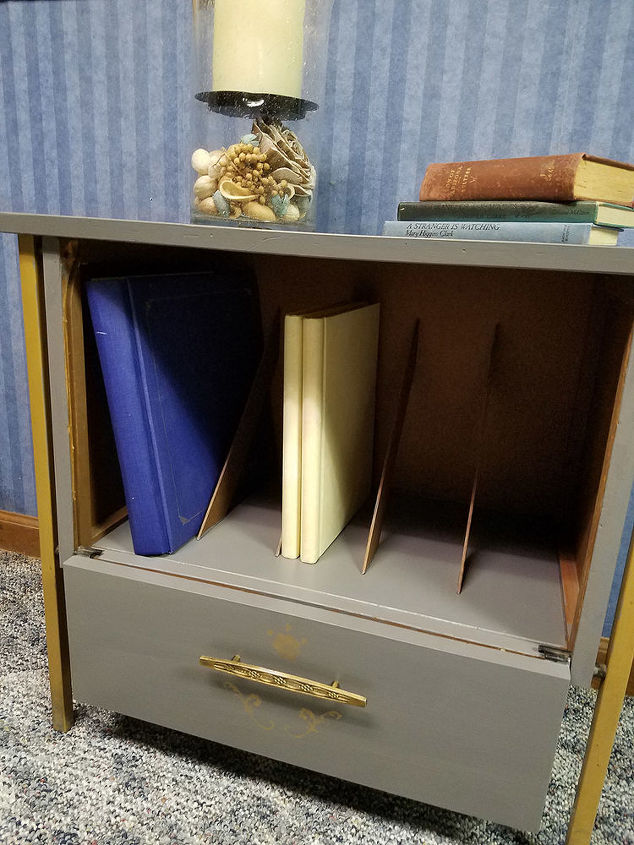
A retro conversation piece
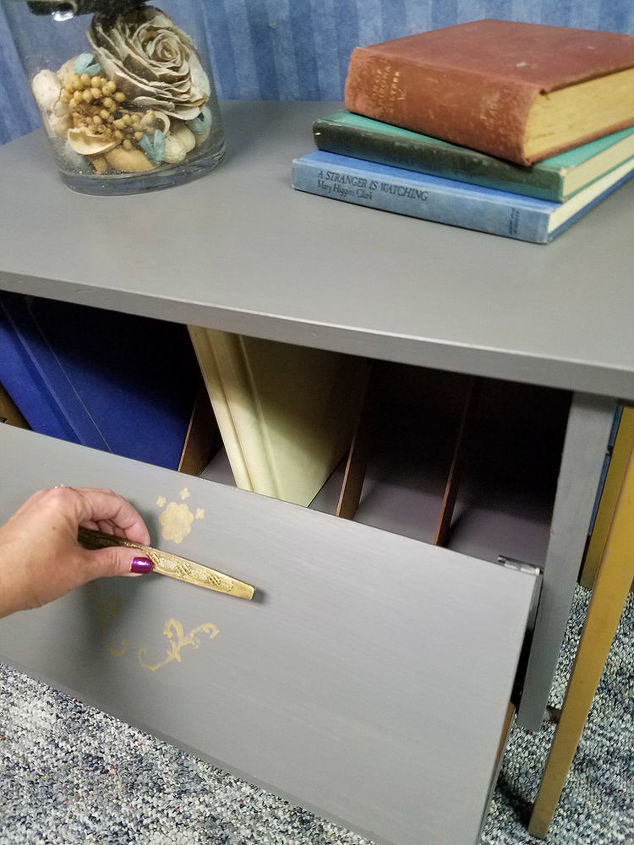
Storage for photo albums etc
Since I used supplies I already had on hand, I only had $20 in this mid-century makeover. With just a little bit of work, I now have a cool retro conversation piece in the den where I can put photo albums and yearbooks.
Rescued relic!
(Sidebar: Wouldn’t it be cool to be able to show the previous owners what their former treasures look like after a restoration?)
I learned a lesson on this one: don’t be too quick to stroll past those plain Jane pieces. Sometimes with a second look, you will find that diamond in the rough like I did!

Want more details about this and other DIY projects? Check out my blog post!


Frequently asked questions
Have a question about this project?