


Rustic Gallery Shelf #2

by
Jim Cox
6 Materials
$20
1 Hour
Easy
The second shelf I put in my house recently for wider canvas prints. Here's the original post for Shelf #1 http://www.hometalk.com/diy/build/shelves/rustic-gallery-shelf-1-31570406
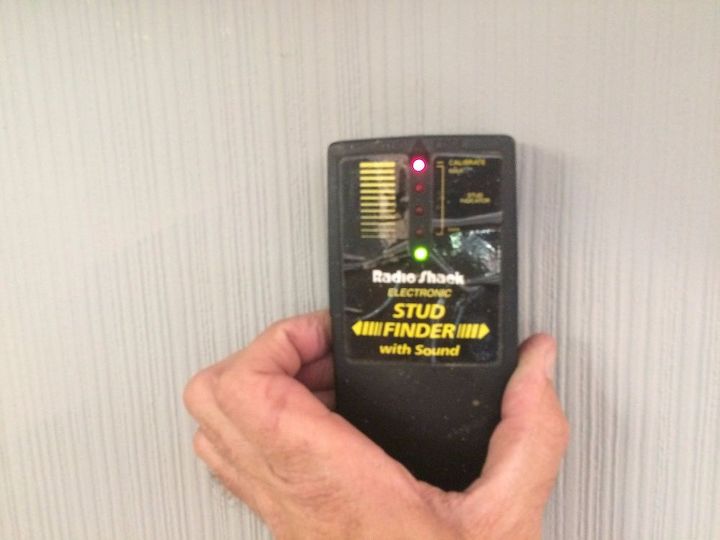
This is what you need: 1x2 & 1x3 Lumber ($6), Minwax Stain ($8),#10 x 3 1/2 Screws ($3.50), Finishing nails ($3), a Stud finder, a drill.
First find the studs. A stud finder pays for itself in aspirin  . You want to hit studs not wires!
. You want to hit studs not wires!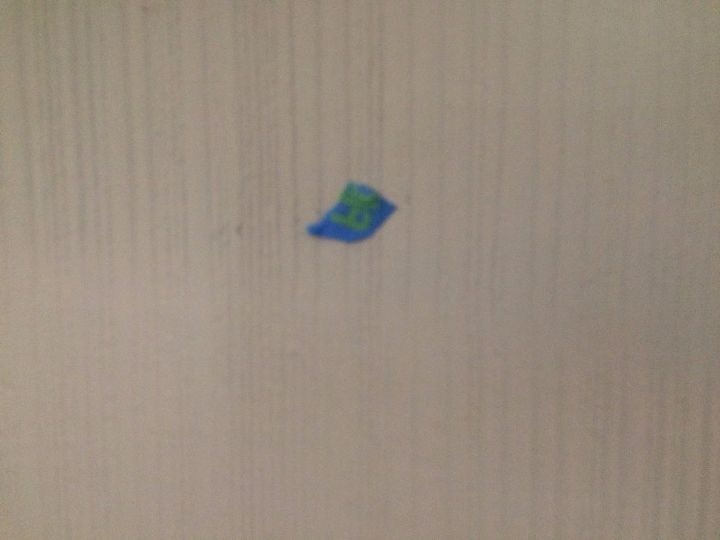
I mark the studs with a bit of masking tape. The lines in the wallpaper mean I don't have to line them up with where I put the boards. On a plain wall I could use a level in a vertical position too.
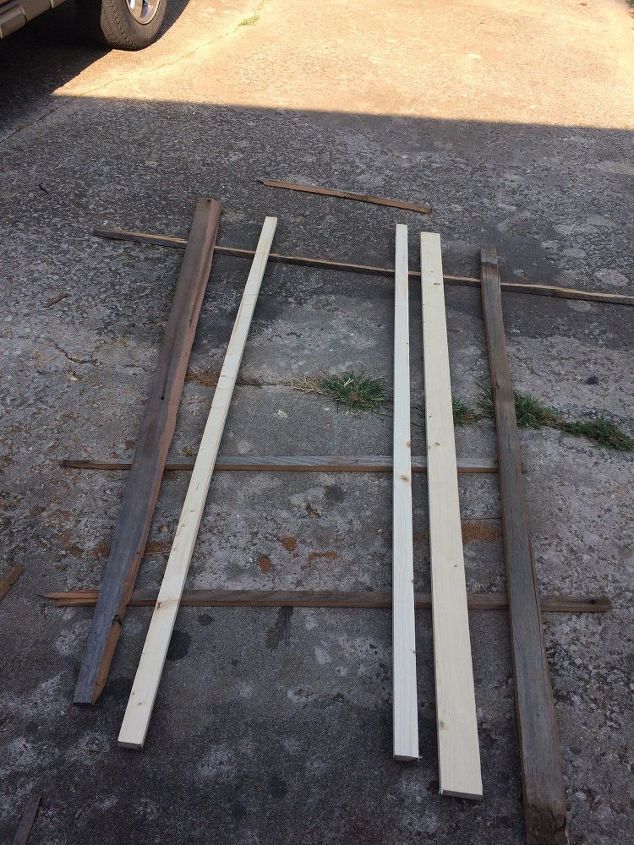
the 1x2 and 1x3 on the right will be used for this project.
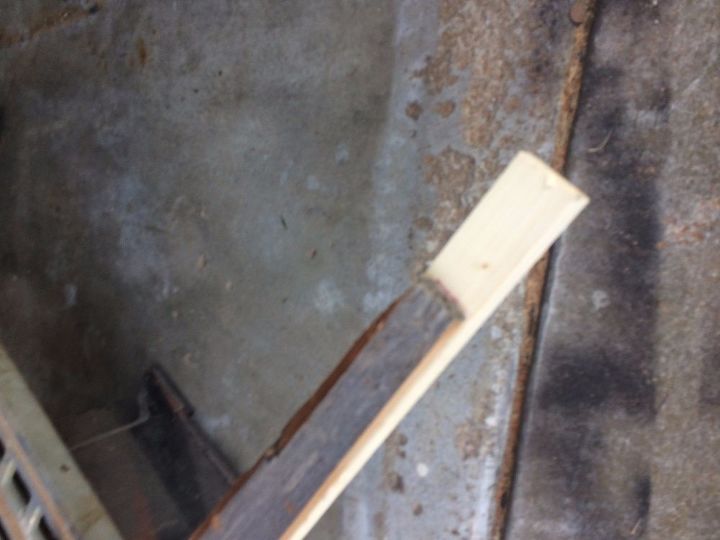
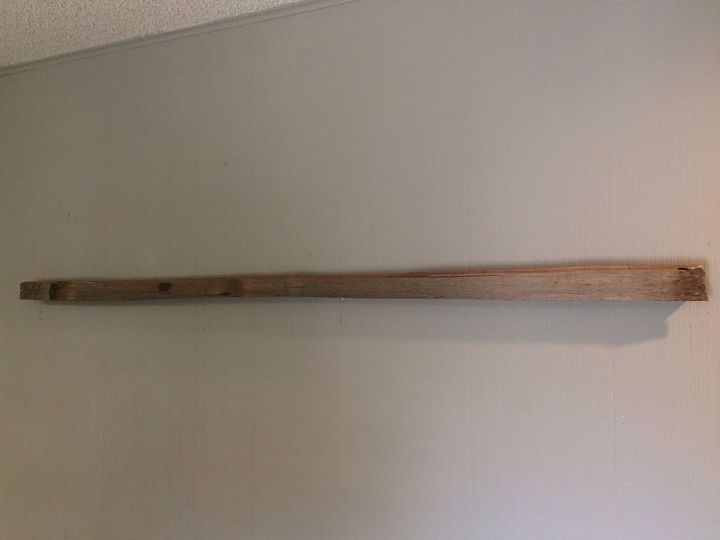
Trim the lumber to match the length of your reclaimed wood. I stained the lumber gray after I cut it.
I screwed a 1x2 flat against the wall. Take your time and use a level.
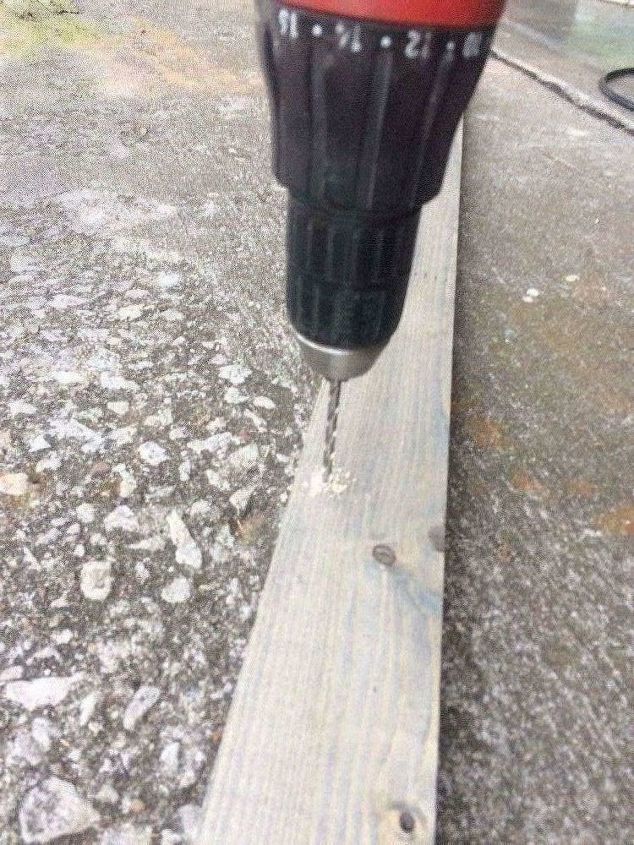
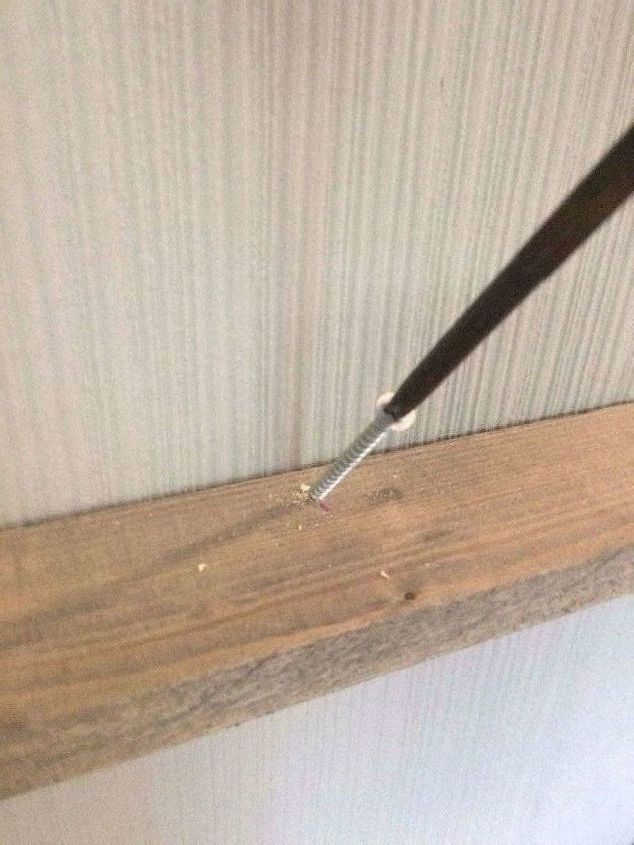
Pre-drill the 1x3. I actually installed the screws at a 45 degree angle so first drill down 1/8" or so ( straight down is easier to start )...
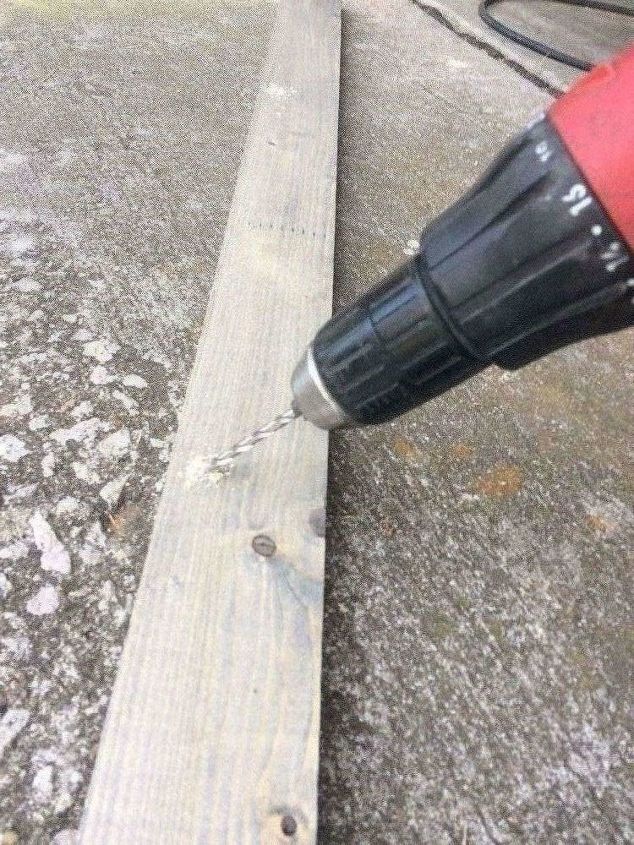
...then lean the drill back to get the angle you want. The drill should pop out thru the back of the board.
(as viewed from the right side)
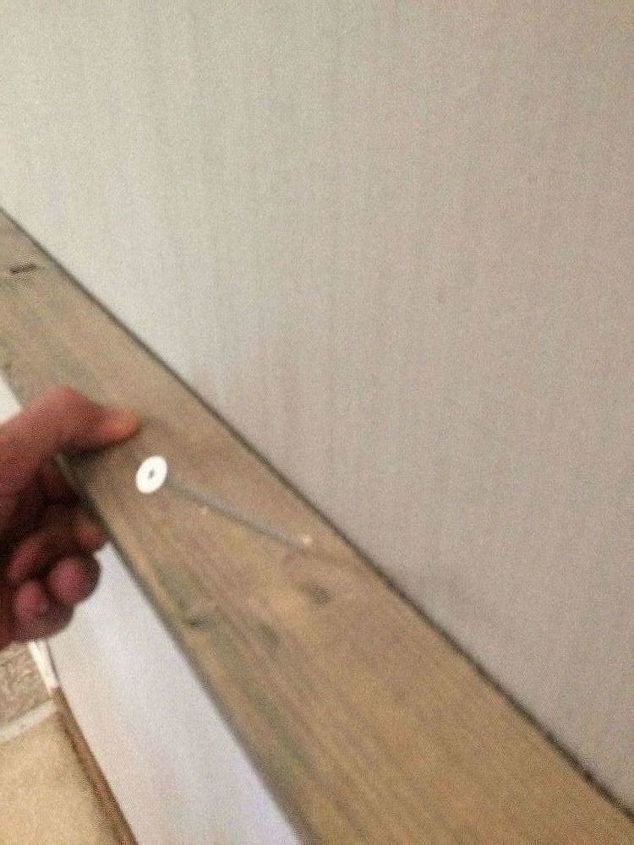
Pre-load your screws to free up your hands.
(as viewed from the left side)
Hold the board tight against the wall to as you seat the screws. It doesn's hurt to lift the outer edge of the board a hint past horizontal because the screws will pull it down.
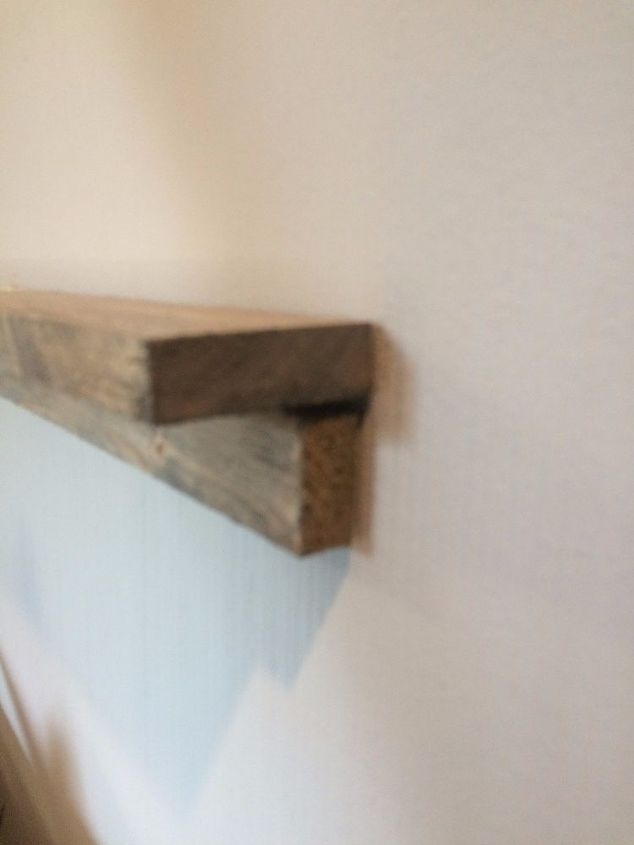
The right end
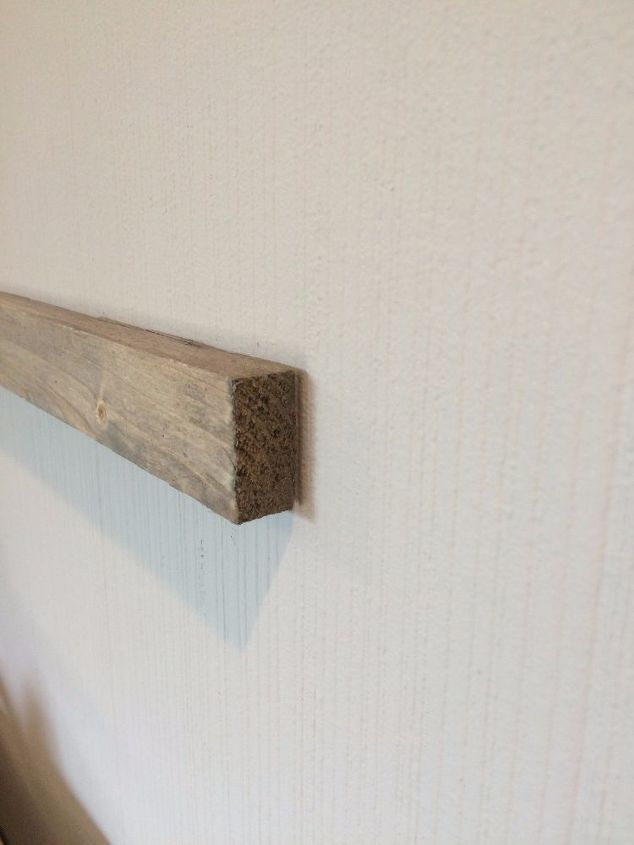
Here's an end view of the 1x3 attached on top of the 1x2 against the wall.
Attach the cedar board with one nail right in the middle. Leave the ends loose for now. (I stole this and a few pics from the other post)
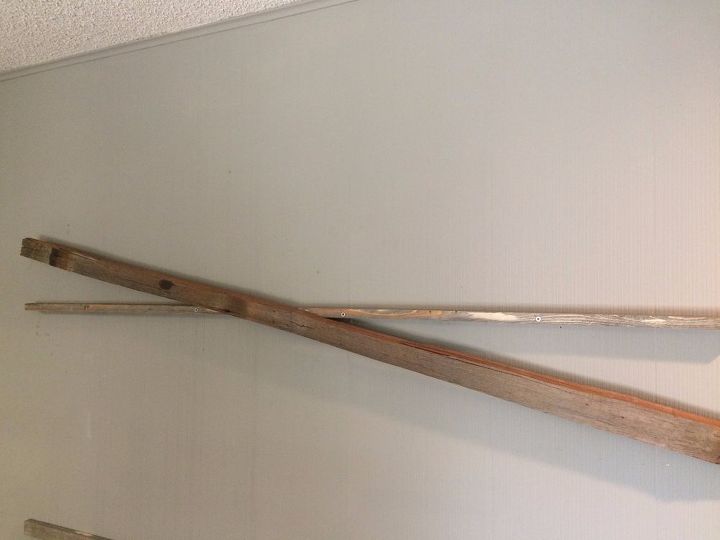
Turn the cedar back and forth until you get the most 'level' appearance you're after. This board isn't truly straight on both sides, so I had to eyeball it for what looked best. When you're happy with how it looks put a nail in each end.
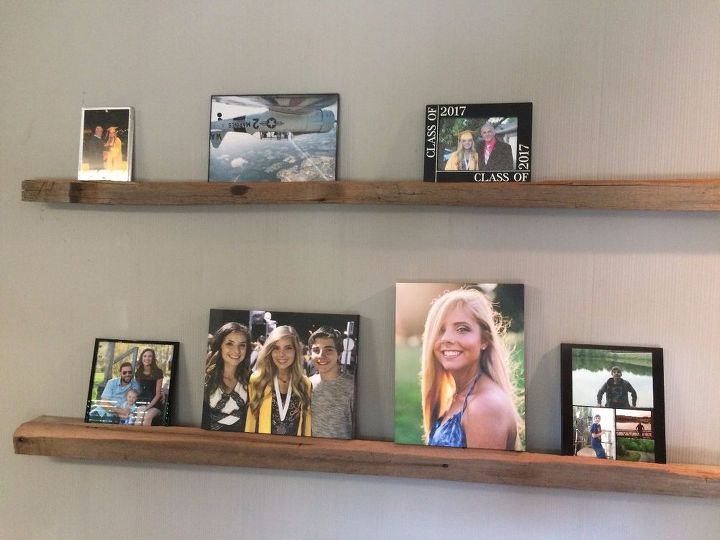
Here are both shelves. The upper shelf is made of a 1x2, the lower shelf a 1x3 (with a 1x2 for suppport underneath). The neutral colors really make the photos pop on this wall, and I don't have to try and get nails all lined up. I did both shelves for around $20 in 90 min or so. I've contacted my oldest daughter for a photo session so I can add just the right canvas print ASAP 
We want to help you DIY, so some of the materials in this post are linked to sellers. Just so you know, Hometalk may collect a small share of sales from the links on this page.
Comments
Join the conversation
2 of 13 comments
-
How cool is that?!
-
LOVE THIS. Not only is it clean, but the flexibility of being able to change displays without making new holes in the wall all the time. Love it.


Frequently asked questions
Have a question about this project?