


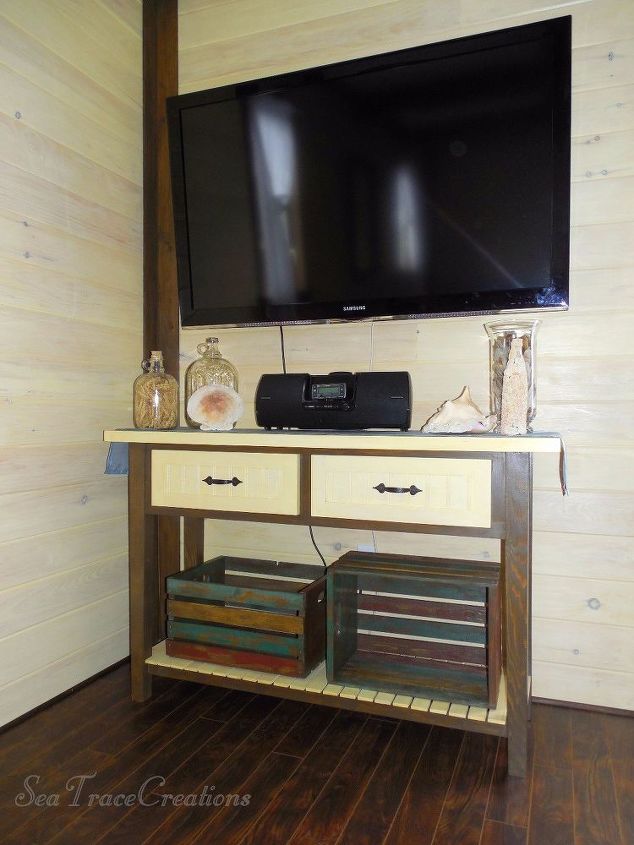
Console Table With an Easy, Unique Paint Finish

We have a large wall mounted T.V in our guest room and we needed a table for other components such as a DVD player and a Wii and so on. Luckily my husband can build an item that I want once he has a picture of it, he's pretty skilled with woodworking.
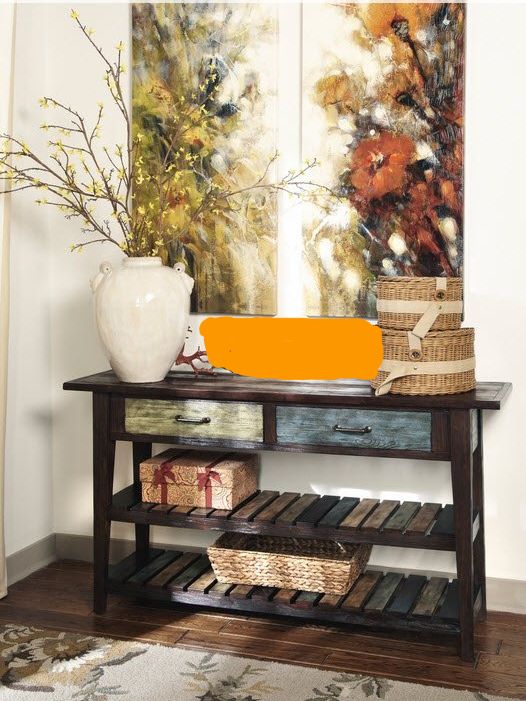
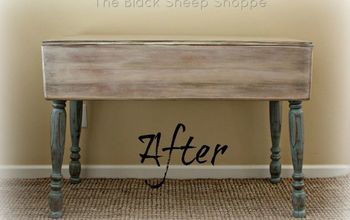
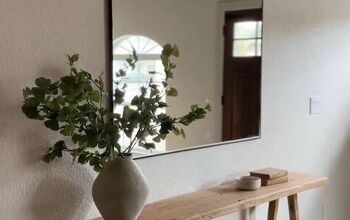
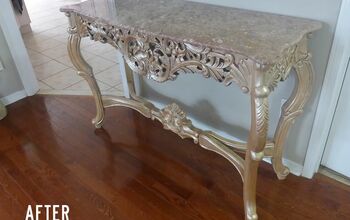
Here's the inspiration piece at that I fell in love with at a furniture store....with a price tag I recall of $600.00 or more! I loved it but my husband knew he could build it and he trusted I could paint it so game on we'll create our own.
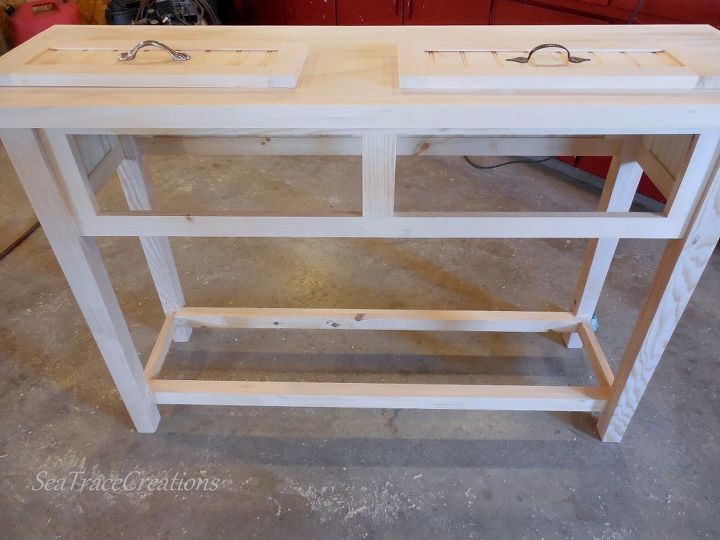
He used scrap pieces of pine wood that we had leftover from our bedroom makeover project to build the table. You'll see it was taking shape with just basic framing, as you can tell he built it and I'm writing the tutorial! I apologize that I don't have measurements or steps of the process because I first got to see it when he asked me to decide on the drawer pulls!
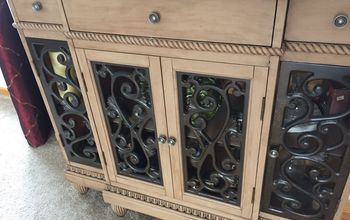
The drawer center is a scrap piece of beadboard left from the bedroom ceiling and it's just framed with pine strips. He built drawer fronts for the table unit but they would be for looks only.
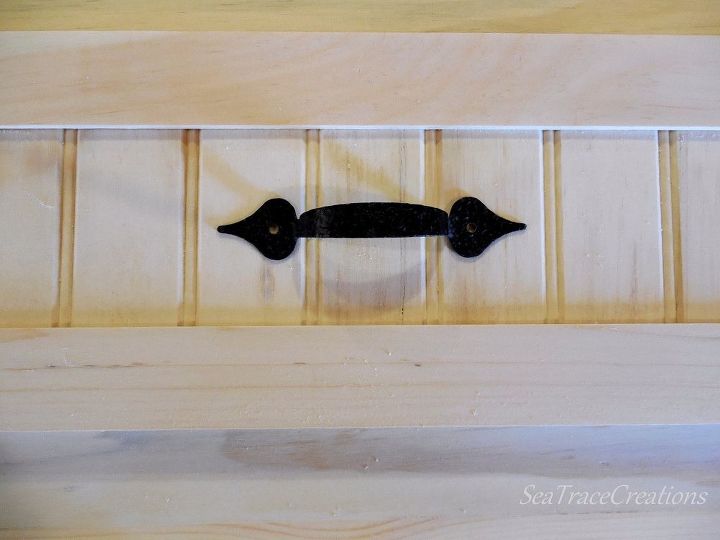
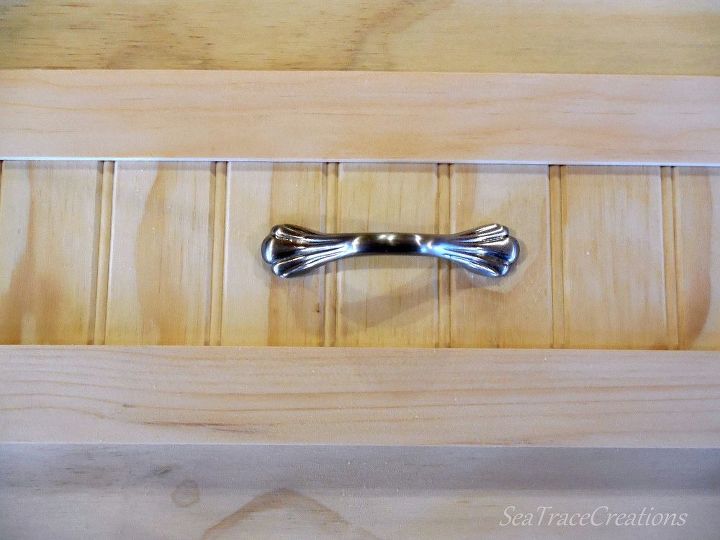
I had to decide on a drawer pull, they were faux drawers but nevertheless they had to look like the real deal. You see we were running low on wood and drawers weren't doable or needed right now.
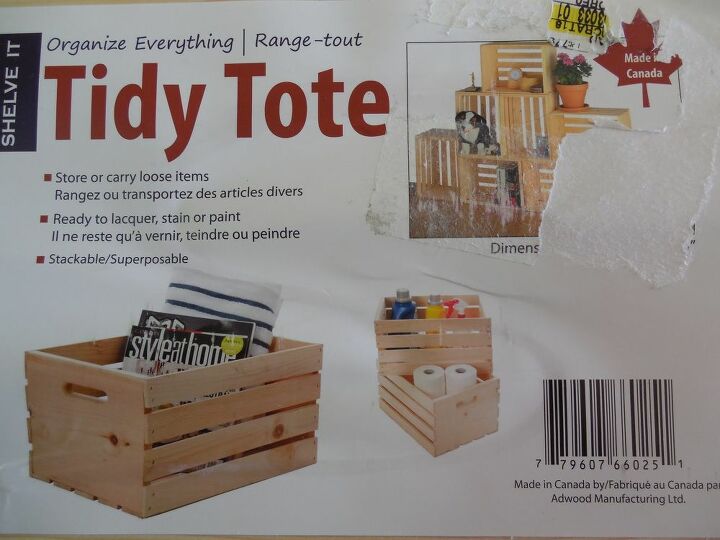
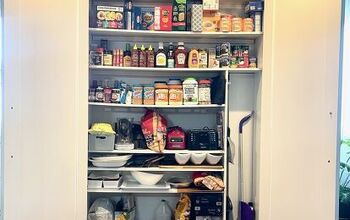
So since we were low on wood materials and I needed storage options??? The easiest, cheapest route to go was to buy a couple of of storage crates, just $10 each! Note....I'm in Canada and that's the price I paid because I know they are cheaper elsewhere.
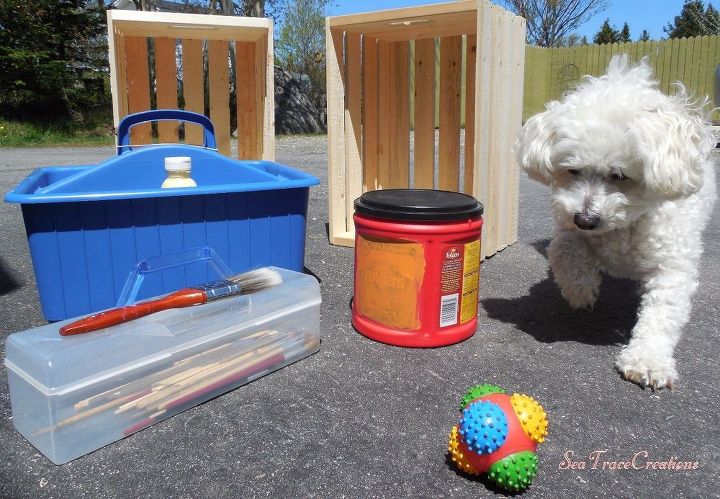
Next comes my input into the project, transforming the wooden crates with my fabulous art skills to get that rugged look the store table had. Problem # 1 interference...lol he always wants to play, when mommy sits... I plays catch with her!😃
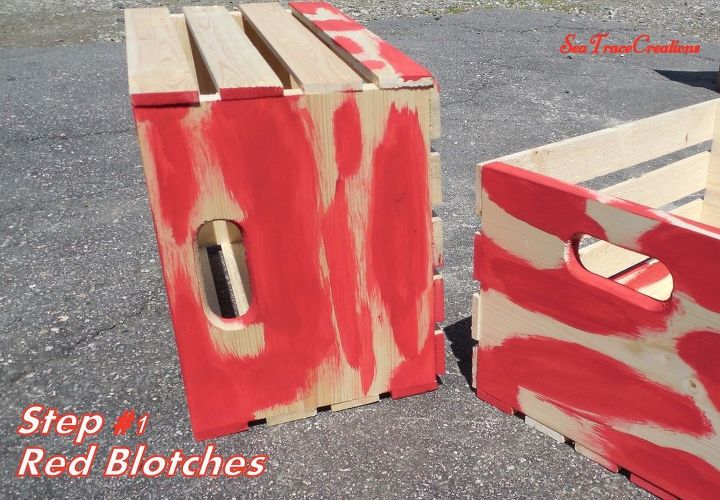
I simply used dollar store paints using one color at a time and painting it on in no particular pattern basically like a pre-schooler would paint... it was fun!
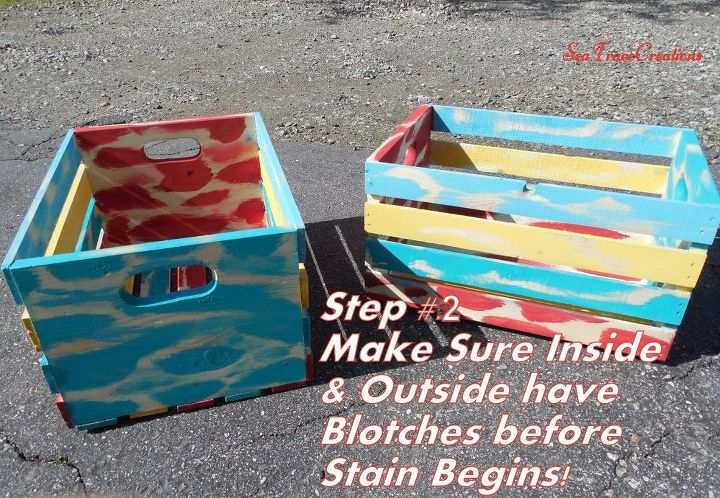
I repeated the same pre-schooler painting techniques with a bright blue and yellow, leaving bare spots here, there and everywhere. Trust me it's not hard and no they will not be this bright once I'm finished with staining them.
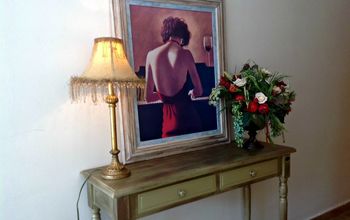
Here are the crates all finished and put into place after they were stained all over in a brown stain and spray varnished to seal it. I used a Min-Wax water based stain in the colors we had leftover from our guest room. The colors chosen were both minwax, coffee for the brown tone and melon for the yellow accents the same ones we used in our room renovation.
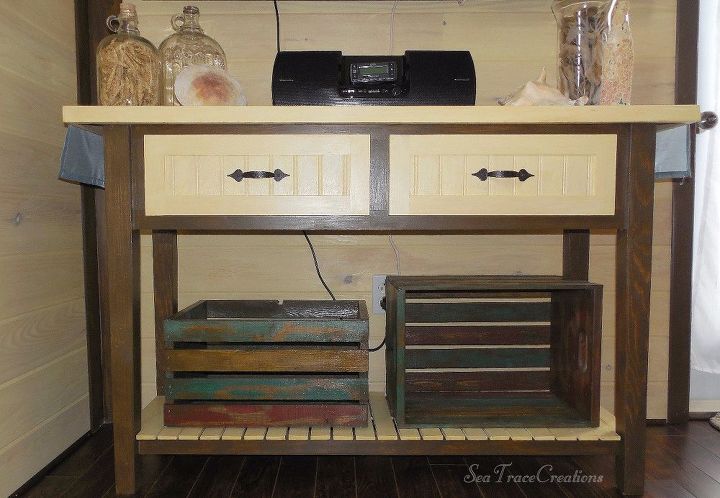
The dark brown stain really toned down the bright crayola colors and the table my husband built was perfect to house the two crates. They provide stylish and valuable storage for books, extra pillows, etc. and they can be displayed in either of the two ways shown. Yay for our teamwork, we accomplished our goal!
Comments
Join the conversation
-
OMG! You just solved a problem I have been wrestling with. I have an older piece that was my Mom's that I have been trying to figure out how to finish. Now I know, thanks for the technique.
Also, I like your stand better than the inspiration piece. Nice job.
-
I"m so happy to learn this technique, thank you!


Frequently asked questions
Have a question about this project?
love that as well, like it better then the original!
tell me are those paintsticks on the bottom shelf, they look like the same width?