


Ugly Tile Cover Up
6 Materials
$26
1 Day
Easy
Cover up some ugly tiles cheaply and easily!
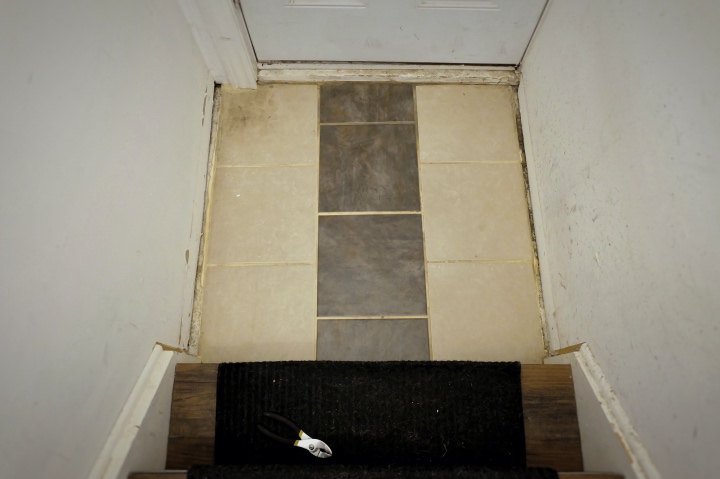
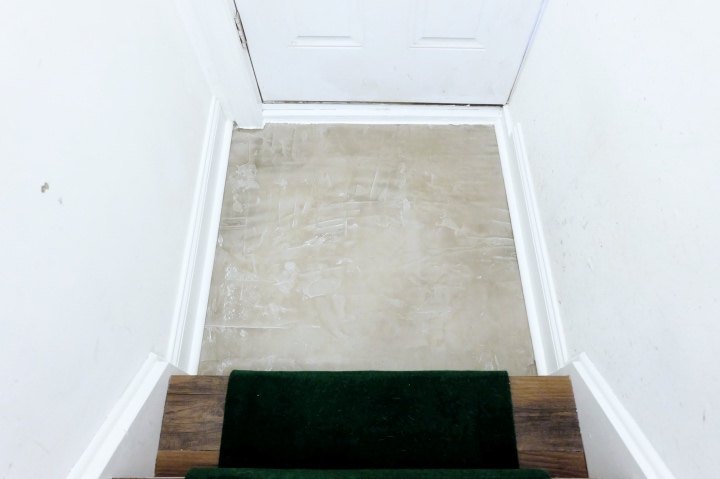
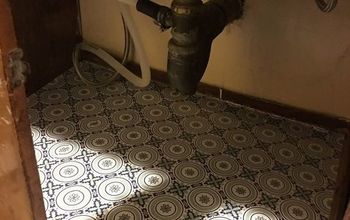
Ok, so at the bottom of our back stair, pretty much our most active in & out of the house area and a total train wreck (please, I know it's a disaster, I'm working on it), were some ugly tiles. On top of that, they're not level, they're all askew, and I didn't like them.
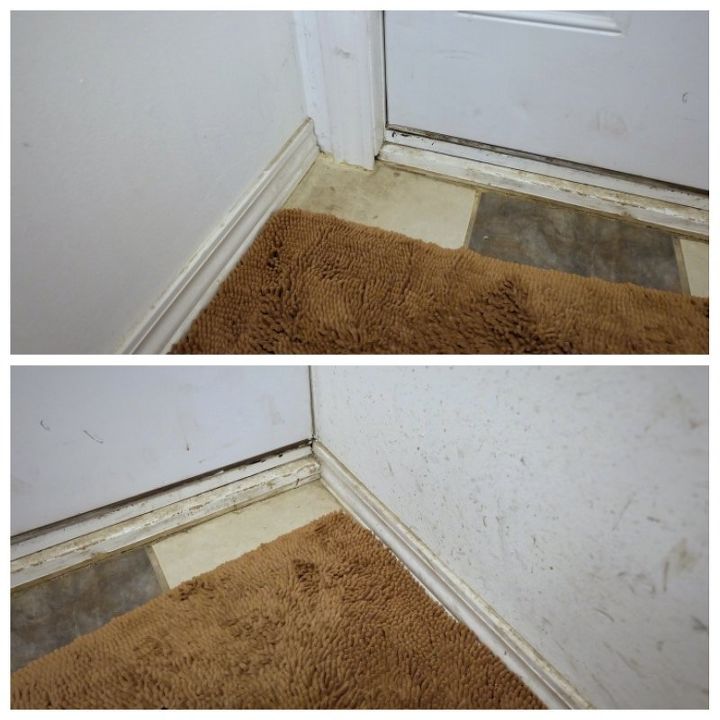
Seriously, I know, it's a massive mess. Hey, husband + dog + backyard right at the back door? It's gonna get messy. Moving on....as you can see here, the flipper we bought from used door casing as baseboard. Likely because anything taller and the in-swinging door would not open.
So all around, this area needs help desperately.
Be sure to swing on by my blog, Flipping the Flip, for more on this story and a whole slew of other great projects!
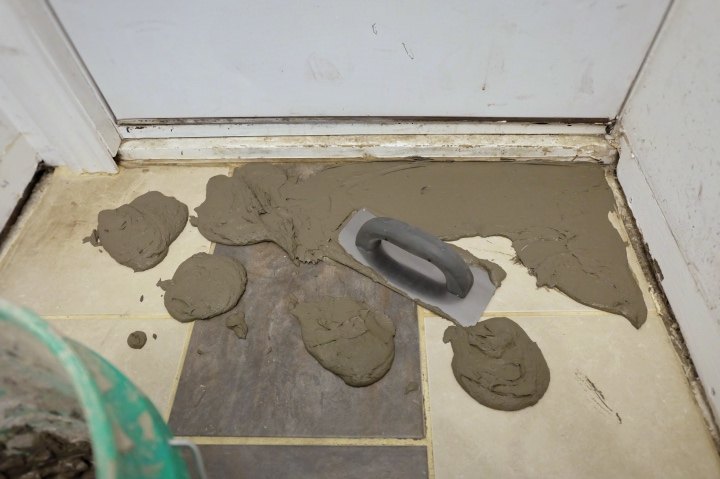
Enter a twenty buck bag of skim coat concrete to save the day. I bought it for this project but also used a small amount on a concrete tissue box cover.
My floor area was about nine square feet which one bag would cover up to about a half inch thick. Perfect!
Now, I'm sure you've seen this skim coat concrete before on counters and other floors. Do note that if you use this in skim layers, it won't hold up in high traffic areas but as I was layering thickly, I figured I had a great chance.
So mix it up in a large bucket, scoop it out, plop it down, and smooth smooth smooth with a smooth edge trowel.
This stuff starts to set up right quick so work fast but also if you're doing a larger area, you may have to do it in batches.
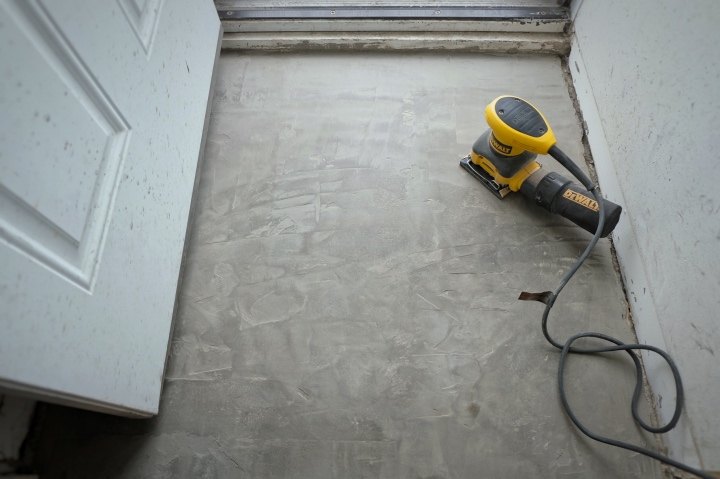
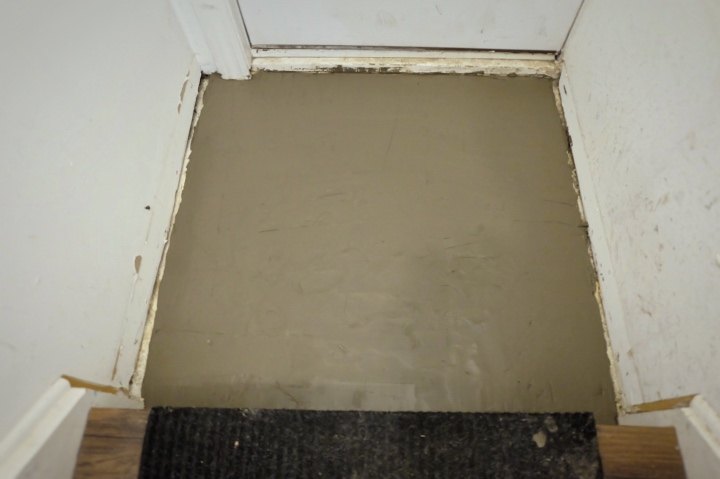
The concrete dried in under an hour (woo hoo!) and the directions direct you to sand the surface within twenty four hours. Dutifully, as I did not get the material perfectly smooth the first go around, I did sand a bit.
It's still not super smooth and perfect but I'm ok with that.
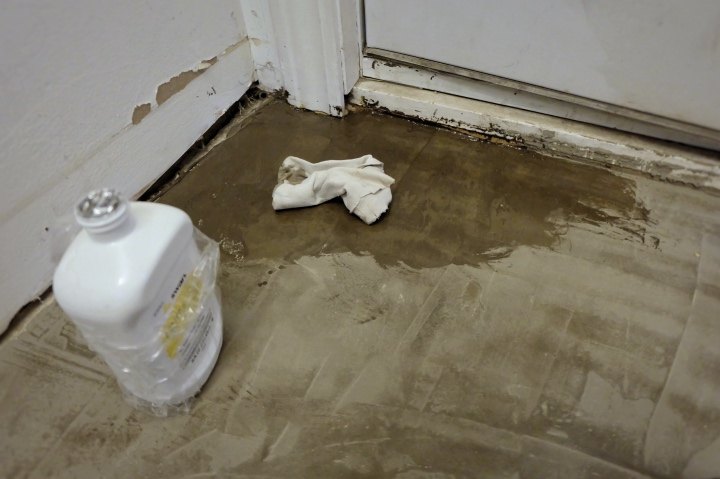
Two coats of mineral oil.....
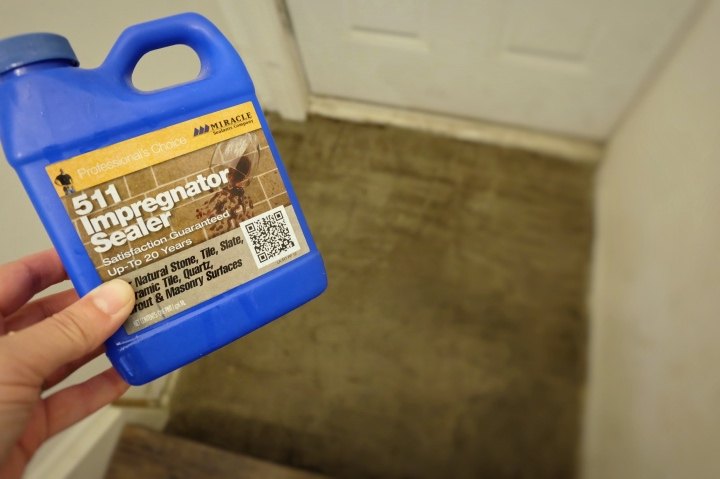
Some concrete sealer and then carnauba car wax buffed all nice over the entire thing......
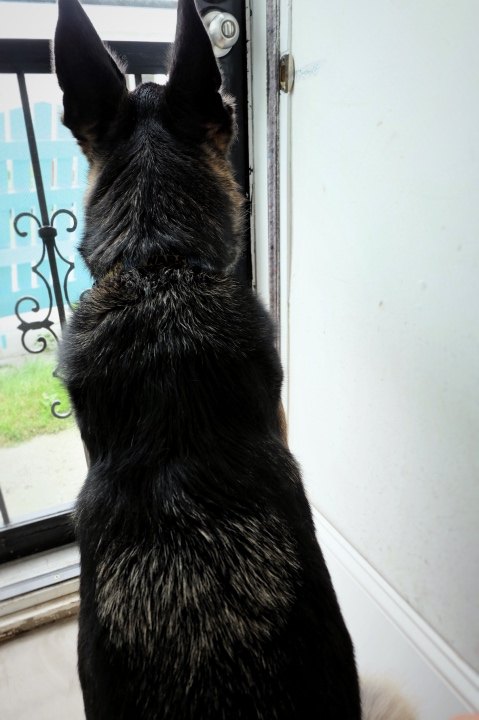
The dog pretending to be helpful plopping his big ol' butt right on the floor.....
And the project is complete! Ugly tiles gone! Cool industrial-ish easy to clean concrete floor in its place for cheap! Yay, perfect!
This post also contains an update to my wood look peel and stick vinyl tile project so be sure to come on by for both stories! Click the link below for all the info.
Resources for this project:
See all materials


Any price and availability information displayed on [relevant Amazon Site(s), as applicable] at the time of purchase will apply to the purchase of this product.
Hometalk may collect a small share of sales from the links on this page.More info

Want more details about this and other DIY projects? Check out my blog post!
Comments
Join the conversation
4 of 90 comments
-
I love that you left it natural concrete color. also it looks like it is not super slick....probably less slick than the tile
-
Nice job, big improvement.


Frequently asked questions
Have a question about this project?
I hope to sand and smooth my existing concrete laundry room floor. Then I would just seal it, right?
Did you use the mineral oil before the sealer?
Can you do a color with this