


Rustic Explore Sign
“We must go beyond textbooks, go out into the bypaths and untrodden depths of the wilderness and travel and explore and tell the world the glories of our journey.” ~ John Hope Franklin
The other day, my adventurous 9 year old son asked for a sign to put in his room that said "EXPLORE" . I didn't really think too much about it, until I woke up this morning and an idea hit me, ..an idea that thankfully came with a huge load of motivation and inspiration at 8:00 a.m. I bundled up and went out to the machine shed to dig out some supplies to create him a sign for his bedroom. Then, as usual in the winter months, I successfully turned my dining room into a messy workshop.
Below are the steps I took to create a rustic 'Explore' sign & how you can create one too!
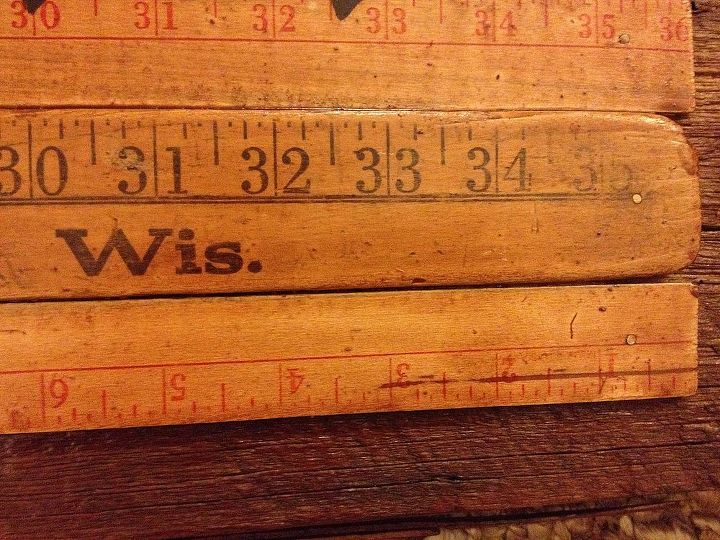
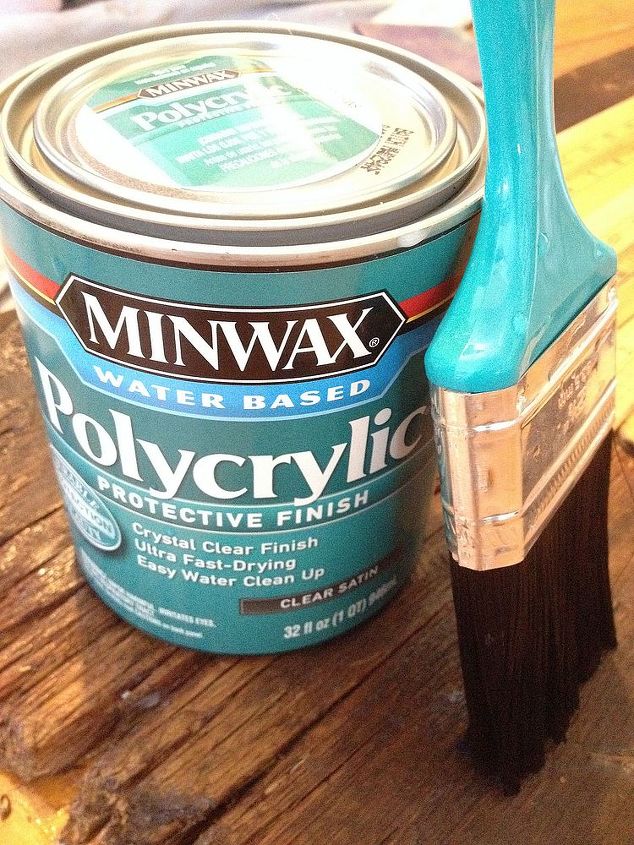
1.) Gather supplies; Barn board, yard sticks, paint, paint brush, Minwax clear water-based satin polyurethane, Minwax stain polyshades (in desired shade, I chose 'Antique Walnut'), small wire nails, & hammer.
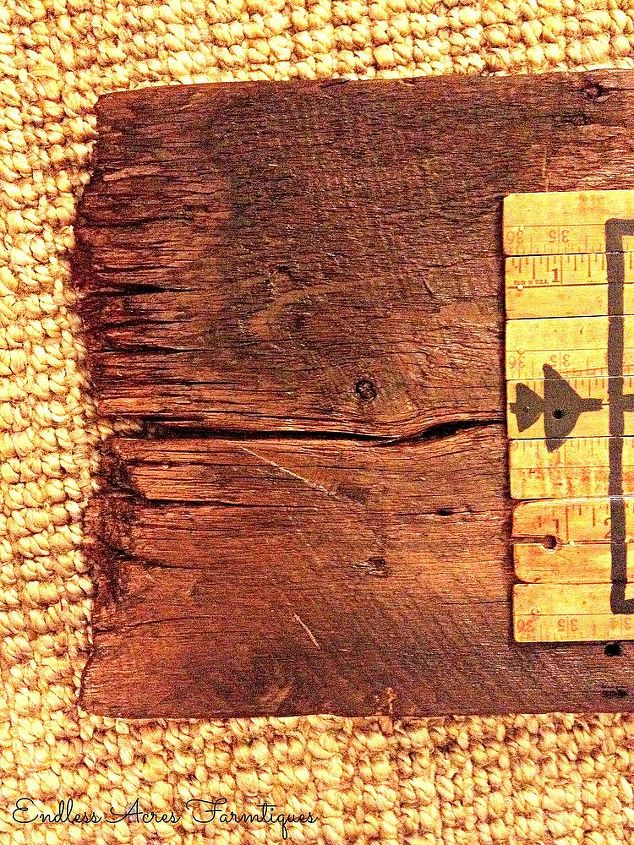
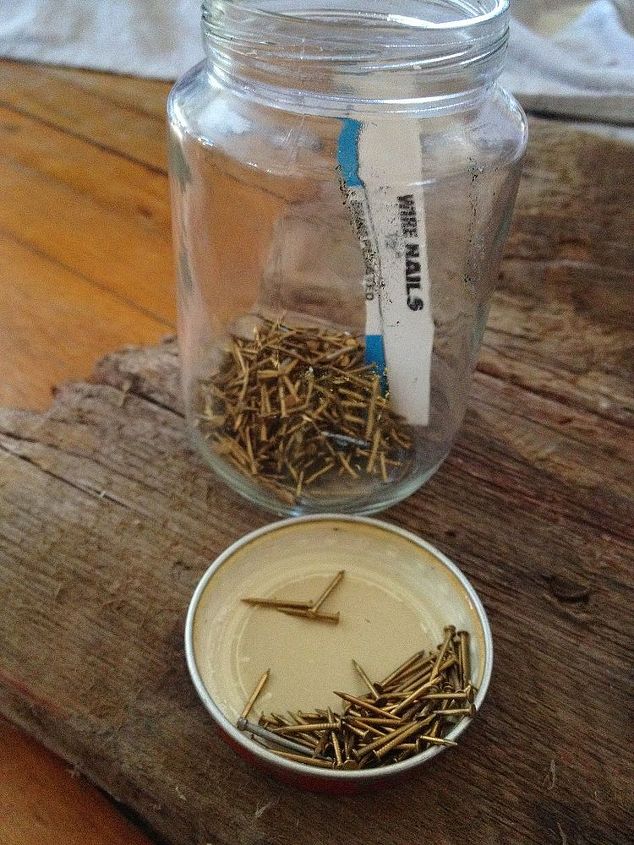
2.) I used small gold1/2" wire nails that were from my Grandpas garage to attach the yardsticks onto the barn board. I turned a few of the yard sticks upside down to give it a not so perfect look. Just the fact that I am using something , even as small as nails, that were a part of my Grandfather, makes my heart happy and feel like I am still remembering him and keeping his memory alive through some of my projects.
3.) Apply Minwax clear water-based polyurethane Satin finish, over entire piece, including barn board and yard sticks. By adding the poly over the yard sticks, it will allow the stain to stay on top of wood yard sticks, instead of soaking into the wood.
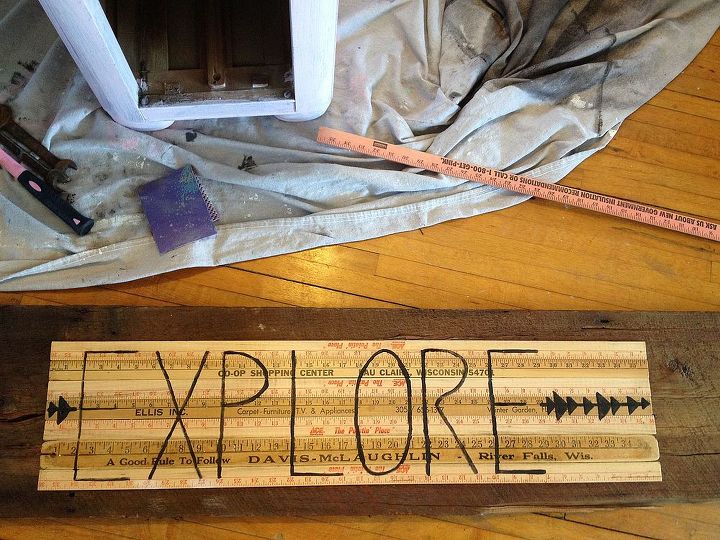
4.) Once the poly is dry, take black paint, and your paint brush and slowly letter the words 'EXPLORE' as evenly as possible onto the yard sicks. This part took me the longest, but patience is key when doing hand lettering and it helped that I was painting on yard sticks, so my letters were easily evenly spaced apart. I reapplied the black paint over the letters 2 times, and the second time I made the letters twice as thick/wide.
4.) After the black paint is dry. Take a brush and apply 2 coats of stain in your color of choice. Adding stain gives the entire piece a nice aged look and really pulls it all together nicely.
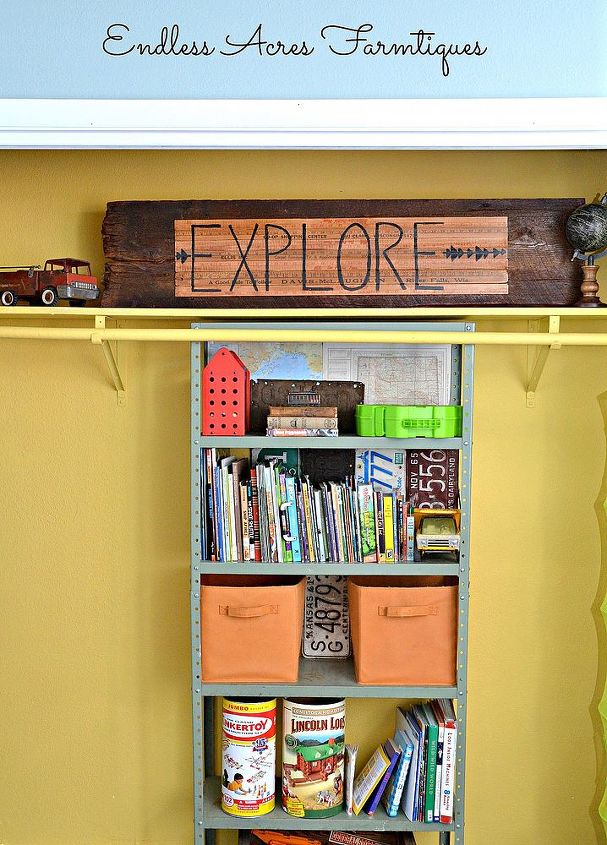
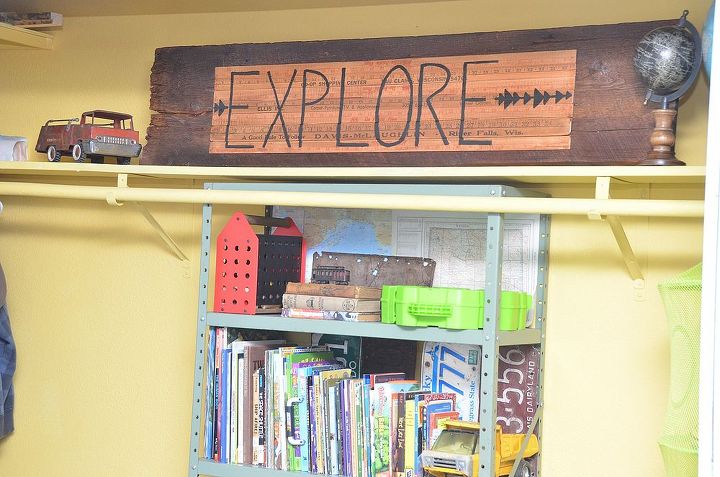
Below is the finished piece in my sons room, Eventually I will add hanging brackets and hang it up on his room, but for now, it will sit on his shelf , and remind him that he should always explore, get outdoors and see the beauty this world has to offer!
There you have it friends! I completed this sign in about 2 hours, for under $20 and I believe that you can do it too! If this seems like something you'd like in your home, but you don't quite have the motivation to pull it off, I am always open to custom requests for many projects I complete like this one.
Have a beautiful evening and thanks for taking a few minutes out of your day to be here on this blog with me tonight!
~Kelly
The other day, my adventurous 9 year old son asked for a sign to put in his room that said "EXPLORE" . I didn't really think too much about it, until I woke up this morning and an idea hit me, ..an idea that thankfully came with a huge load of motivation and inspiration at 8:00 a.m. I bundled up and went out to the machine shed to dig out some supplies to create him a sign for his bedroom. Then, as usual in the winter months, I successfully turned my dining room into a messy workshop.
Below are the steps I took to create a rustic 'Explore' sign & how you can create one too!
1.) Gather supplies; Barn board, yard sticks, paint, paint brush, Minwax clear water-based satin polyurethane, Minwax stain polyshades (in desired shade, I chose 'Antique Walnut'), small wire nails, & hammer.
2.) I used small gold1/2" wire nails that were from my Grandpas garage to attach the yardsticks onto the barn board. I turned a few of the yard sticks upside down to give it a not so perfect look. Just the fact that I am using something , even as small as nails, that were a part of my Grandfather, makes my heart happy and feel like I am still remembering him and keeping his memory alive through some of my projects.
3.) Apply Minwax clear water-based polyurethane Satin finish, over entire piece, including barn board and yard sticks. By adding the poly over the yard sticks, it will allow the stain to stay on top of wood yard sticks, instead of soaking into the wood.
4.) Once the poly is dry, take black paint, and your paint brush and slowly letter the words 'EXPLORE' as evenly as possible onto the yard sicks. This part took me the longest, but patience is key when doing hand lettering and it helped that I was painting on yard sticks, so my letters were easily evenly spaced apart. I reapplied the black paint over the letters 2 times, and the second time I made the letters twice as thick/wide.
4.) After the black paint is dry. Take a brush and apply 2 coats of stain in your color of choice. Adding stain gives the entire piece a nice aged look and really pulls it all together nicely.
Below is the finished piece in my sons room, Eventually I will add hanging brackets and hang it up on his room, but for now, it will sit on his shelf , and remind him that he should always explore, get outdoors and see the beauty this world has to offer!
There you have it friends! I completed this sign in about 2 hours, for under $20 and I believe that you can do it too! If this seems like something you'd like in your home, but you don't quite have the motivation to pull it off, I am always open to custom requests for many projects I complete like this one.
Have a beautiful evening and thanks for taking a few minutes out of your day to be here on this blog with me tonight!
~Kelly

Want more details about this and other DIY projects? Check out my blog post!


Frequently asked questions
Have a question about this project?