How do you use a Krueger Jig?
Related Discussions
How do you use CPAP tubing when you are ready to discard it?
People on CPAP machines change the tubing at least twice a year. I have been throwing it in the garbage does anyone have ideas of how to reuse or cut it up for other ... See more
Do you have any good ideas for crafts using leftover deck spindles?
I have left over spindles and was wondering how I might use them.
Chair rail height?? At the sill or below or around?
I am running chair rail around a bedroom. The marble sill is 40" from the floor the window is 39" high. Putting printable wallpaper on the bottom. Painting the botto... See more
Best nail gun?
I am very new to working with tools and am wondering what the best type of nail gun I should buy to work with pallets. I am interested in redoing a wall with pallets ... See more
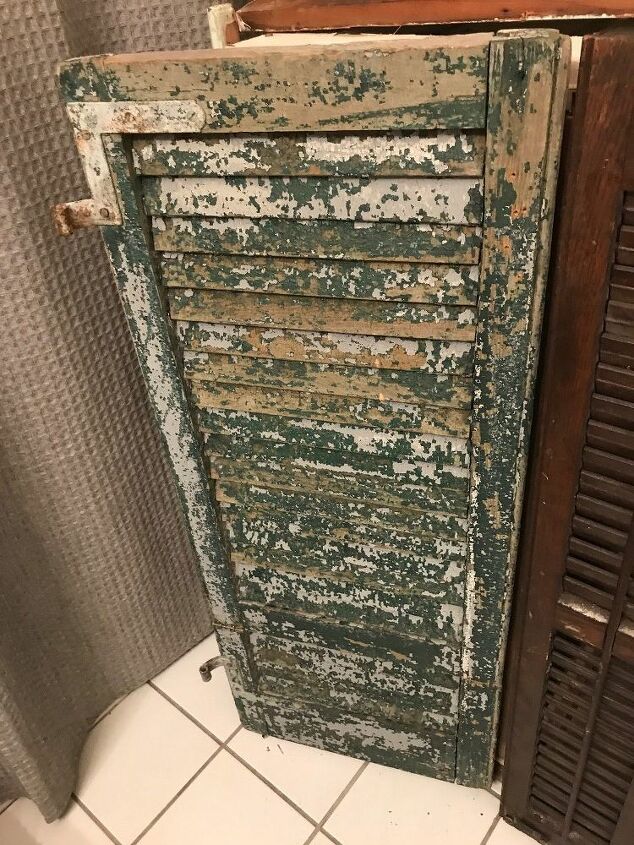
How can I seal old chipped wood?
I have a few amazing pieces that are old and the paint is chipping. I love them just the way they are but hate the flakes that constantly come off! What to do so it'... See more


STEP 1: SET YOUR DRILL BIT COLLAR.
The Kreg system ships with a special drill bit and collar to use with the jig. This drill bit is actually two diameters in one. The small section is for drilling a pilot hole for the screw and the larger section is for drilling out enough clearance so that the head of the screw can be hidden inside the wood
try this video https://m.youtube.com/watch?v=RYyYR1p-5vU
The Kreg drill bit has a collar that slides onto the back of the bit. This collar stops the drill at just the right depth so that you don’t end up drilling too far.
Take the collar and slide it onto the back of the drill bit shaft. The jig has two channels on either side of the clamp with measurement markings that correspond to different board thicknesses. Place your drill bit into the channel with the measurement markings for your specific board thickness.
Slide the drill bit forward until the large section of the drill bit lines up with the measurement mark that you need. For example, a 1.5” thick board would be lined up like the picture below, which is all the way into the channel.
Finally, slide the collar up until it sits properly in the body of the jig and tighten the set screw on the side of the collar using the Allen wrench.
STEP 2: SET YOUR HOLE HEIGHT.
Now that your drill bit is set to the correct depth, you need to move the angled guide holes up or down. This adjusts where the drill bit will actually enter the wood. The goal here is to have the screw come out right in the center of the board for the strongest joint.
The K4 makes this adjustment really easy because it has markings on the side of the tower piece that correspond to the board thickness. Undo the thumb screw and slide the tower up or down until you find the marking that corresponds to your board thickness. Once you have the measuring mark lined up with the side of the jig, lock the thumb screw into place.
STEP 3: SET YOUR CLAMP DISTANCE.
The final step to set up the K4 is to adjust the clamp foot so that it holds onto the board securely. Insert your board into the jig and twist the clamp foot until it comes in contact with the face of the board.
Now, push the lever on the clamp forward to clamp the board in place. If it still feels a bit loose, you can adjust the foot a little to increase the clamping pressure.