


Reupholstering Dining Chair Seats

by
Judy
2 Materials
$85
4 Hours
Medium
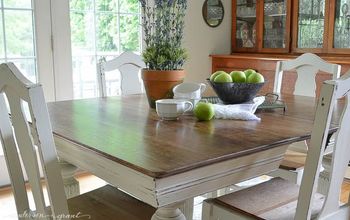
I finally found a dining set that I like on the facebook market place, yard sale site.
However, the cushions on the chairs were so disgusting and dirty they had to be redone.
I have covered chairs before but not where I care this much.
I will explain the steps in each picture.
New material for the chairs. 50% off coupon at the fabric store was a must for savings. Screwdriver to pry up any misplaced staples. Hammer to drive in any staples sticking up. Good material scissors and binding tape to prevent the material from tearing. This material is a cardboard paper like tape you place where you will staple. I did it want to spend $17 for that so I used a duct tape strip I had from anothe project. It's super strong and stuck where I put it. It was really great and didn't move.
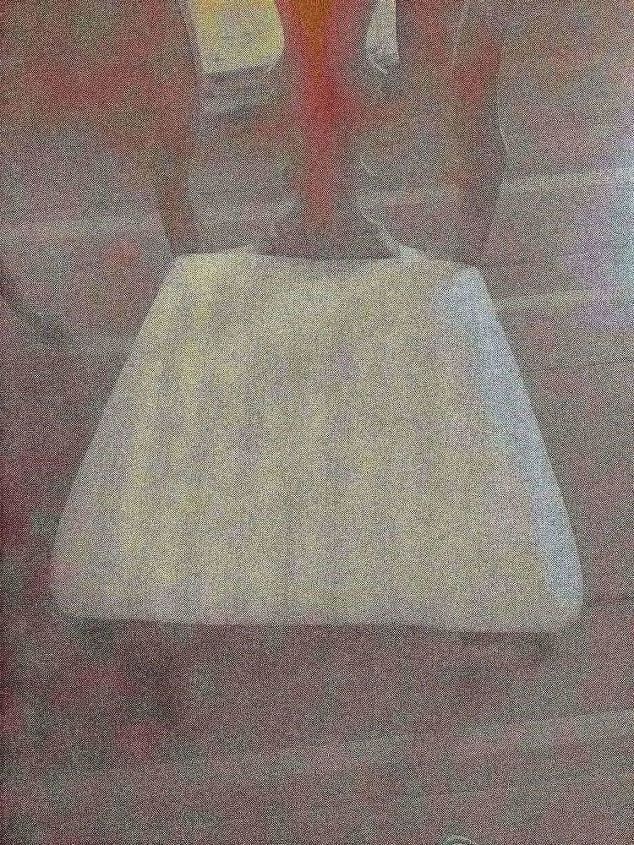
Dirty chair and seat pad. I unscrewrd the seat and carefully took off the pad underneath. Since we made new chair supports where the pad goes into I didn't need to undo the staples on the origional seat. Other wise use a staple remover or screwdriver to pry up old staples. The old seat cushion base had a hole in the middle with strapping for support. Everyone who sat down hated the ridge you felt and the hole you sat into. It was very weird and uncomfortable. The cushion part was still great so that is reusable. Use the original seat base as a template cut new base pieces. My husband sanded the edge on the side that touched the seat pad. He thought over years of rubbing he didn't want the edge to cut into the pad or material. That was a great idea. As I started stapling material down I noticed the padding just went nicely around the base and didn't stick out or bunch up. It was a great idea on his part.
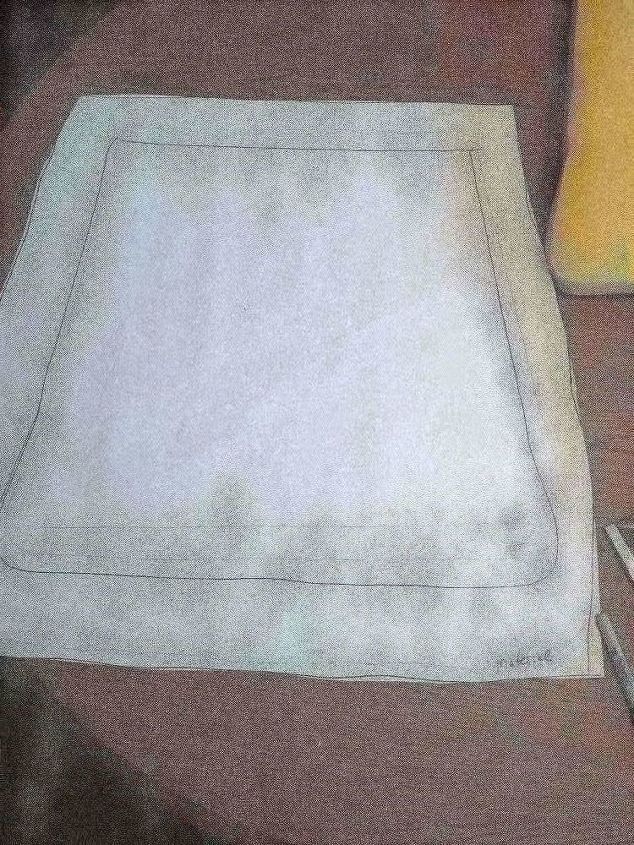
I used wrapping paper to make a pattern. First I traced the chair base, then pad then the material that originally covered the chair. I wanted to see the overlap needed to staple material to the back. Keep in mind the thickness of what you are covering to allow enough material.
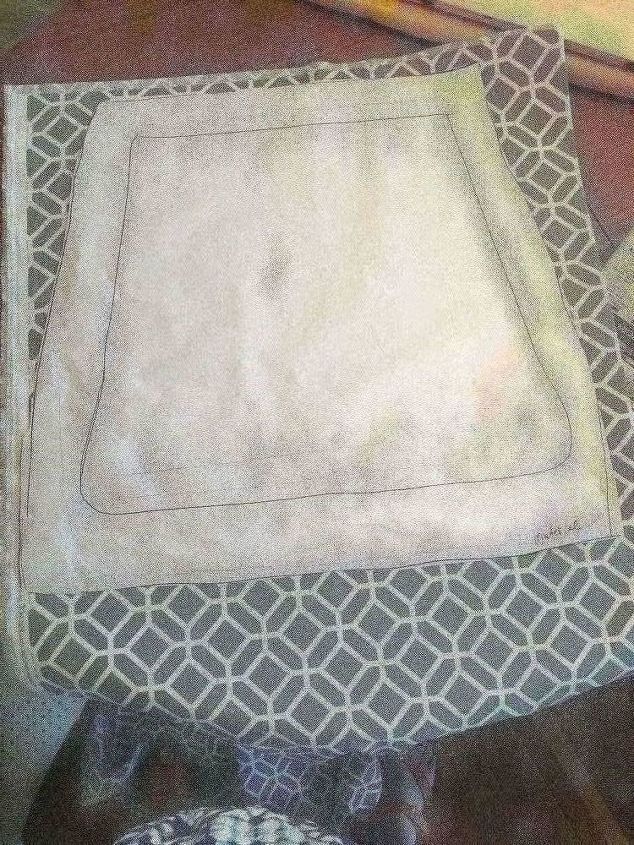
Place the pattern on the material. Make sure for each cut that the direction of the material is in the exact same direction & position. This one had lines that I used that as my guide for cutting and lining up the material before stapling down.
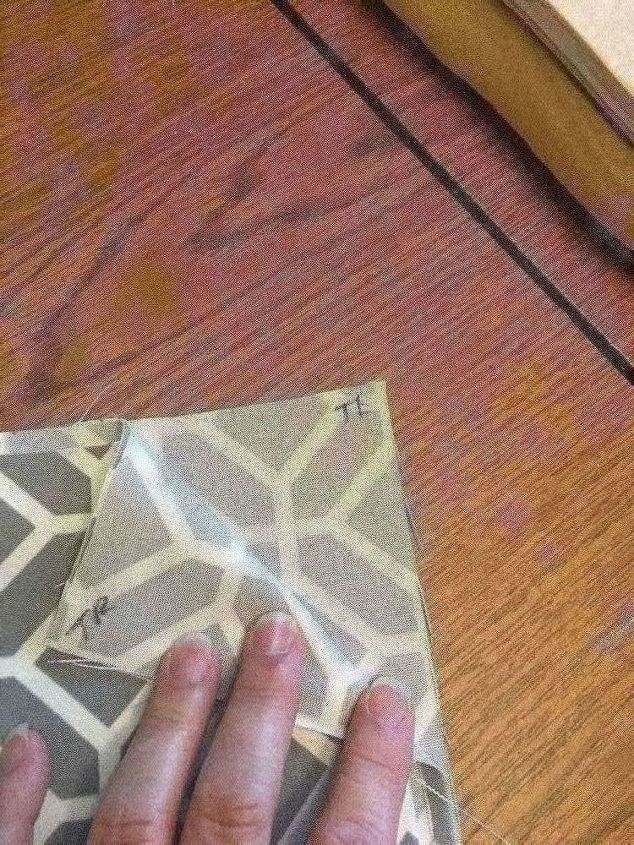
I labeled each corner so I knew the direction they we going in. You could just put a dot so you know that is the right top corner.
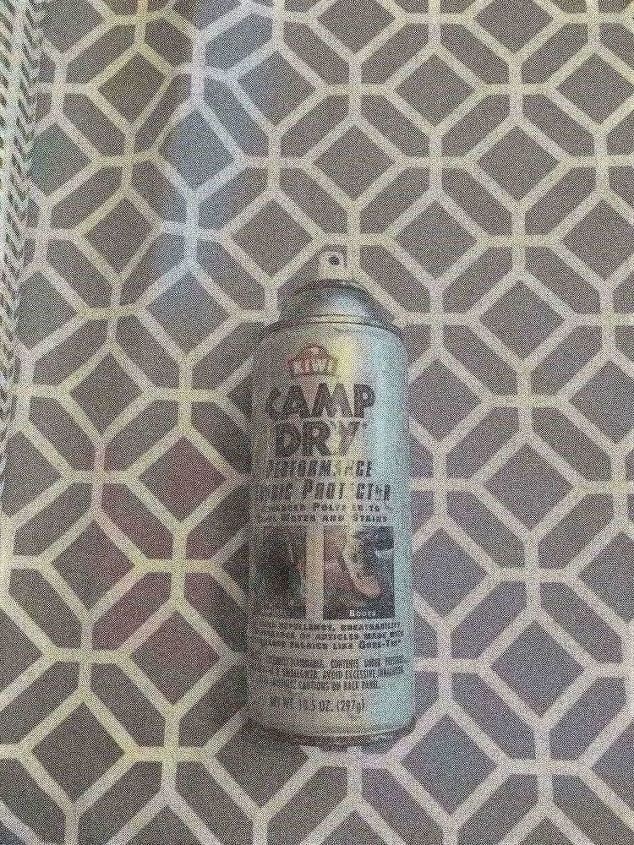
I remembered to spray the material for spills and stains. Luckily, since I thought of this last minute I had some on hand. Read the directions. I did a thin coat outside and let them dry a few minutes. This stuff stinks so do it outside in a ventilated place.
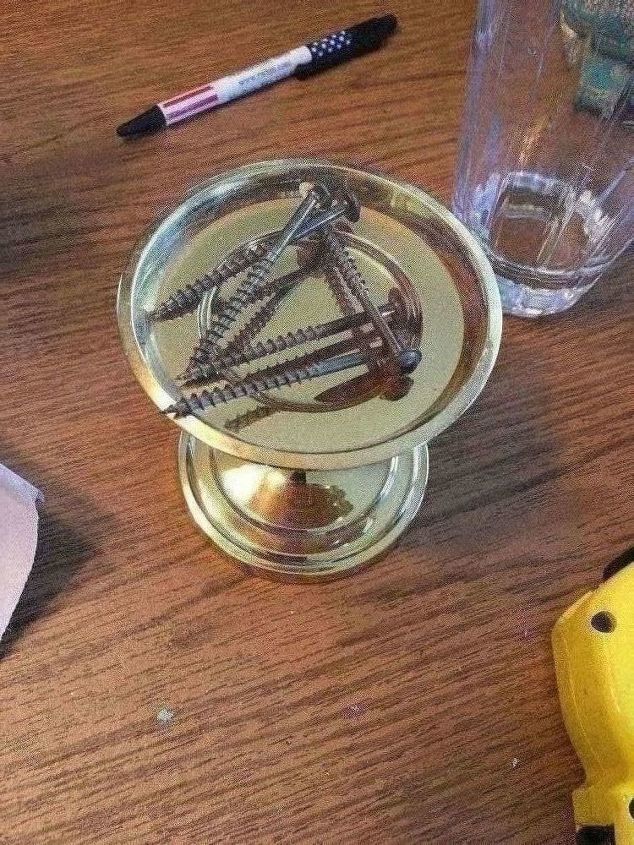
Keep your screws in one place for easy retrieval.

Now the fun and tricky part. Get the pad, base and material lined up. I used the lines in the pattern to get it straight. Make sure you have equal material on each side.
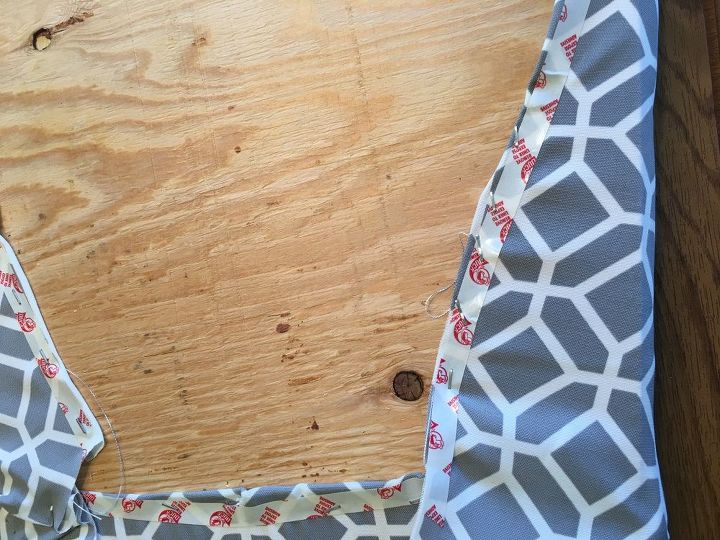
In the center of the top, pull taught and staple. And then Bottom do the same. Then each side, one middle staple. This ensures equal and taught material evennes. Proceed to finish each side stapling every 1/2 inch. I stapled ontop of the tape you see in the photo to prevent tearing or fraying.
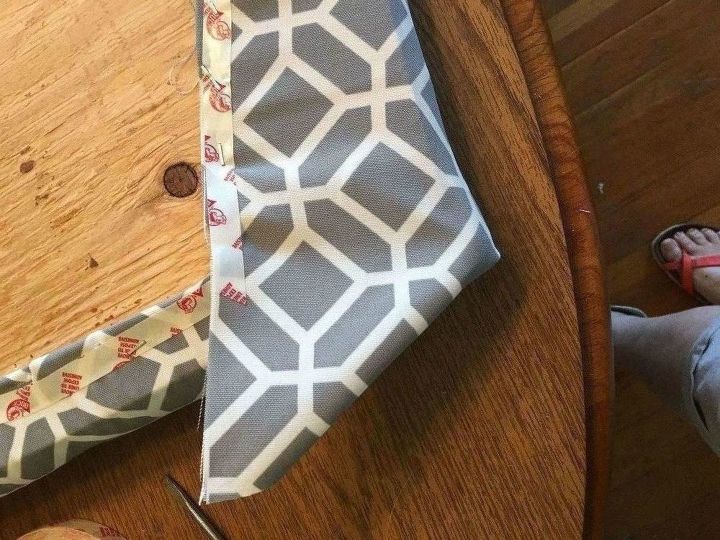
Corner time. This is where you can screw this up or make uneven. There are a few different ways to make corners. My first attemp before I stapled gave me square corners and my chairs are rounded so that looked funny. My advice is to look before you staple. Pull the material smooth and staple in place.
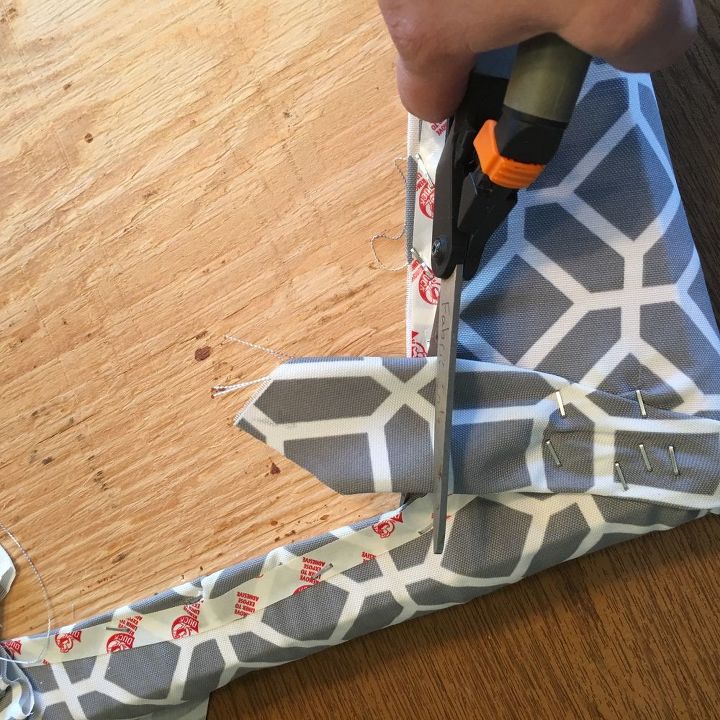
As you see, I stapled the dickens out of this and it was not moving. I pulled the material smooth on the corner so it didn't make a defined corner with lines or edges. It took some doing and pulling but I got it all smooth. Cutting off the excess in the corner will help when it gets screwed back into the chair.
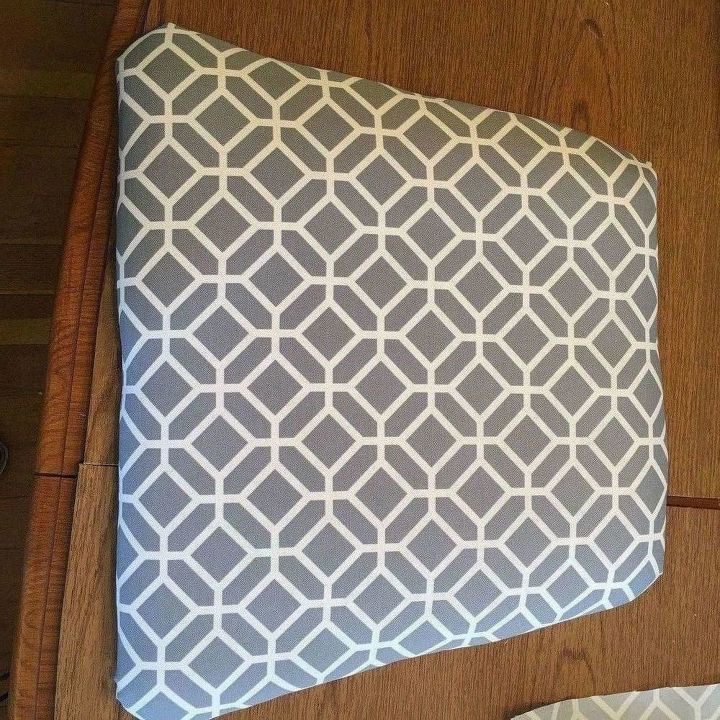
It looks nice and even.
One chair down.
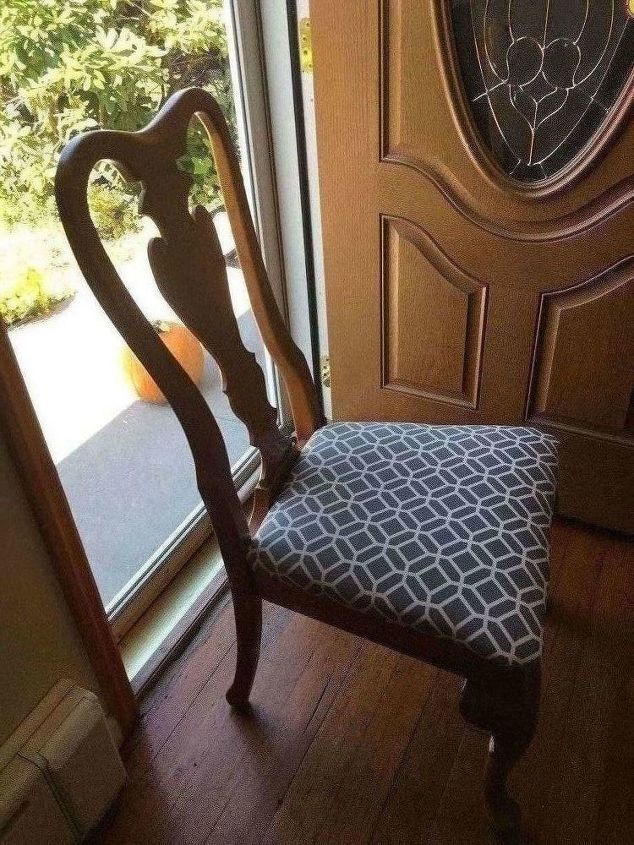
Making sure they are even before screwing them into the seat. I am beyond thrilled with the results. Taking the time and cutting, measuring, staple and moving slowly but evenly makes a huge difference.
I now have an updated dining room set.
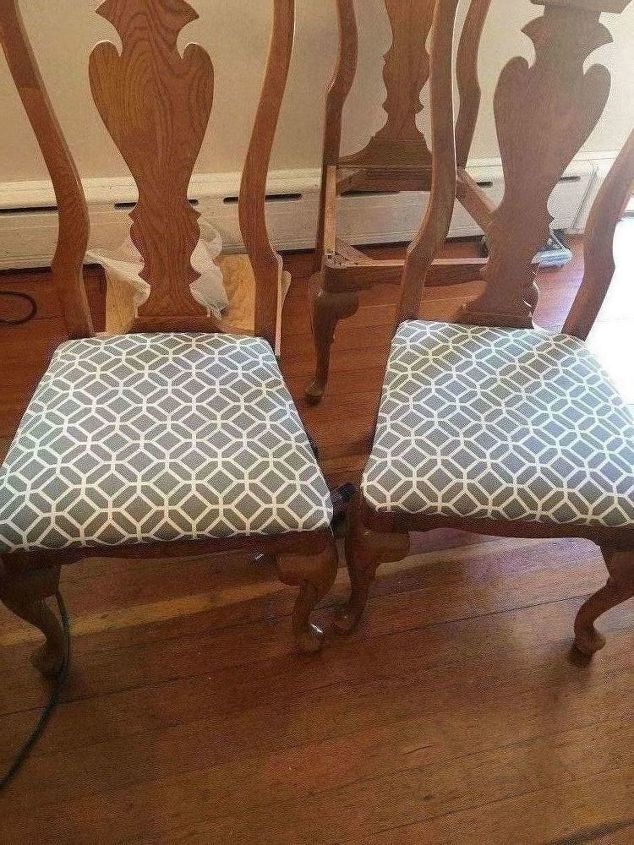
6 chairs done and I have extra material for replacing a set if I need to or a new project.
Comments
Join the conversation
2 comments
-
Wow, job well done! I'd say that looks professional!
-
I don't know why the photo quality uploaded differently but I can seem to change it.
Only additional advice is to use upholstery fabric. This is thick enough to be stapled and won't rip.


Frequently asked questions
Have a question about this project?