


Paint on Vintage Sheet Music ~ A Tutorial

by
Barb Rosen
3 Materials
3 Hours
Medium
Make your own art with some vintage sheet music! It isn't as difficult as you might think!
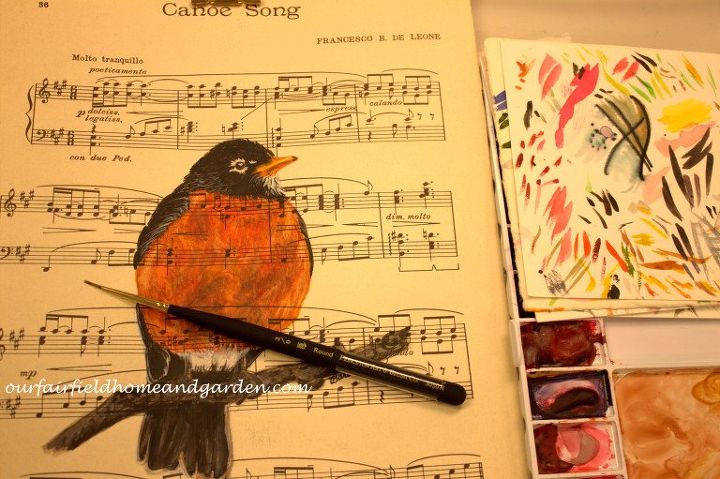
American Robin in watercolor on sheet music.
First, find a good color photograph you have taken yourself or downloaded on-line. Make sure to only use others' images with permission. Either ask the individual photographer or use images that are listed as free to download, such as Shutterfly. (Just Google "free bird pictures" to find lots!)
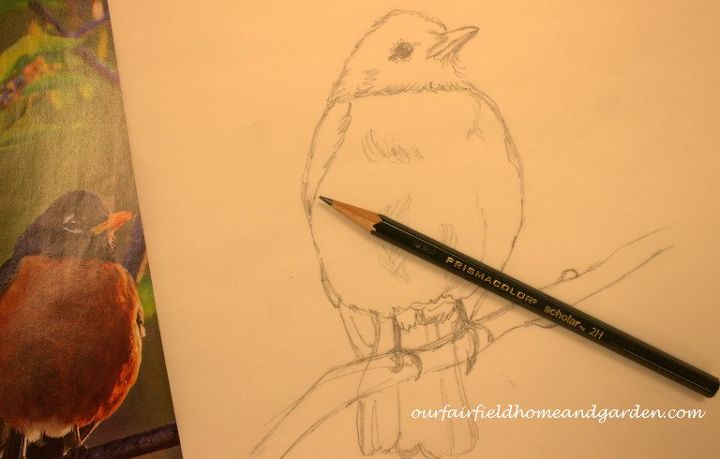
Draw your image on transfer paper
Use this photo to make a sketch onto a sheet of transfer paper. If you have difficulty drawing, lay the transfer paper over top the photo and draw the body outline and eye placement to get started.
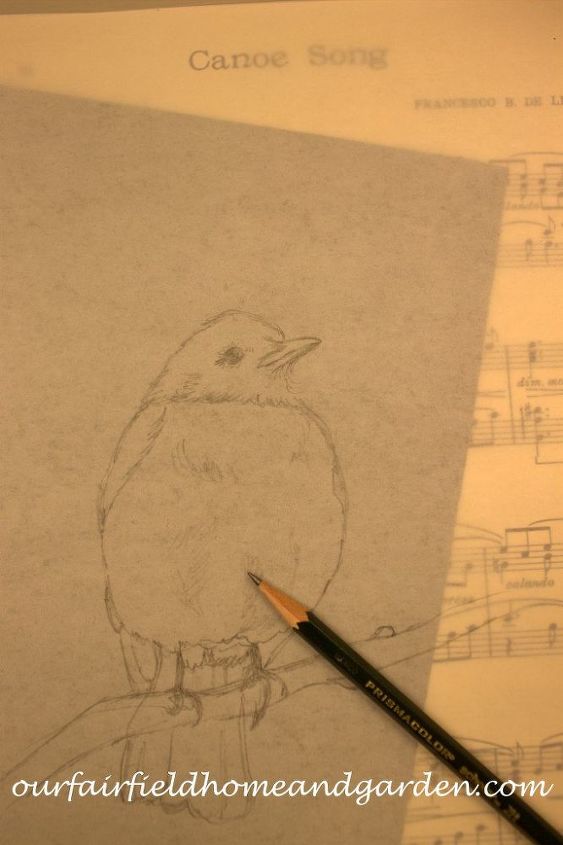
Use carbon paper to transfer to sheet music.
Sandwich carbon paper between your sheet music and transfer paper, paying attention to where the bird's head will appear on the sheet music for best effect. Tape or clip the three pages together on a sturdy surface so they will not shift.Retrace your drawing with a sharpened 2H drawing pencil (a trick I just leaned was to use a red pen so you can keep track of your tracing). Periodically check to see how the transfer is going onto the sheet music.
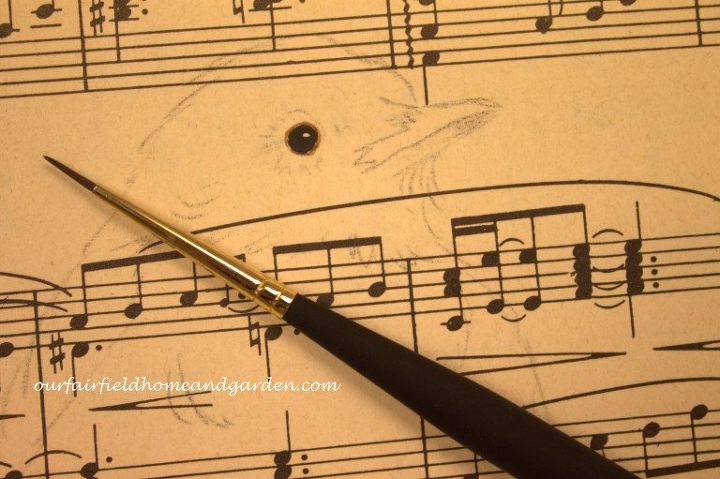
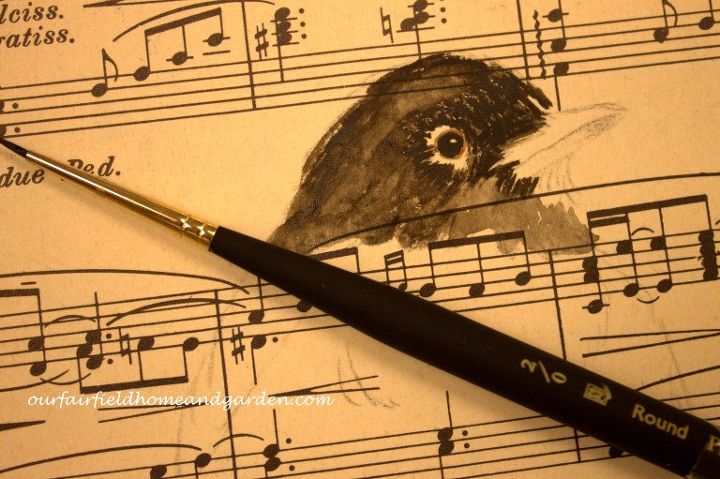
Image transferred, now paint the eye!
You may like to start elsewhere, but I always begin with the eye. Note where the highlight is on the eye and apply black watercolor paint, leaving the highlight area blank. Don't be concerned if you cover the highlight. When the paint is dry, you can apply white guache watercolor paint for the highlight.
Color wash and feather details!
Apply a very light wash (black watercolor mixed with water so it looks more gray than black) on the head areas with a #6 brush. Be sure not to wet the paper very much as old sheet music accepts the paint differently than watercolor paper. If you have some more vintage paper, practice this step first.Using a #00 brush, I then make many, many little strokes to suggest the feathers. Consult your photo to determine the direction the feathers lay.
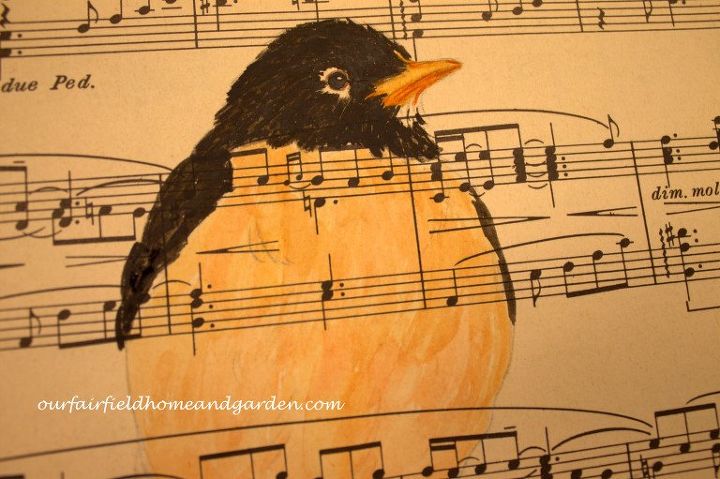
Use this same process to complete the bird.
Now the basics are in place and you are ready to paint in the feathers of the Robin. Remember to use your color picture as a guide while mixing multiple colors to create depth and shading. Don't ever use just one shade or the paint straight out of the tube. Mother Nature has many shades and so should you!
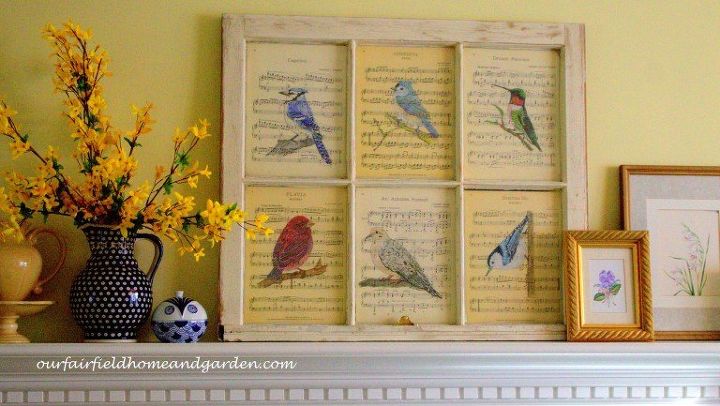
Use an old window to display your artwork!
Frame and display your artwork inexpensively using an old window! Once you get the hang of it, use the same techniques to draw and paint any birds you like. As in all things, the more you practice, the better your paintings will be. Seeing the progression of your skills is as pleasurable as the wonderful artwork you produce. For more detailed directions and pictures and to check out some of my other paintings, click on my blog link below. Thanks for reading! Barb Rosen of Our Fairfield Home and Garden
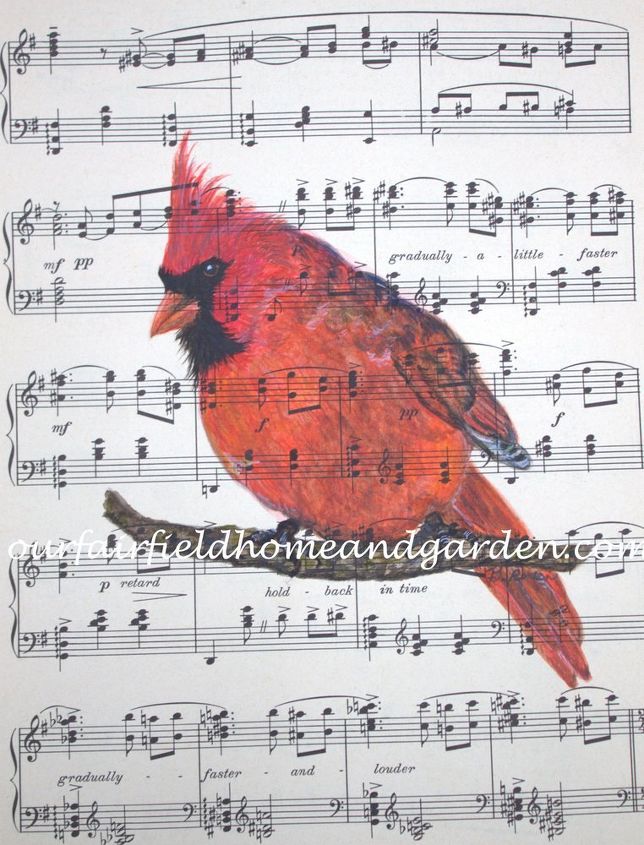
A Male Cardinal on vintage music!
Our Fairfield Home & Garden is having a holiday shopping print sale! Go to: http://ourfairfieldhomeandgarden.bigcartel.com/products Buy two prints and get $5.00 off your entire order (shipping is free). Sale runs through December 15th. Just add the discount code: HOLIDAYGIFT when you check out!  Barb
Barb
Barb
Want more details about this and other DIY projects? Check out my blog post!


Frequently asked questions
Have a question about this project?