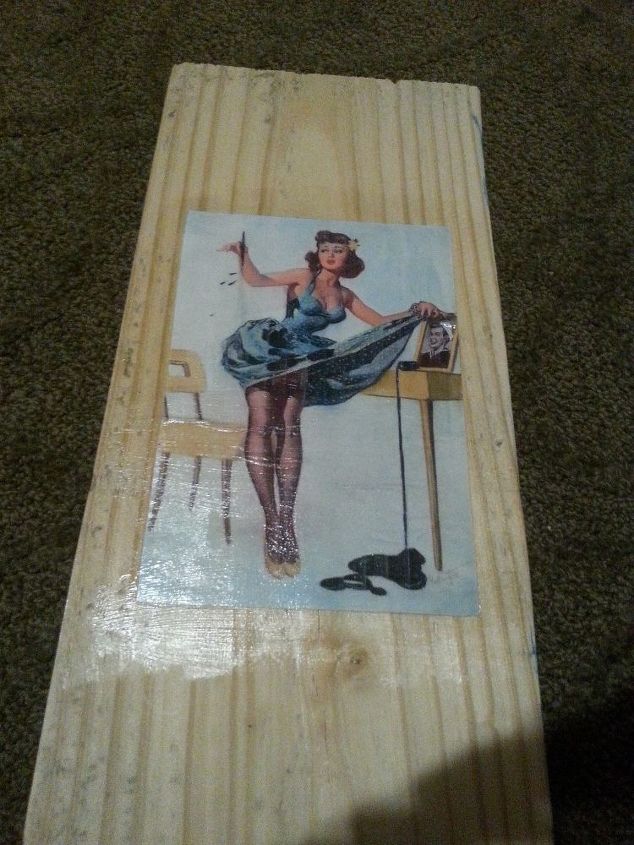
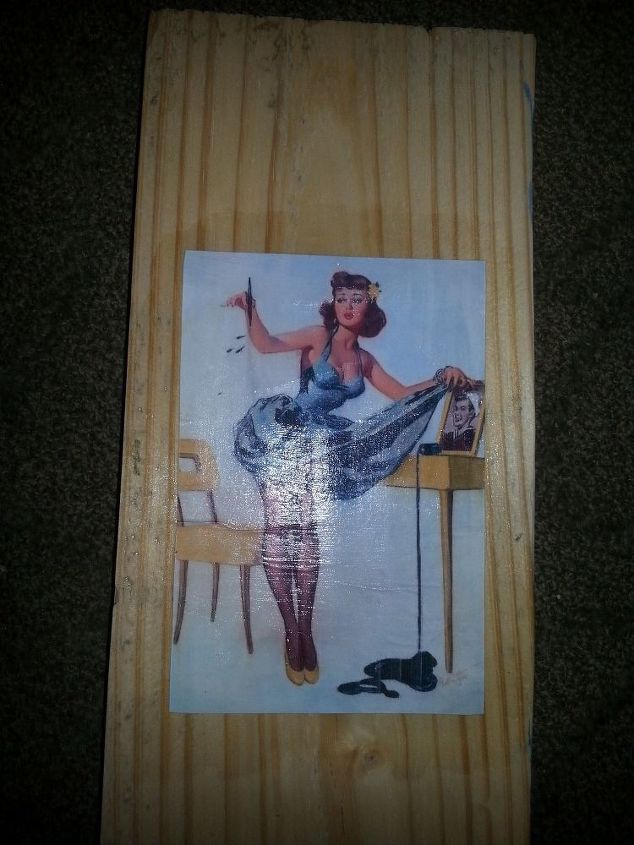
Notice shininess from glue?
Never used ModgePodge before

by
Gypsy Queen
+24
Hi Folks! Need some input on how to finish this project. Can I sand over this? The photo is from an inkjet printer. How do I get the modgepodge off from around the photo? Should I just coat the rest of the board front with modgepodge to make it consistant?
Your input would be appreciated. Thank you!


Great idea but what was your original intension? I would just mod podge the entire board for consistency then embellish and lean or hang. Being your first mod podge project, you are just learning. I would have stained the wood slightly first, then mod podge the image. Does that help any?
Yes, I see the shiny around the picture. Yes, I would either put the modge podge on the entire board OR put a frame around the picture to hide the shiny part. Either way, that is a very awesome pic.
I would buff off that shine with 0000 steel wool, and then redo with Satin Finish Modgepodge
The Mod Podge you use has a high luster. If it is the shine that bothers you, then I would go over it with another layer using the matt finish Mod Podge. Sanding at this point would most likely remove the picture as well as the Mod Podge. You could try to give it a very light sanding with a high number (300+) sanding paper but try it first on the edge where you have no picture.
They have a matte sheen spray at the home stores that would take down the shinyness. I don’t think I’d sand it but I would mod podge the whole thing. That’s what keeps the paper attached. Have fun the pic is adorbs.
The stain won’t take unless you have raw wood.
Oh, well if it's just the wood, then I think it would be no problem to either sand it steel wool it. Either should work. But yes, it does come in Gloss-Luster and Matt. Might even have a satin, not sure about that.
If you plan on doing four of these, get the wood cut for all four at one time. Use your first shiny one as a practice run, or use the back of the same one with a new print. If you want the four to match, set up an assembly line. Cut the wood, sand the wood, add hangers, stain the wood, Modge Podge the boards where the prints will go. Carefully place the prints. Brush a light first coat over the prints. (Use the non-glossy MP if you don't want a glass-like finish.) When that coat is dry, brush on at least one more coat. To add more coats, finely sand the previous coat, then smoothly brush on the MP. If you want an aged look, add a very light coat of stain or yellow-brown paint, streaking some of it. Hang them on the wall! 😇💖
Jewell, Thank you! I will try that. This was just my trial run. But I do love how the print looks.
I too was a little intimidated by trying Mod Podge and I had a favorite picture that I wanted to use. Take a deep breath and GO FOR IT! Get a sponge paint brush, center your picture and spread thin layer of Mod Podge over it. Let that coat dry and spread several more coats. I did paint my board first with a coat of black. You'll be happy with the results. You can even make your own Mod Podge by getting a large bottle of Elmers Glue and thinning it with tap water.until you get a spreadable consistency. It's cheaper to make your own and you feel empowered by creating something and saving money!
i would paint several more coats of mod podge, each in different direction and I would cover the wood. I would LIGHTLY GO OVER each layer with fine steel wool. Then I would thin down acrylic paint just so it makes a glaze. That will knock down some of the shine. In the future, I would paint or stain the wood before I put the picture on. What you are doing looks nice.
After sealing with MP I would finish with epoxy resin. It would be like a layer glass without the weight.