


Hope Chest Revamp

by
Theresa
3 Materials
$50
3 Days
Easy
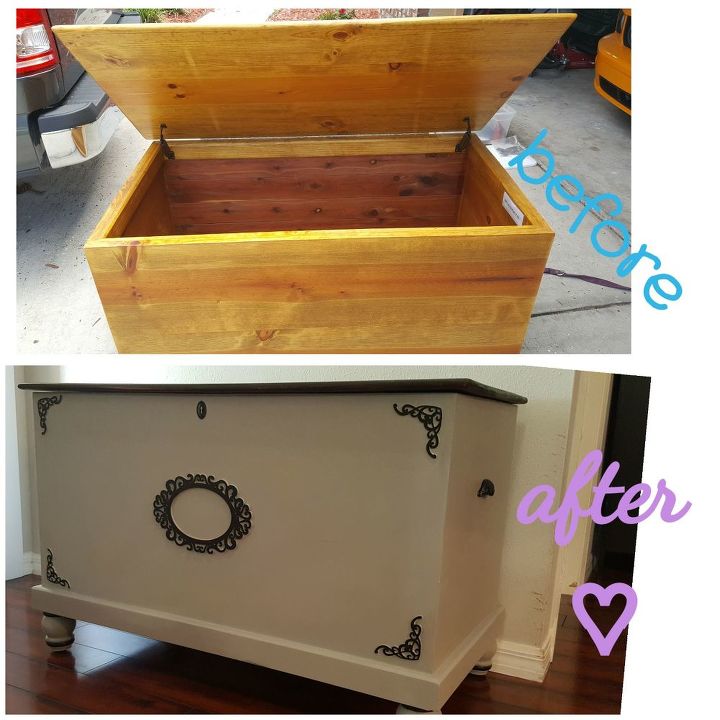
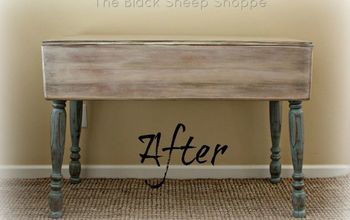
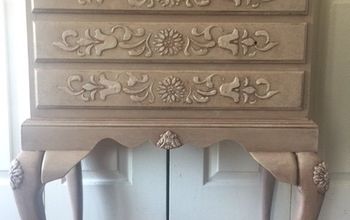
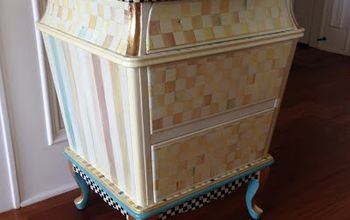
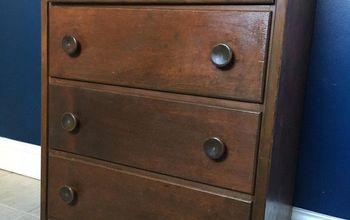
What started out as a basic Hope Chest without any personality turned into a outspoken Diva with a little help. The lid was removed and all was sanded 2 bare wood. I wanted to lift it up a little bit so I added round ball feet that were painted to match the rest of the chest. I used a castle grey chalk paint for the base. I added laser-cut appliques to give it a little bit of lipstick even made a keyhole, LOL. I stay in that top with a Java colored Stain. After days of creativity and assembly I had a beautiful finished product with the new purpose that could be displayed front and center.
Strip & sand after removal of top. I needed to build a base ti screw the new feet into.
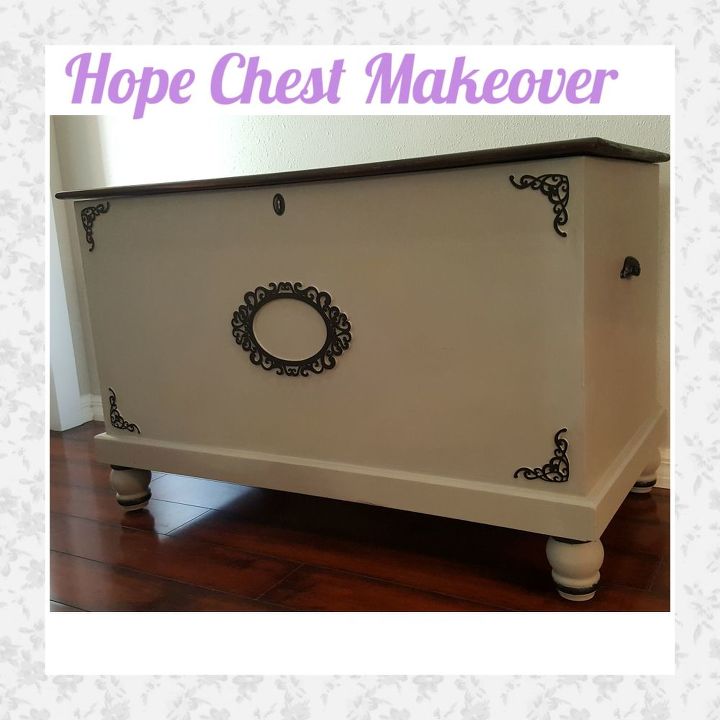
Main paint job prior to assembling. Fine details and accent painting stuff.
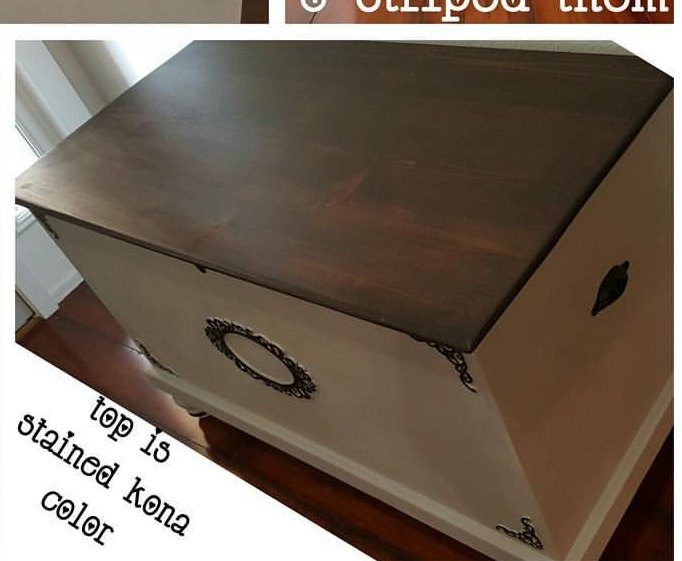
I love the contrast of this stain against Gray or a lighter color
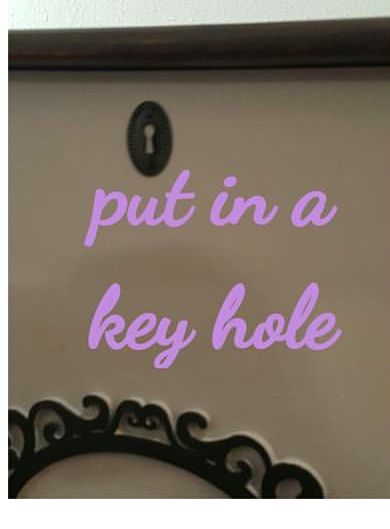
It won't lock you out but it looks nice
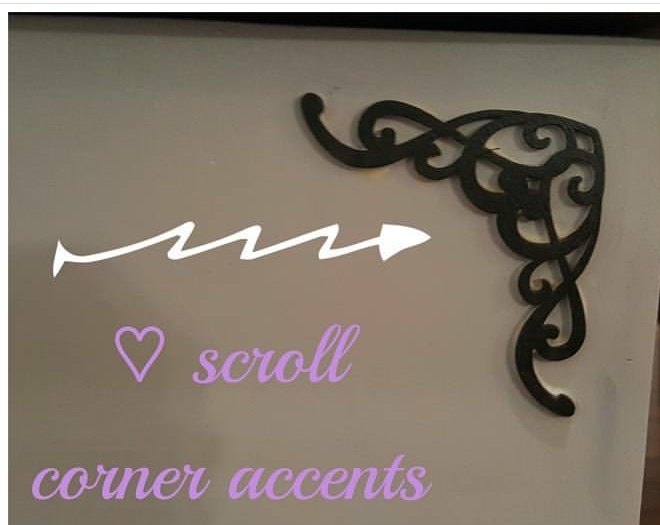
I really have a thing for heart so when I found these four corner pieces I was in love

It was like buying a pair of stilettos! she immediately looked better when she had them on.
she immediately looked better when she had them on.Comments
Join the conversation
4 comments
-
Lovely redo!
-
Great transformation.


Frequently asked questions
Have a question about this project?