


DIY Fall Shelf Blocks {A Cricut Maker Project}
6 Materials
$10
1 Hour
Easy
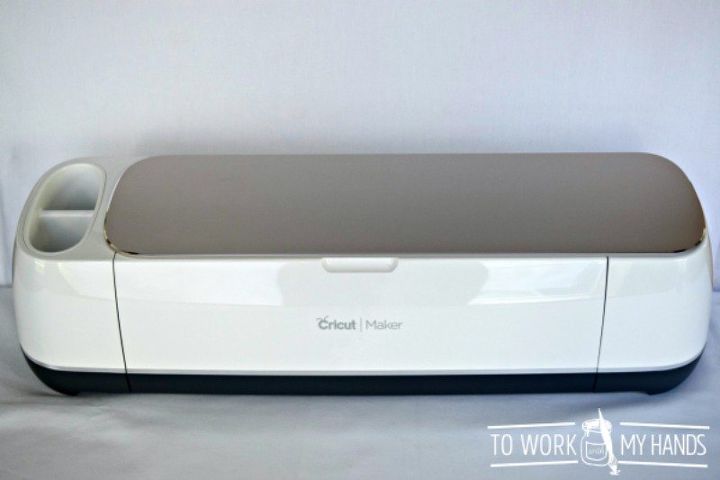
Have you seen the new Cricut Maker? It's a total game changer for the DIY Creative!
I bought my machine when it was released in August and am on a mission to see just how many different projects I can a make with it.
A few weeks ago I issued a challenge to one of my blog readers. I'd get my Maker out and make something within a month and she'd make something with her power tools that she has yet to use.
I was so excited to have a Maker, but was a little overwhelmed by the possibilities. Instead of trying to grasp everything it can do, I decided to choose just one type of project and jump in.
I decided to start by making a custom stencil that I could use to make a set of stenciled wooden blocks for a fall decor project.
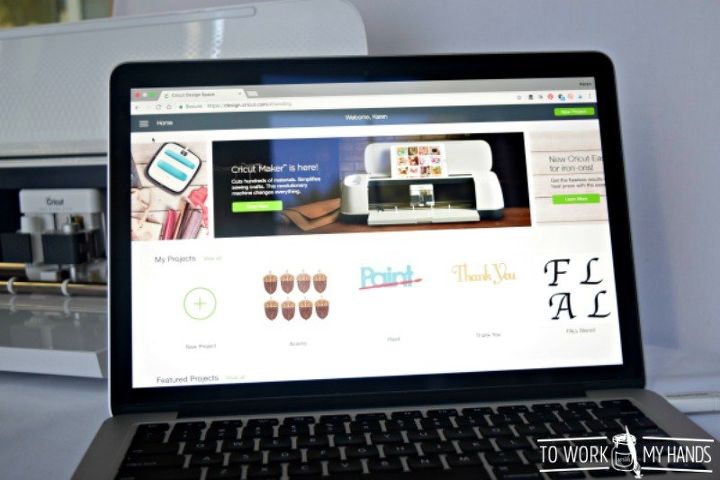
To make the stencil, all I had to do was connect my computer to the Maker, launch the Design Space application, and get creative!
Here's a video showing you just how easy it is to design your own stencil with Design Space:
{
"id": "4420973",
"alt": "",
"title": "",
"video_link": "https://www.youtube.com/embed/hhLSFOPsEMM",
"youtube_video_id": "hhLSFOPsEMM"
}
{
"width": 634,
"height": 357,
"showRelated": true
}
After you finish designing, simply load a stencil blank in the Maker and cut it out.
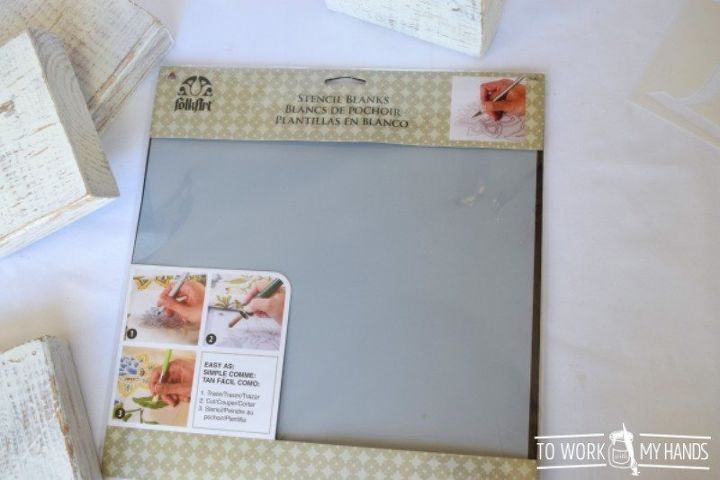
Here's a set of 3 blanks I found at Michael's.
Now for the project:
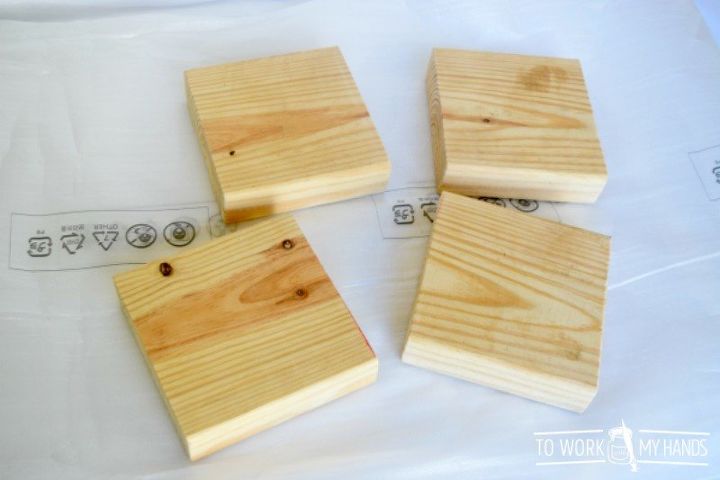
Start with 4 wooden blocks, each measuring 2 x 6 x 6 inches. I bought an 8-foot 2 x 6 board and cut 6-inch blocks from one end.
After the blocks are cut, sand the edges smooth.
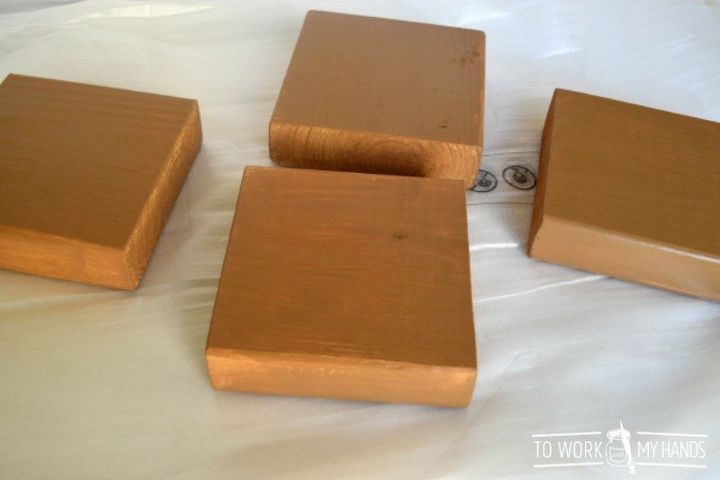
Next, paint the blocks with an acrylic craft paint. I used Waverly's Hazelnut for the base layer.
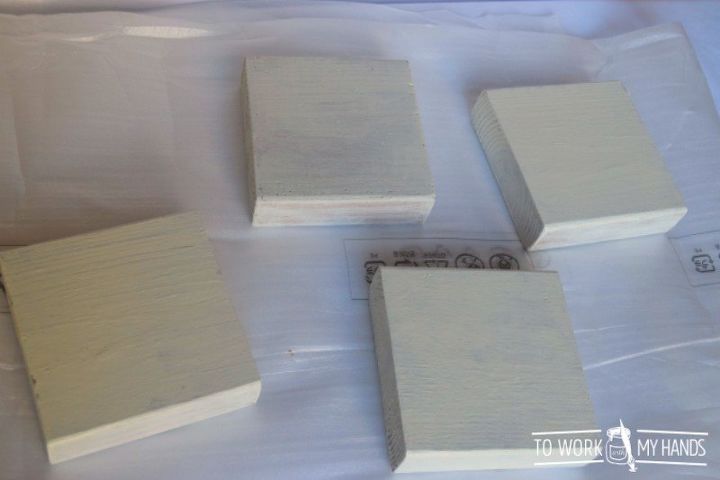
After the first coat is dry, paint a second, lighter color on top. I used Plaster, also by Waverly.
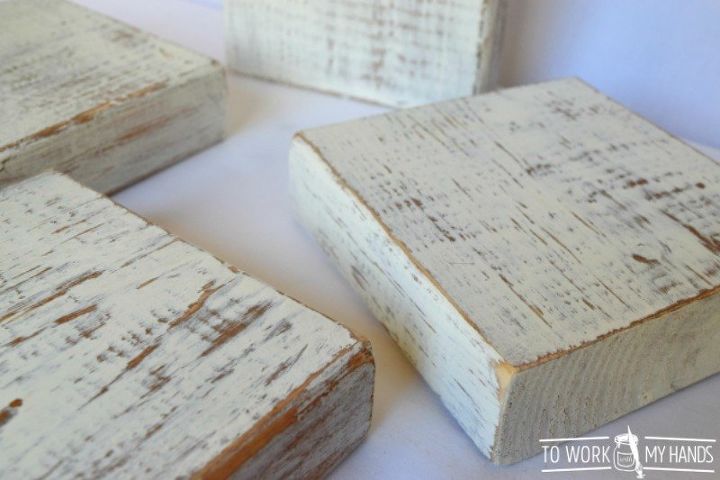
Next, give the blocks a distressed finished using 150 grit sandpaper. You can go as light or heavy with this as you like, exposing the first paint layer and giving the blocks a nice weathered look. Don't you think that's great for fall? 
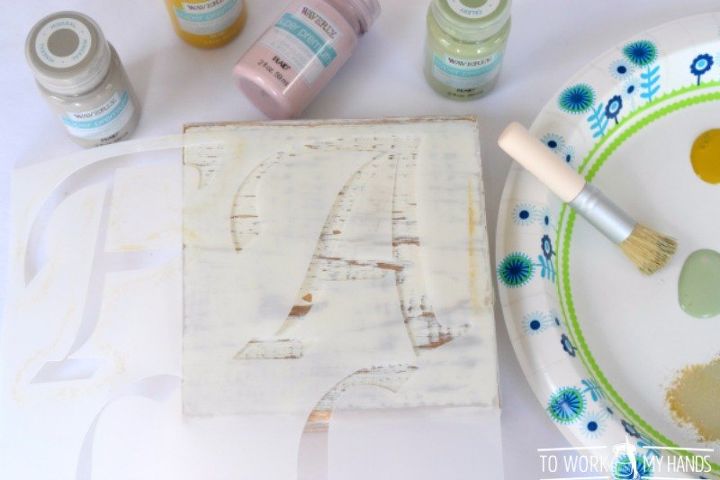
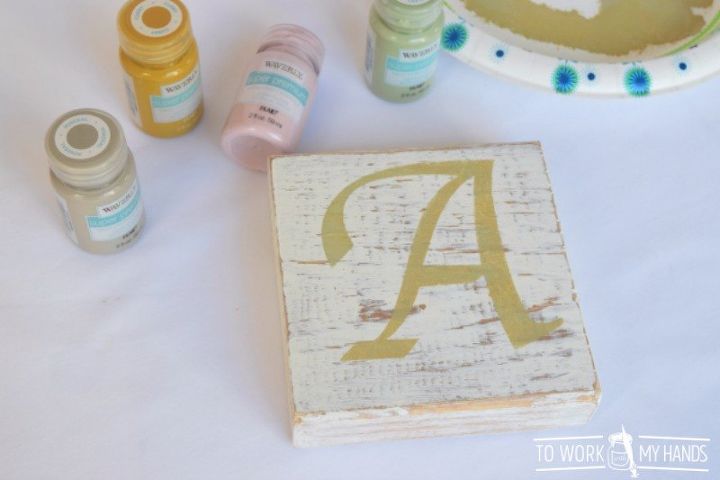
Now it's time to stencil! I kept the stencil in one large piece so that I can use it later in a single square stenciled project.
For the "A", use a small piece of tape to hold the center in place (it's the only detached piece in this stencil) while you apply the paint.
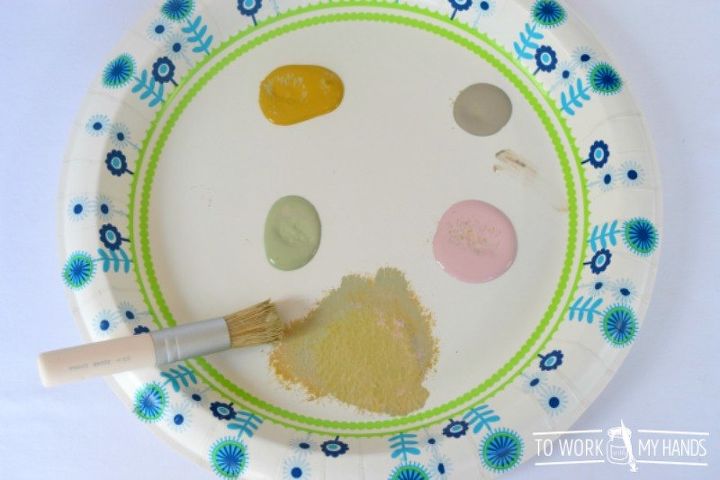
I used 4 soft Waverly shades for the letters and used a mottled paint technique to get a faded blend of colors instead of a single stark color - similar to what you see in fall leaves.
- Curry
- Celery
- Mineral
- Ballet Slipper
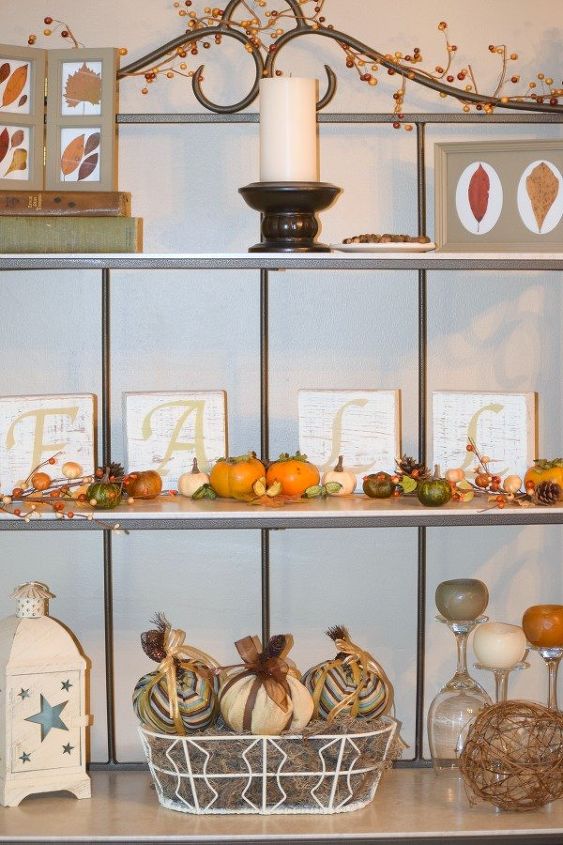
All done!

One of my favorite things about this project is that you can do most anything with it!
- Change the blocks up for any season or occasion by using different paint colors, letters, fonts...even the size of your blocks.
- Add tiny eye bolts to smaller blocks and make ornaments for your Christmas tree.
- Use numbers to make a charming address sign for your front porch.
- Stencil florals or herbals, finish with a spray sealer, and use as decor or markers for your garden area.
Whatever you choose to make...have fun and enjoy being creative!
*Total project cost does not include cost of a Cricut Maker, of course.

Want more details about this and other DIY projects? Check out my blog post!


Frequently asked questions
Have a question about this project?