


Yum and Fun!

by
Rembatb
8 Materials
$5
30 Minutes
Easy
Just a few tins of candy! Super easy project from beginning to end. This is a great project for the kids because it's yum and fun! Adult supervision required because of the use of a hot glue gun and spray paint. Ventilation is required.
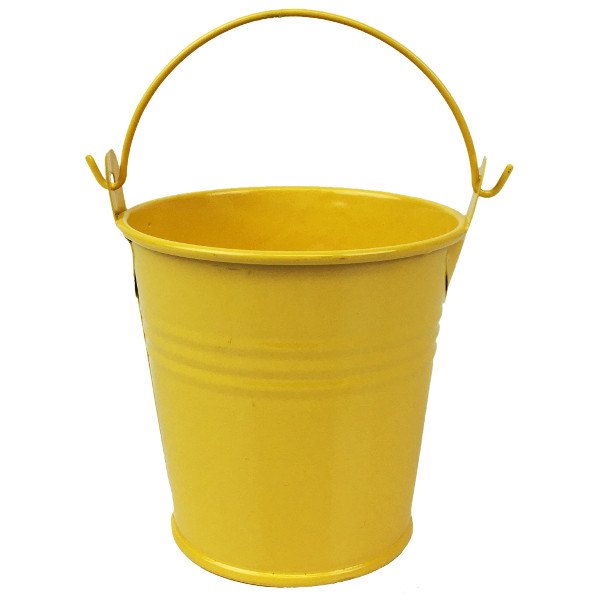
It started with three yellow tins.
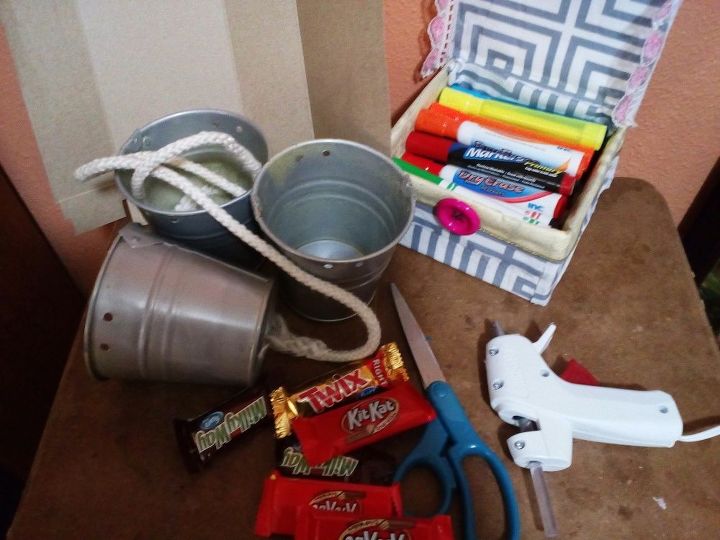
Picture of supplies
Here's a picture of everything you will need to do this project. Please note that in this picture the tins are already painted gray.
You will need:
3 metal tins
Spray paint to cover the tins(your color choice)
An arm's length of rope
Some fishing line
a hot glue gun
Some cardboard
Scissors
Acrylic paints or markers
Candy
A little imagination
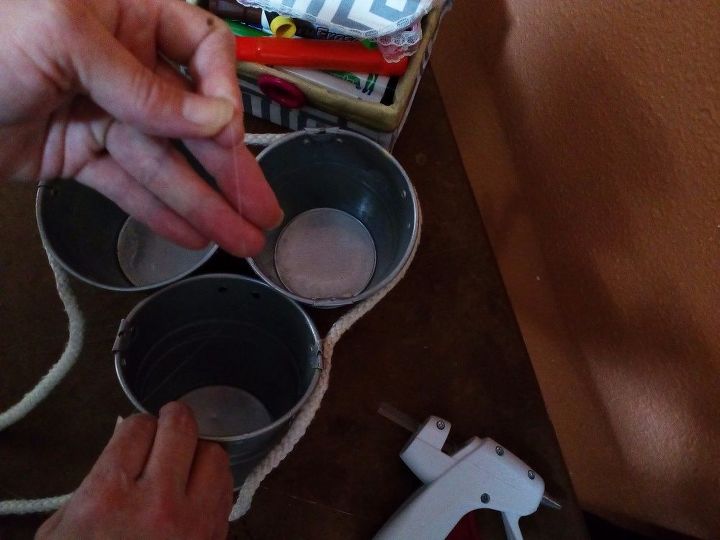
Measuring and using the fishing line
Group your tins in a triangle figure. Take your rope and wrap around the tins snuggly but not so that they are overlapping one another. Do not glue at this point because you're just using this for reference. Do you see the holes in your tins? Use those holes and bring them together so that the holes also kind of form a triangle together. You need those holes right close to one another on all three tins. Note: if you have tins with more than two holes right next to each other then don't worry about those other sets of holes. Only one set of holes are needed for the fishing line. One other point to make: if your tins do not have holes; then no worries, you won't need the fishing line! The fishing line is just being used as a stabilizer for all three tins.
Now you might want to use something to mark a place point, maybe a marker to put two dots on each of the tins. These marks are to be used where you're going to hot glue the rope to the tin. Again I repeat do not glue where the holes are on the tins. We will be using those holes with the fishing line.
Okay now take your fishing line and cut a little piece about the size from your wrist to your elbow. Using the fishing line go through the holes of all three tins and pull them snug together (again not so the edges of the metal tins are overlapping one another but just snuggly) and tie off into a knot and cut off the excess.
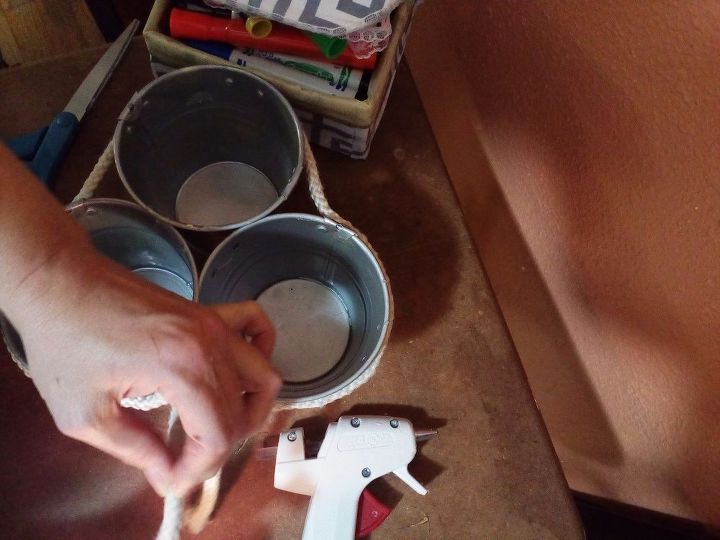
Gluing the rope to the tins
Now here is a somewhat tricky part gluing the rope to the tins. Glue a good dab about the size of a large nail head onto a tin. Now take the middle of the rope and glue it there. This is your starting point with the rope. From this point your rope should evenly wrap all the way around the other tins on each side. With just enough excess to form a bow or knot with a little fringe at the bottom of the triangle. Refer to the above picture. All right, now that you know where your starting point is, go ahead and glue or your dots onto those marking points that you made one tin at a time and add the rope and continue until all tins are roped and you have made a bow or knot. Now on to the fun stuff.
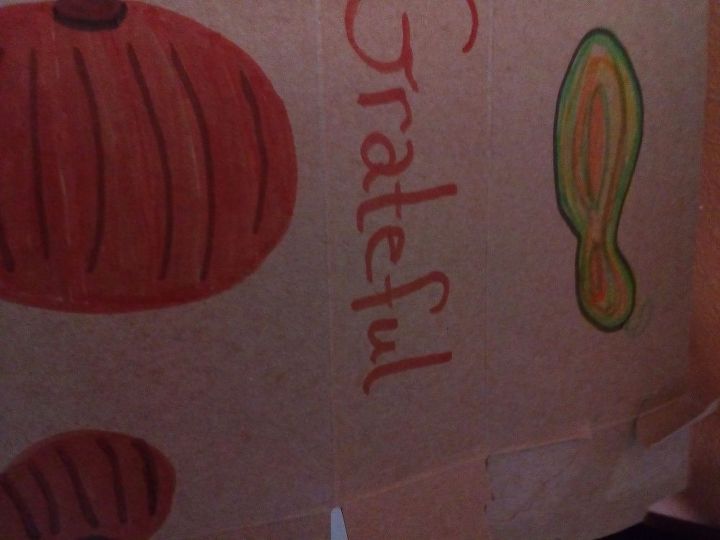
Coloring cardboard
Here is where you take some cardboard and you can either paint or use markers perhaps even crayons to make some little pictures. These pictures will be glued to the tin, so make sure you don't make these pictures too big, none of them should be bigger than the tins themselves. This is technically the eye candy for the candy in the tin. Now cut out those pictures as close to the borders as you can.
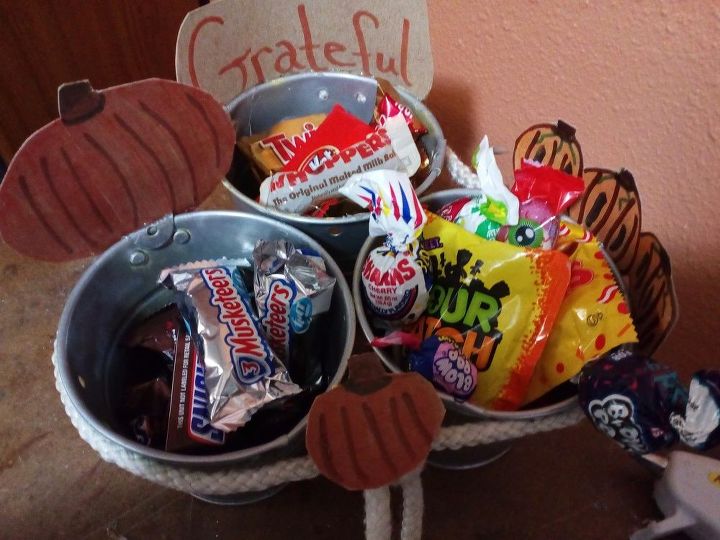
Get ready to eat
Glue those pictures to the tins. Make sure you just add a small dab of the hot glue on the front of the pictures attaching them to the tins. Now all of the work is done. It's a little crafty. It's a little folksy. It's a little homemade but it's all fun because now it's time to add to candy!

Yum
I hope you enjoy making this project. I call it yum and fun!


Any price and availability information displayed on [relevant Amazon Site(s), as applicable] at the time of purchase will apply to the purchase of this product.
Hometalk may collect a small share of sales from the links on this page.More info
Comments
Join the conversation
1 comment
-
Great project! Thanks for sharing :)


Frequently asked questions
Have a question about this project?