


Make Your Own Upholstered Headboard

by
Megan Aubrey
Oh the evolution of a room. Layer by layer each room is built into something that is beautiful, emotional, and telling about you. It's fun to have a room slowly grow with you. It can mirror where you are in your life, how you feel, and how you use your home at a certain time in your life. Make sure you create rooms that look and feel like you - not like some magazine you are trying to emulate. If you slowly evolve a room, piece by carefully chosen piece, people will feel the thoughtfulness and personality shining from your home - plus it will be the epitome of a sanctuary to you. Now doesn't that sound like a happy place to live?
Today's post continues with the evolution of our guest room. What once started out as a brown room without much character is on its way to looking beautiful and sassy - meaning it has a whole lot of character now!
Today's post continues with the evolution of our guest room. What once started out as a brown room without much character is on its way to looking beautiful and sassy - meaning it has a whole lot of character now!
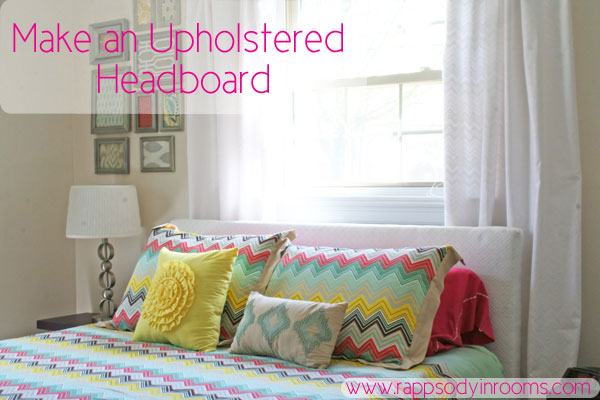
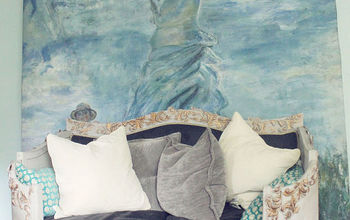
The final product in a much lighter, brighter room! Love it!

Here is the brown, boring before of the room.
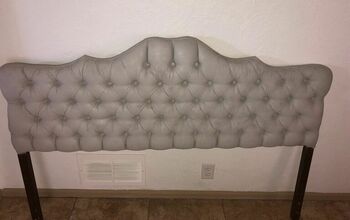
I showed you my latest creation of a fabric gallery wall (that still makes me stop and stare and sigh with happiness every time I see it) and the next element that really needed to happen in the room was a coordinating headboard. This headboard still had its velour fabric that matched the brown bear of a room. With everything else getting brightened up this was like a dark hole in the room. Boo brown!
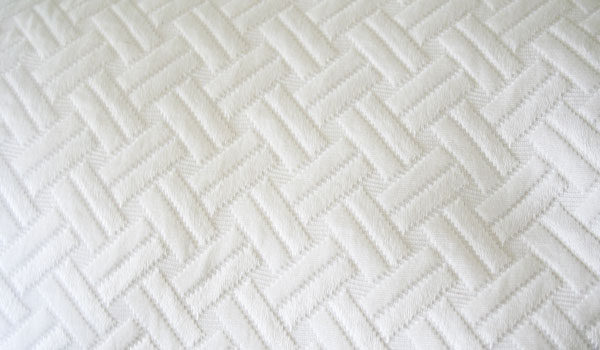
Thankfully my mom and I were really tuned into fabric when she visited, and we were able to find this gorgeous white textured fabric at the Charlottesville U-Fab. We already have a wonderful headboard that Eric built pre-blog, but since I had to strip it down to recover it, I can show you how he built it.
Materials:
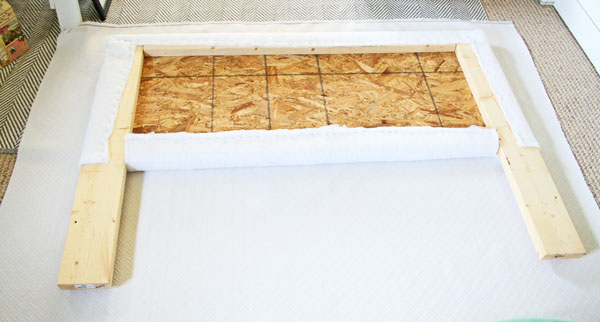
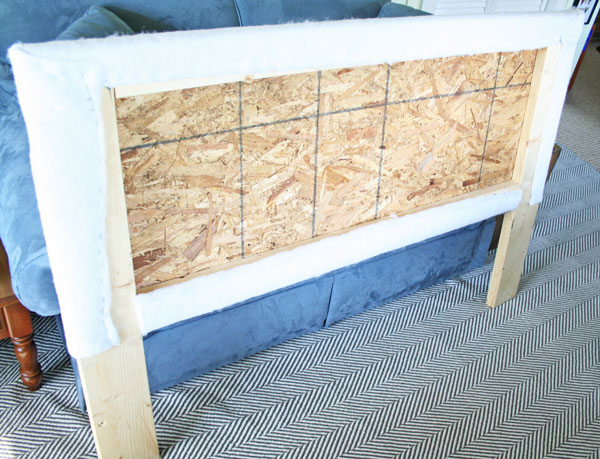
4. Cover with batting and fabric. I like to staple the batting to the headboard and separately staple the fabric to the headboard. Then you can easily change out the fabric without removing the batting.
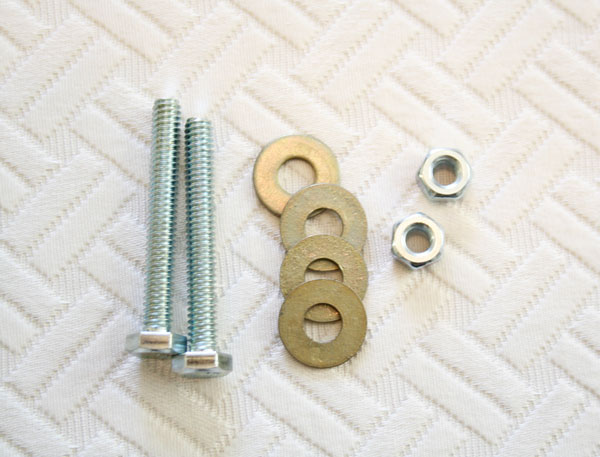
5. Screw holes in the bottom of the legs and use large nuts, bolts, and washers to attach the legs to the bed frame.
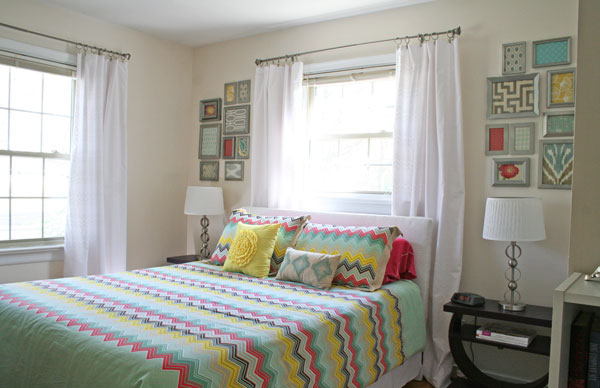
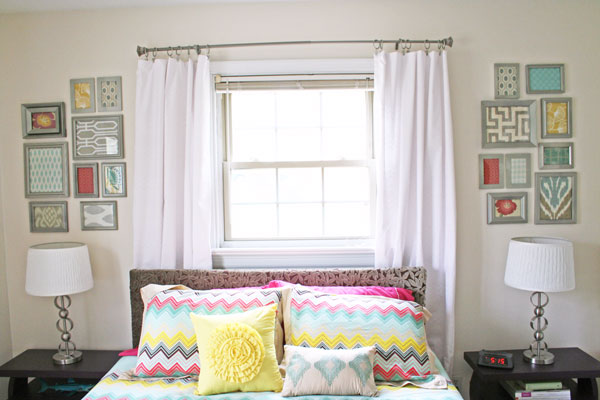
Now bring on those pretty pictures showing how this reupholstered headboard really brings a new lightness and vitality to the room!
Oh happy guest room!
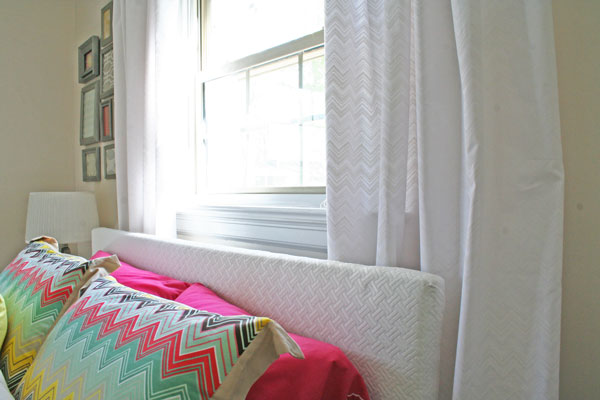
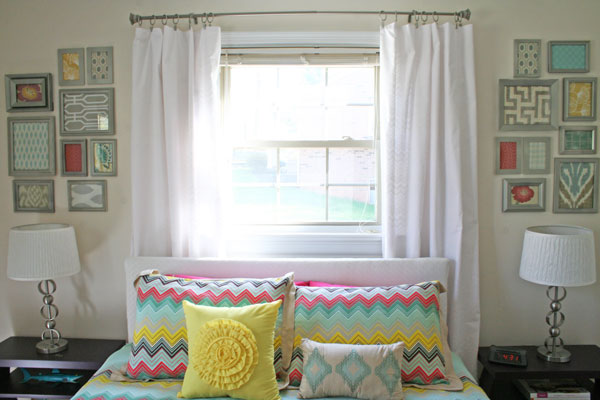
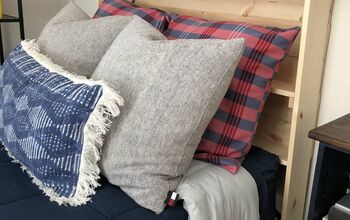
I am loving playing with the textures and white on white patterns in this room so that they don't compete with the duvet.
Want more details about this and other DIY projects? Check out my blog post!
Comments
Join the conversation
4 of 8 comments
-
Gorgeous ...I love it
-
When my young daughter inherited a "big girl" bed with a headboard. that was covered in vinyl with a small tear, I simply covered it with a fabric that matched her curtains. I just thumbtacked the fabric in the back which was never going to show. The job took about 15 min., and the result was very nice.


Frequently asked questions
Have a question about this project?
Is the bed frame wood because mine is all metal and I cannot see how to attach a wooden headboard to something all metal. I have been looking for someone who can show me how to do this.