


Oh the Magic of Paint and Glitter - a Waterfall Vanity Story...
My husband and I frequently troll thrift stores and restore shops (just like everyone else does these days, :) and we snatched this baby up for $35. My 8 year-old fell in love (she love, love, LOVES makeup) and I decided to give it a big fat makeover! The result was just stellar.
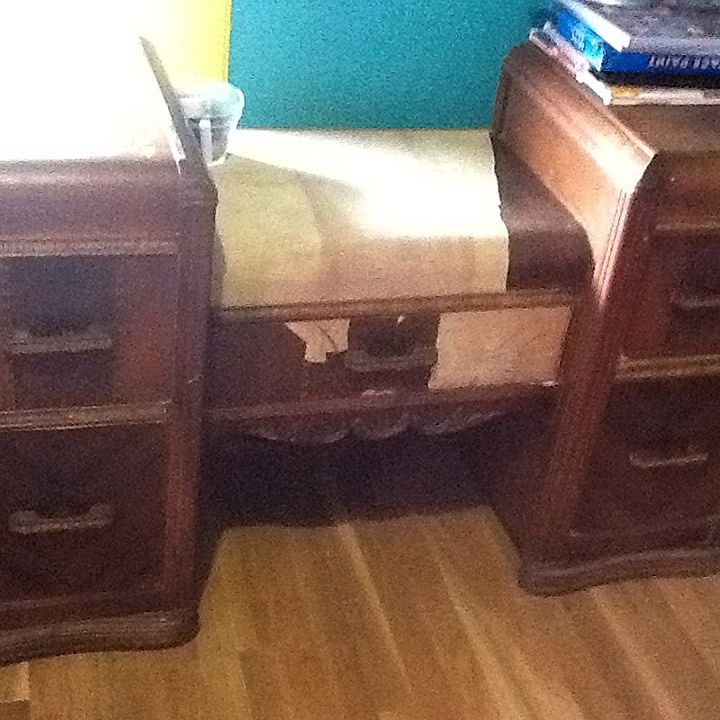
Oh the peeling! The detail in this piece was so beautiful but the veneer? I had to strip some of it away in order to get the piece up to speed for painting. And I had to be c-a-r-e-f-u-l - the top already needed repair.
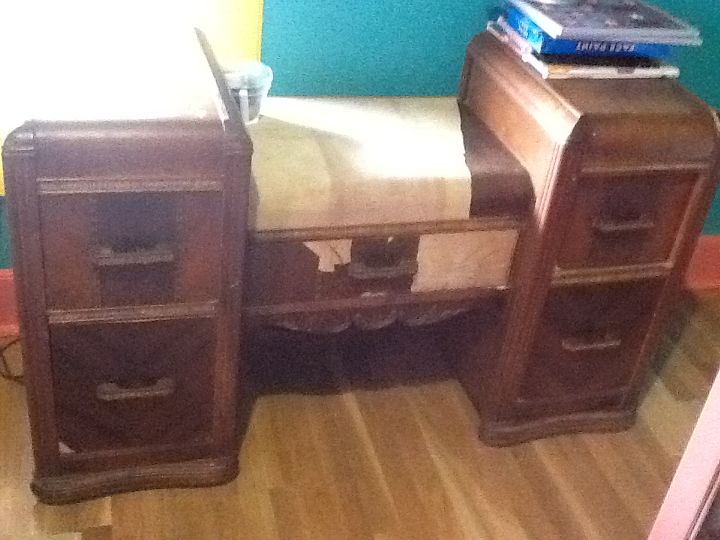
A better shot of the vanity...
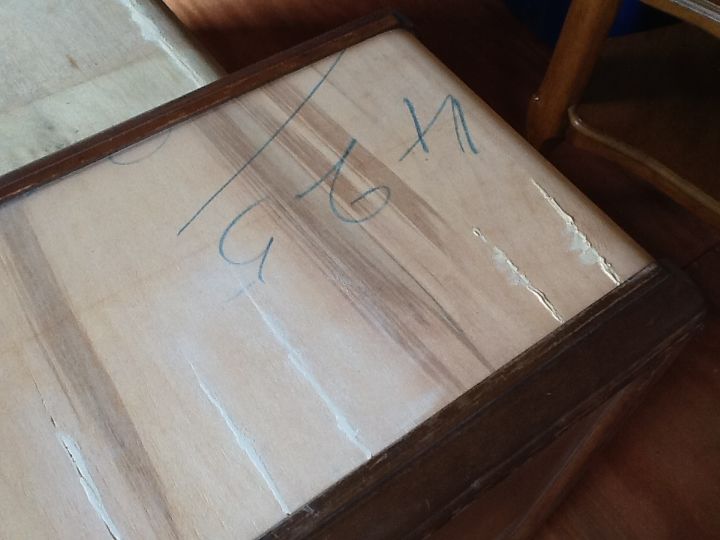
Fill, fill, fill the cracks - the top of the vanity had gouges and cracks in it and the front drawer veneers (all 5 of them) had serious cracks that required glue and clamps.
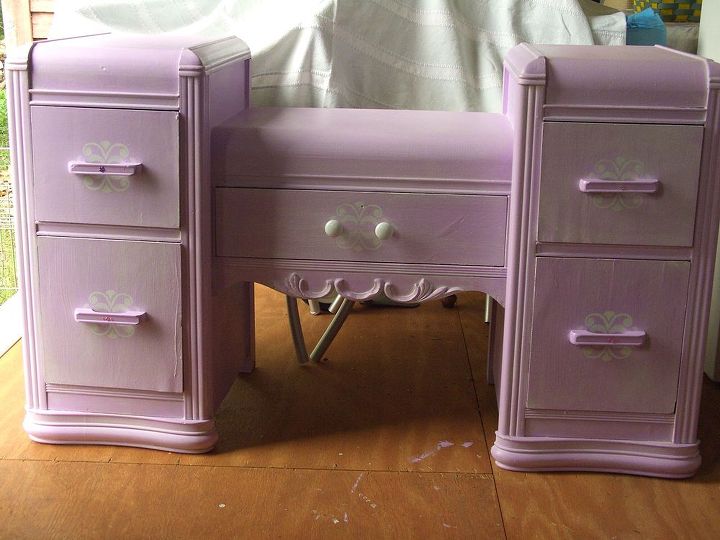
This is the final result. Isn't she pretty? :D I used a Sherwin Williams lilac and made some chalk paint (3 thin coats) AFTER 2 coats of primer. For the last coat I tossed in some Valspar paint "glitter" and then, after distressing it, wiped on some glaze mixed with white paint (and then wiped it off!). I stenciled each drawer front and then finished with two final coats of clear wax (I also lined the drawers with pretty paper). Needless to say, even though my daughter's room is a mess 99% of the time, the vanity remains pristine! :)
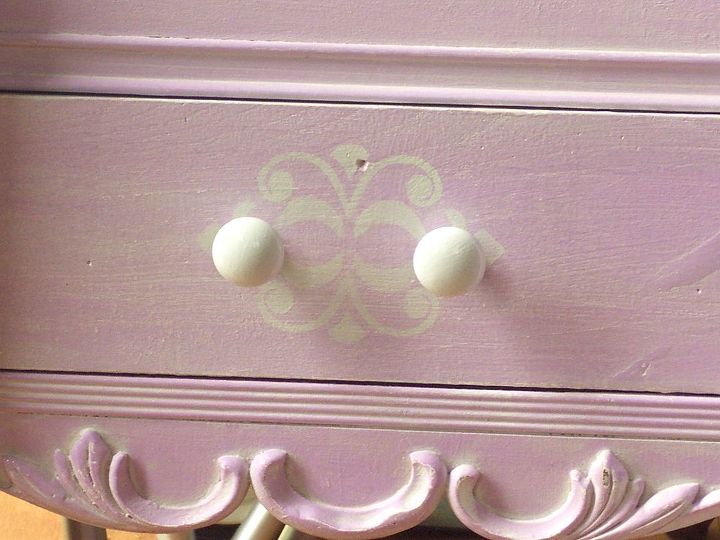
Drawer detail. So much fun to do!

Want more details about this and other DIY projects? Check out my blog post!
Comments
Join the conversation
2 of 4 comments
-
So cute!
-
Beautiful! Good job!


Frequently asked questions
Have a question about this project?