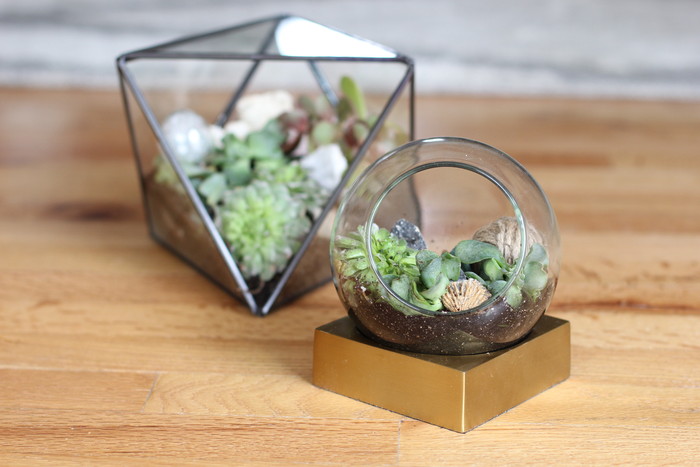
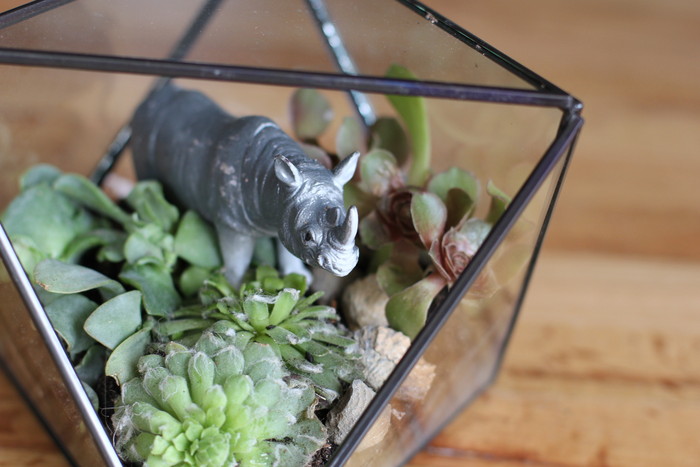
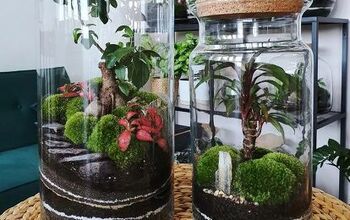
Make Your Own Terrarium in 7 Simple Steps

BrightNest
by BrightNest
What is it about terrariums that are so darn awesome? Is it the fact that they’re small and adorable? Or that they capture some sort of whimsical brilliance within their little glass walls? We’re not sure, but in the end, it doesn’t matter – they’ve definitely won our hearts!
Here’s how to make your very own terrarium in seven steps.
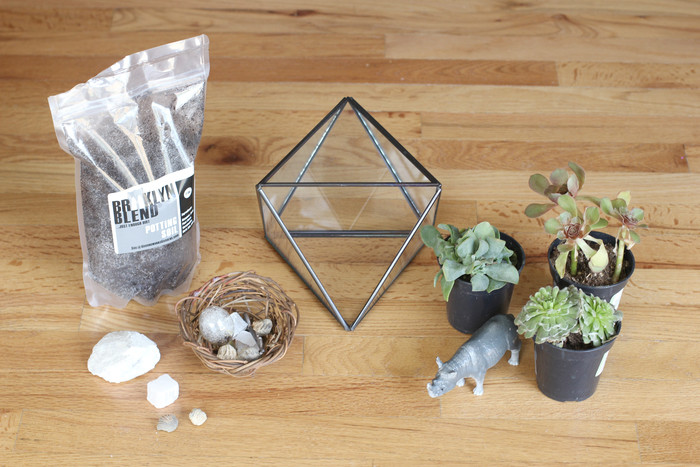
For this project, you’ll need:


terrarium container (we like these from West Elm)


cacti or succulent soil mix


succulents (such as jade, burro’s tail, echeveria or haworthia) from a nursery or garden store


measuring cup or plastic scooper


small spoon


plastic toy animals or dinosaurs


assorted rocks or sand


fun vintage items like charms, keys, shells or light bulbs


any other figurines that suit your fancy
1. Clean Your Terrarium Container


Before you do anything else, clean the terrarium both inside and out. It will be impossible to clean the glass once it’s filled with plants! We used the geometric Faceted Terrarium and Brass Base Terrarium from West Elm, but you can find relatively inexpensive containers on Amazon, too . Tip: For streak-free glass, use coffee filters and an equal parts mixture of warm water and vinegar.
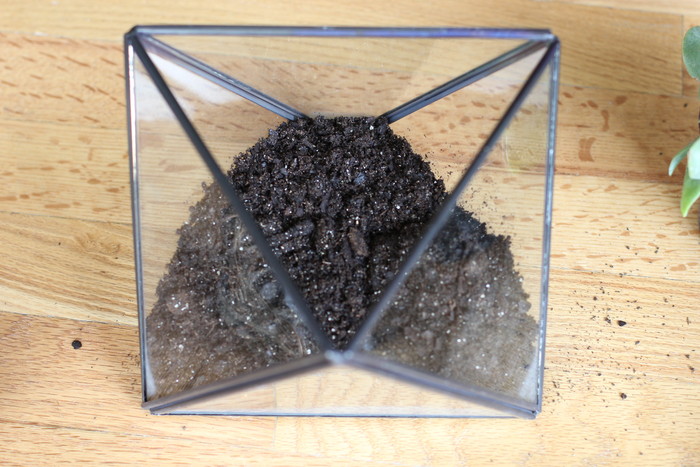
2. Fill Container Halfway with Soil


Use a measuring cup or scooper to carefully pour the succulent soil mix into the terrarium container. Fill up the terrarium a little less than halfway with the potting soil. Make sure there’s enough soil to create holes where the roots of your succulents will go!
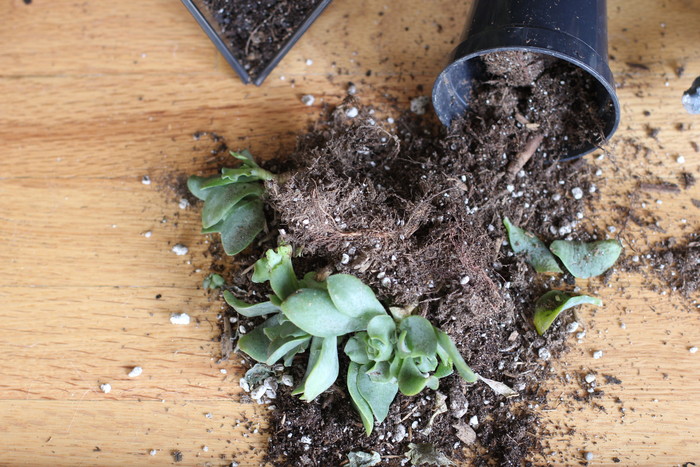
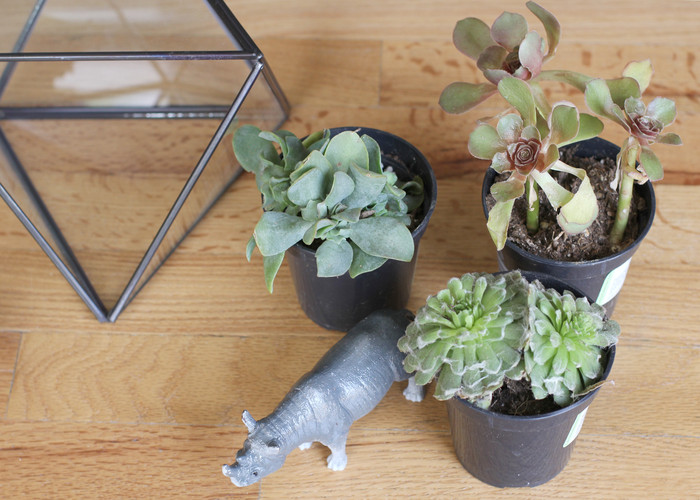
3. Plant from Back to Front


Start planting your succulents in the dirt, working your way from back to front of the terrarium opening. Think of it like painting a room – you want to make sure you don’t “plant” yourself into a corner. Tip: Don’t overcrowd the plants – you want your succulents to have room to grow within the terrarium, so make sure there’s ample space between each one.
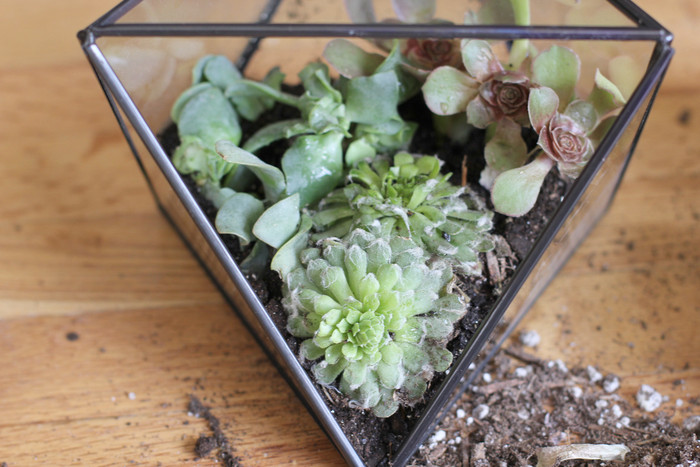
4. Add More Soil Around the Plants


Once you’re happy with the arrangement of your succulents, add more potting soil around the plants using a small spoon. Gently pat down around the plant with your fingers or the bottom of the spoon.
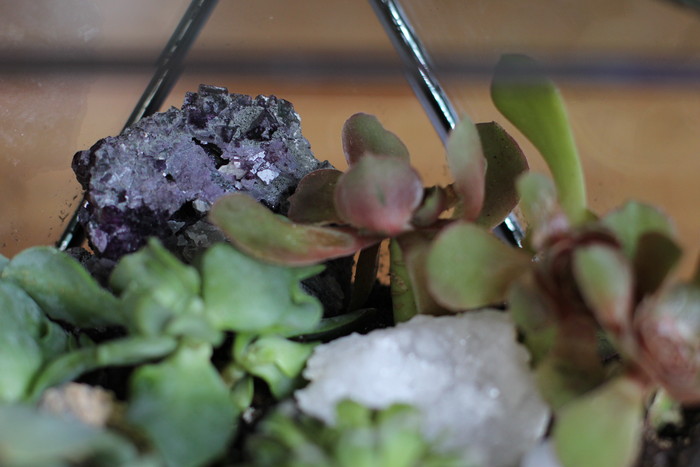
5. Add Rocks or Sand


Now, carefully add rocks or sand to your terrarium. If you’re using rocks, make sure you leave some of the soil exposed – for this terrarium style, the rocks are mostly for decoration (as opposed to water filtration). Avoid painted sand or rocks because the chemicals in the paint may leech into the soil, which can be bad for your succulents.
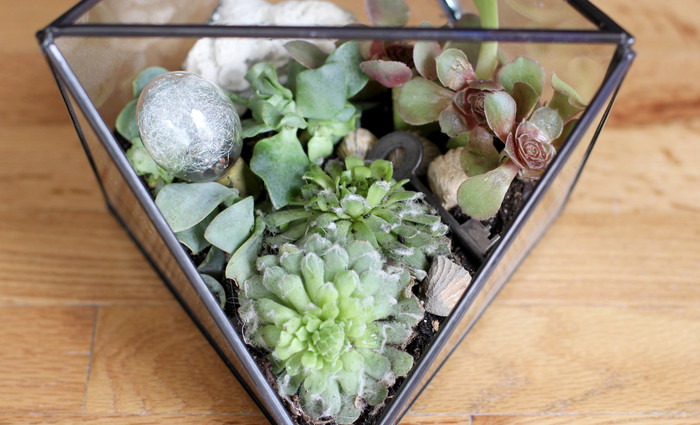
6. Add Your Personal Decorative Items


Now it’s time to have some fun! Do you love to bike? Add a miniature bike figurine! Have a special key from that trip to Europe? Add it in! Is your “spirit animal” a tiger? Find a toy version for your terrarium. The decorative elements you add to your terrarium are what will make it your own!
7. Care for Your Terrarium!


Now that you’re finished making your mini garden, here are a few tips for tending to your terrarium:


The best thing you can do for your terrarium: don’t overwater it, especially when you first plant it. Remember: for succulents, less is more.


If your terrarium container is open, it can tolerate some direct sunlight – but too much may literally burn the leaves. For new containers, keep it out of direct sunlight for one week.


Be gentle when watering your succulent. If you pour water too fast, the soil will “flood” and may spill out of your terrarium.


Pull off any leaves that show signs of yellowing or damage.


As plants grow, trim back your succulent leaves to avoid overcrowding (or remove plants that become too big).
BrightNest
Want more details about this and other DIY projects? Check out my blog post!
Go
Frequently asked questions
Have a question about this project?
Comments
Join the conversation
Next