


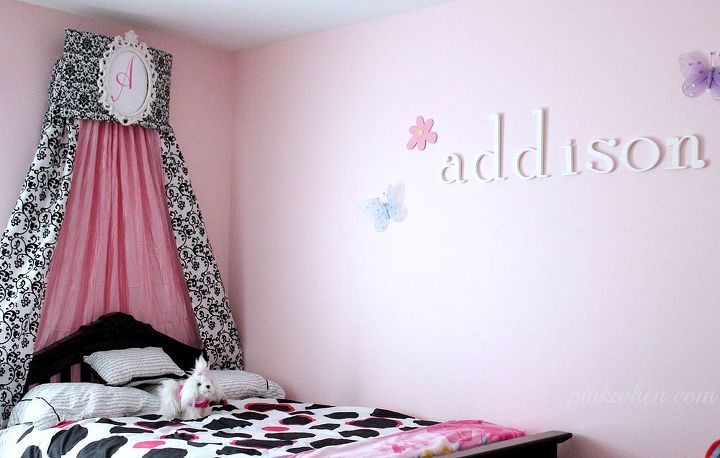
Easy DIY No Sew Bed Crown Cornice Tutorial
$50
4 Hours
Easy
I created this two part post for an Easy DIY No Sew Bed Crown Cornice Tutorial. This project was a quick and dramatic change to my daughters bedroom, and did not take the time I thought it would. I was able to finish this in just a few hours and all for under $50. There are a TON of pictures, a step by step picture guide, cut list, and easy to follow instructions. If you are looking to make a dramatic change to a room, this is a wonderful project to tackle. You will find this interesting....I actually used my Silhouette vinyl machine to create the base of the cornice. Follow along to see how I created this cornice.
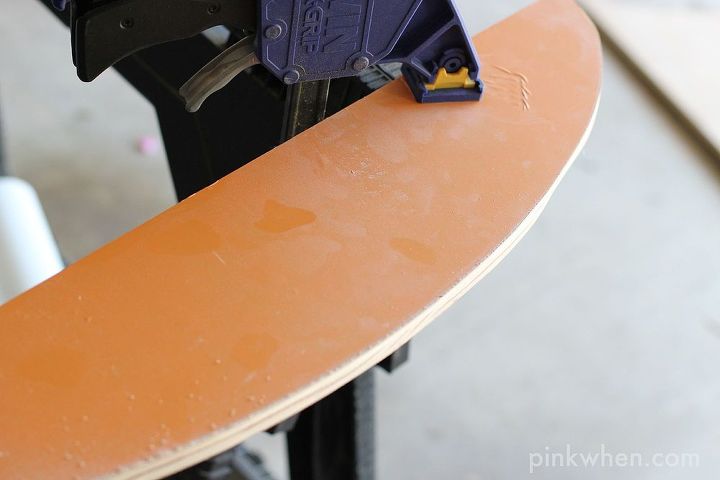
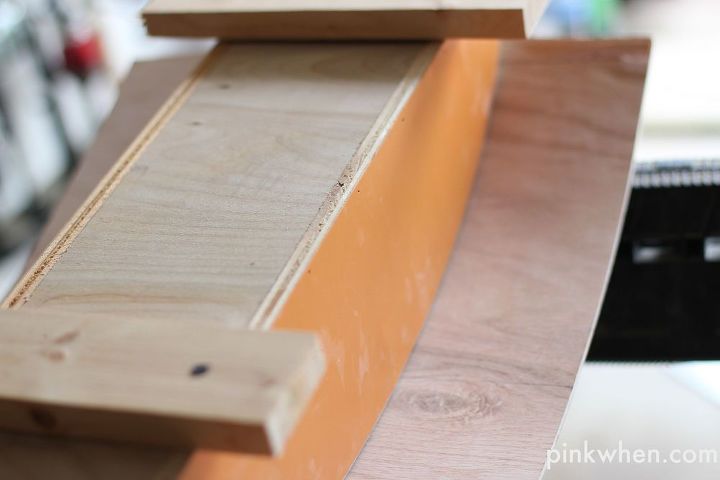
The first thing to do with this project is start with the cornice base. I created my template in the Silhouette Designer Software of my vinyl cutting machine and then placed the cut vinyl pieces onto the wood. This ensured that my angles were exactly the same, and also gave me a great visual as to where to cut.
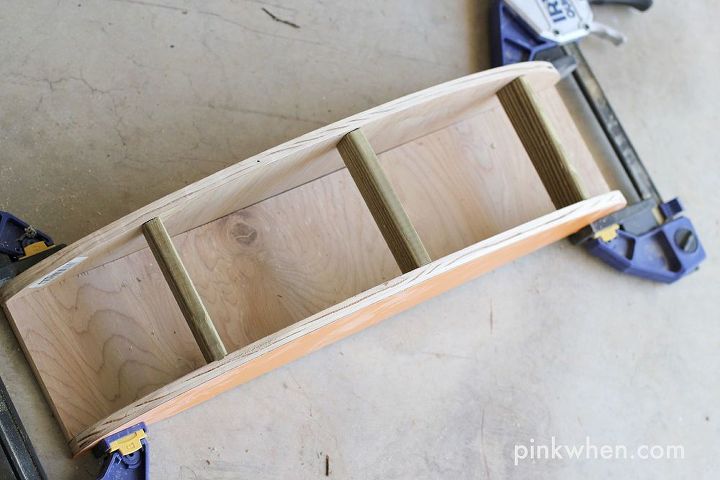
Once I had the sides and base of the structure built, it was time to add the brackets to secure the entire piece.
Once you have you top board attached, you can then add on the brackets that will be attaching to the board on the wall. This wall board needs to be securely attached to the studs in the wall.
After that, it's all about the prints! Follow along for more pictures and instructions on how I covered and finished this cornice in just under an hour with no sewing involved.

Want more details about this and other DIY projects? Check out my blog post!
Comments
Join the conversation
4 comments
-
How darling, Jennifer! I noticed this on g+ - so thrilled that you posted here!
-
Very cute!


Frequently asked questions
Have a question about this project?