


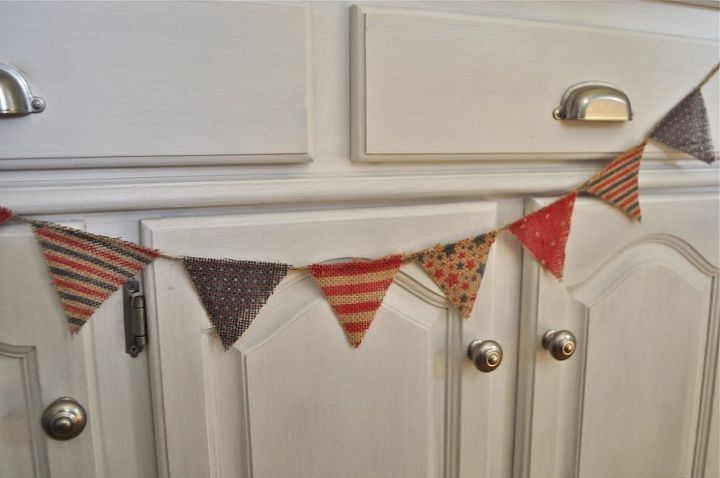
Burlap #4thofJuly Mini Bunting
$2
Easy
I love burlap. Its cute, its old-fashioned, its cheap, and its versatile. To me it just creates a more homey atmosphere, so I use it whenever I can in my decorating.
This tutorial will show you a really easy -and adorable- way you can decorate with burlap – you won’t believe how simple it is!
This tutorial will show you a really easy -and adorable- way you can decorate with burlap – you won’t believe how simple it is!
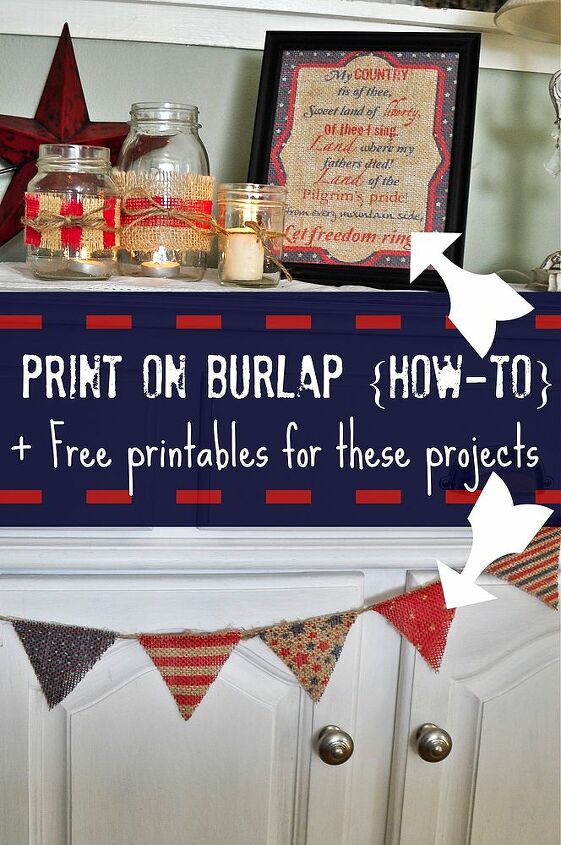
I created these patriotic printables {http://www.hometalk.com/diy/free-patriotic-party-printables-for-4thofjuly-4001377} in photoshop for my decorating. I was inspired to print them on burlap to create an old-fashioned, tea-stained feel in my decor.
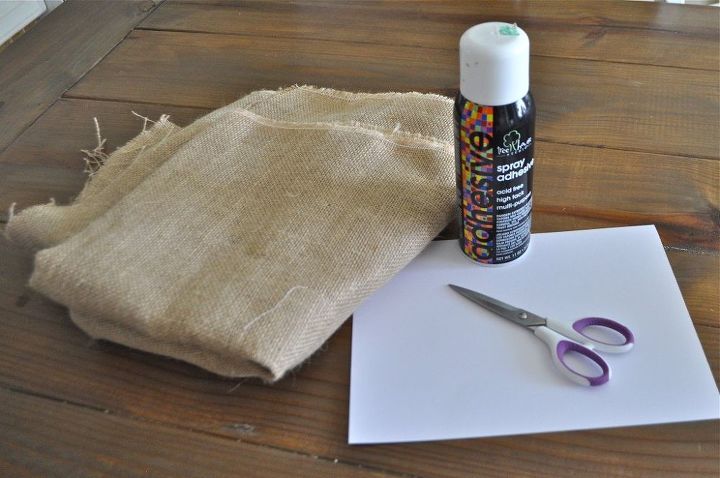
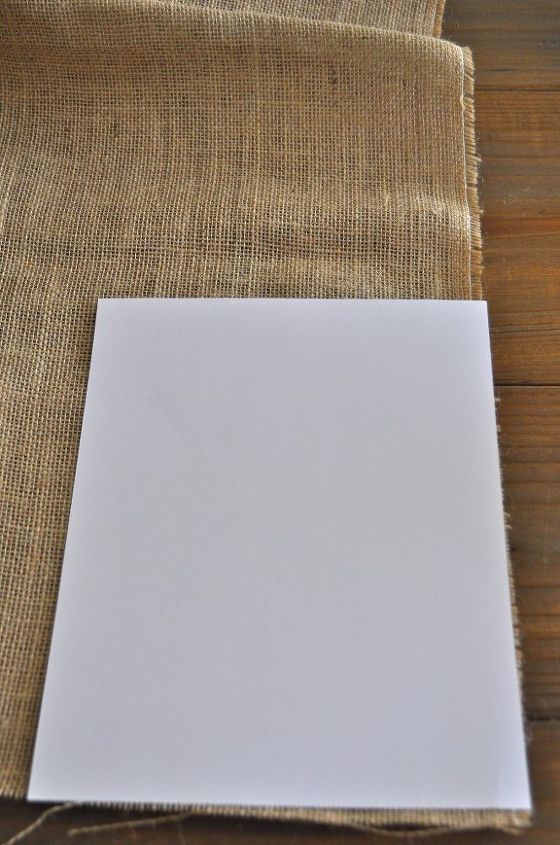
Once you have gathered your supplies, spread out your burlap on your work surface. In this case, mine was my kitchen table, so please ignore the food crumbs! First you are going to lay your computer paper (8.5×11″) over your burlap.
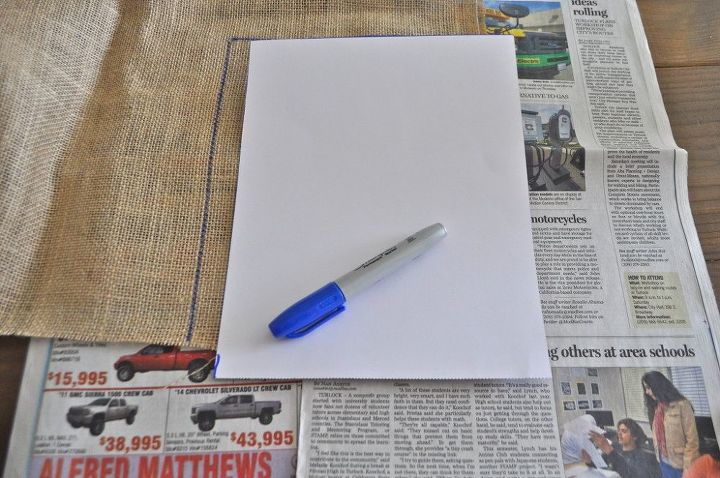
Next, trace around your computer paper with a marker. I recommend putting newspaper down first, unless you think your dining room table would look better with permanent marker on it.
Cut out on your marker lines; you should now have a piece of burlap that is roughly the size of computer paper. Now, give your paper a quick spritz with the spray adhesive. This is just to help the burlap stick to the paper temporarily as it goes through the printer.
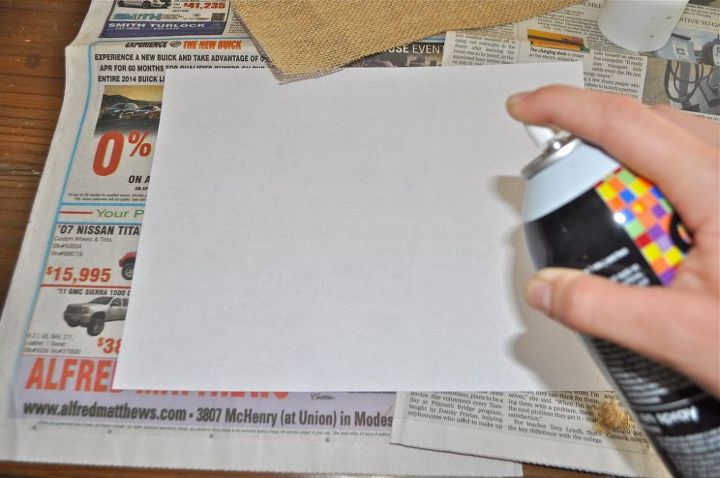
Then, match your burlap up to your paper and press on, smoothing out any bumps or ridges. It doesn’t matter which side is up, as burlap doesn’t have a right side. Its a good idea to trim the edges of your burlap where they over-lap the paper so you don’t have any feed problems. Now you are ready to print!
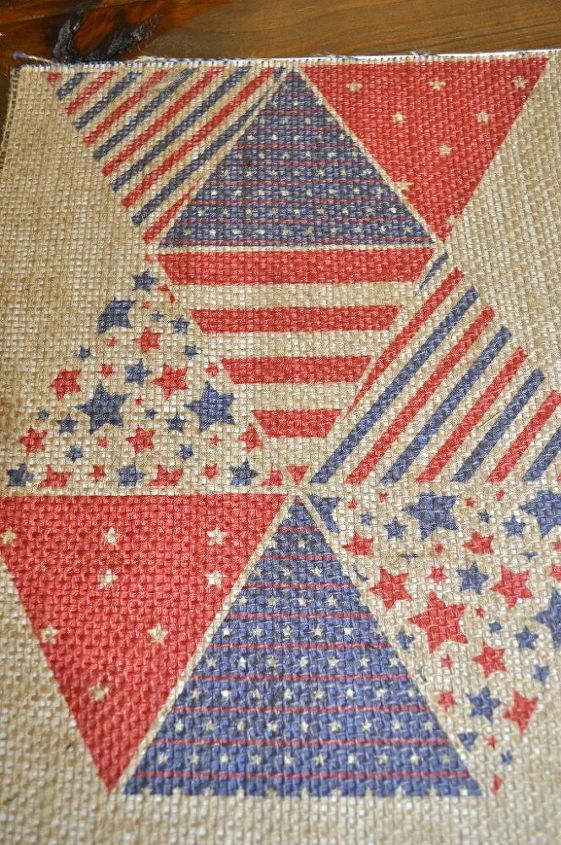
Nice! You printed on burlap! I printed the mini bunting from my 4th of July printables {link above}. Doesn’t it look adorable? Next, we are going to do something with those cute little triangles – let’s finish the bunting. Cut out your triangles with sharp scissors.
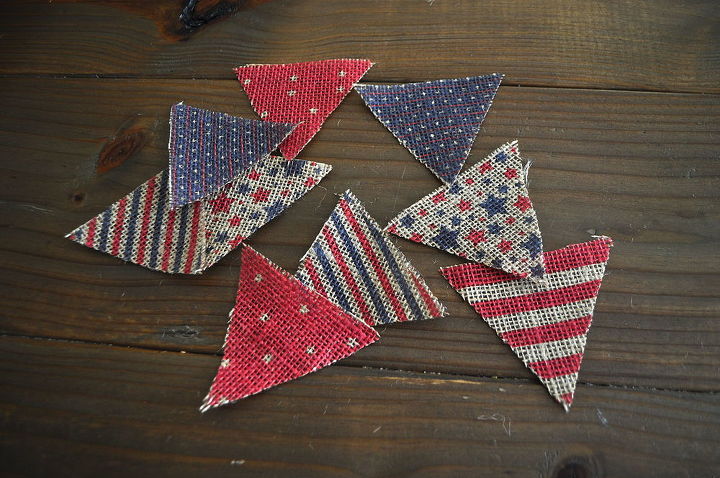
Your bunting triangles are all ready to go. To make the bunting you will need twine or ribbon – I used jute twine because I love the way it looks with burlap. You also need a hot glue gun.
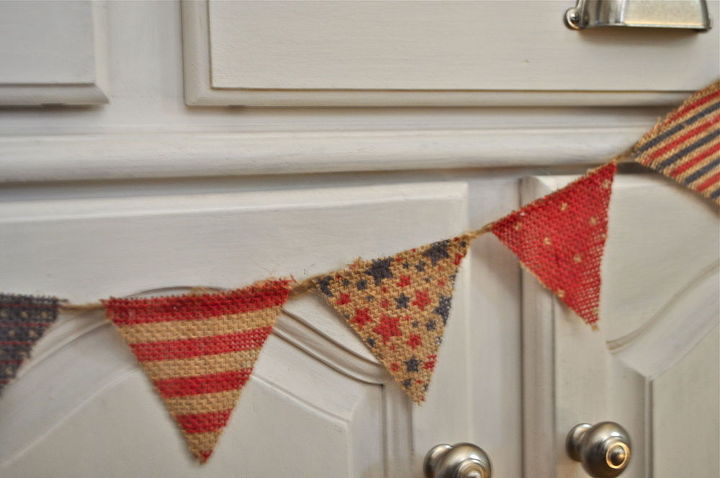
Gather your triangles and arrange them in the order you want them on the banner, then, turn them over, with the printed side facing down. You are going to put a line of hot glue along the upper edge and then press your twine or ribbon on. Be very careful as the glue is hot, hot, hot, hot (in Boston accent)!

Want more details about this and other DIY projects? Check out my blog post!


Frequently asked questions
Have a question about this project?