


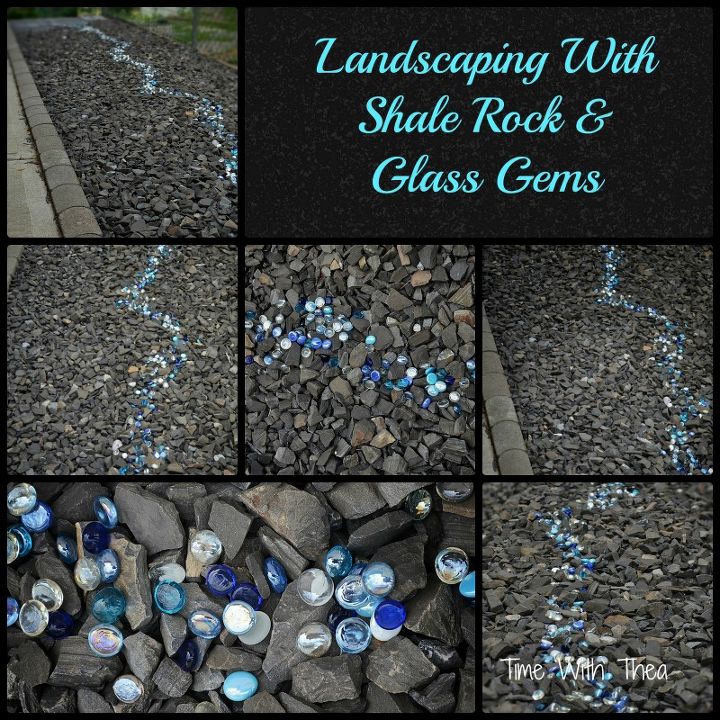
How I Created A Garden Feature With Black Shale And Blue Glass Gems
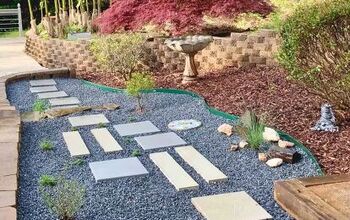
The Problem: When we moved into our present home the previous owner was a passionate gardener so a lot of the work was already done. But strangely they left one area that runs along the east side of the house alone. It was always loaded with weeds and when it rained or the snow melted it became a muddy mess. It is 23 ft by 5 ft (762 cm x 152 cm) making it a very long and narrow area.
We decided to landscape it with black shale. To ensure no weeds came back we covered the area first with several layers of landscape fabric before adding the black shale and my husband finished it off with some very nice grey interlocking bricks.
It looked a lot cleaner and became a very low maintenance landscaped area of the yard. However, it didn’t look very pretty. It just looked very black and very grey.
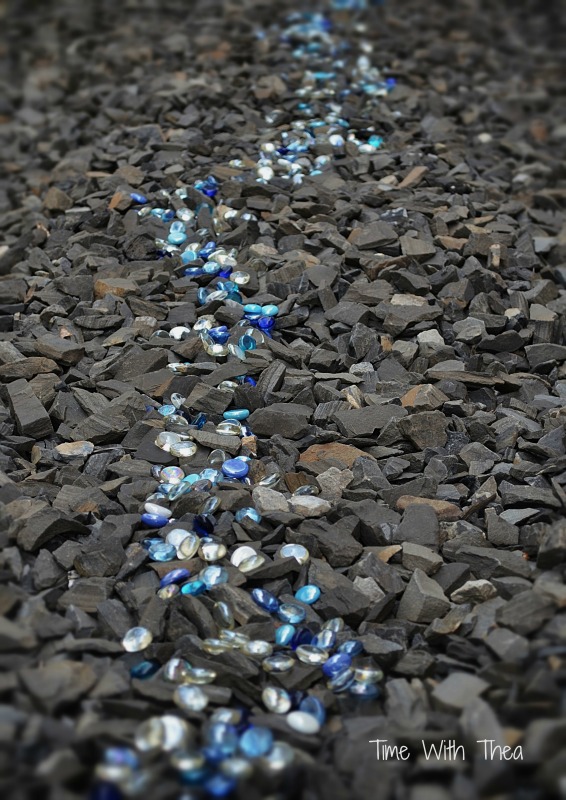
The Solution: I happened to have a lot of different tones of blue and white glass gems that I thought could be added to the black shale to add some sparkle and colour to the basic black and grey.
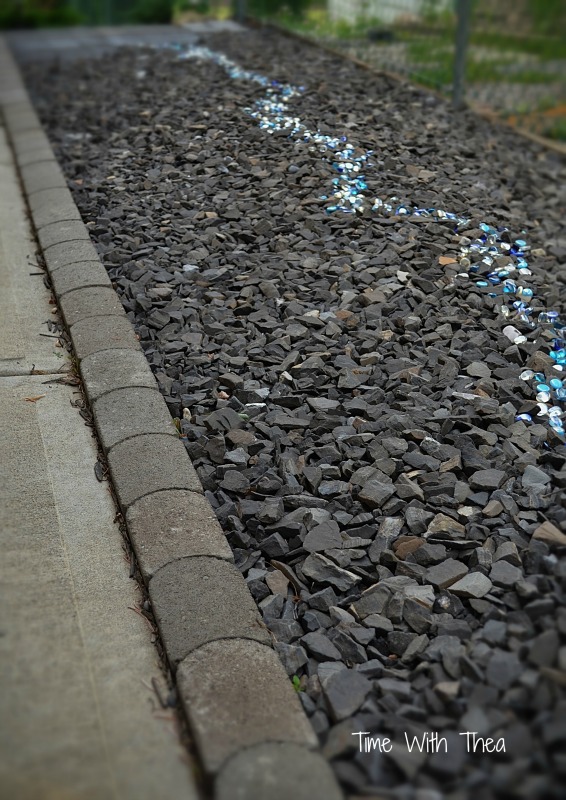
I sprinkled them on top of the rock in a wavy pattern to represent a flowing creek or river. They start at one end and run along to the other end just before you take the sloped pathway down to the backyard.
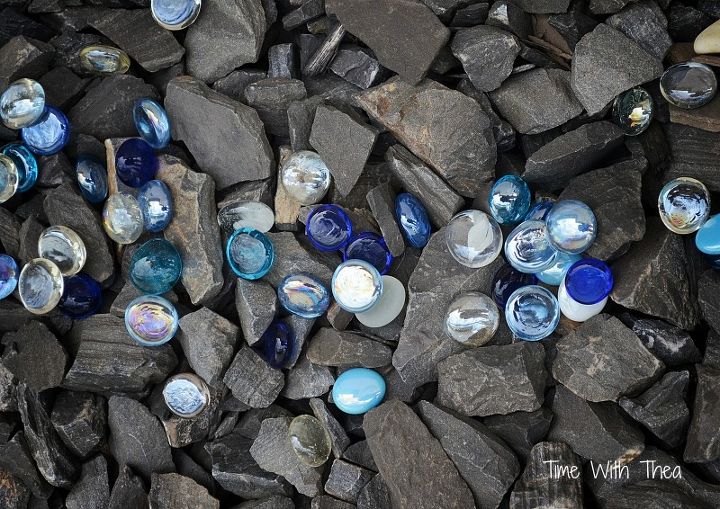
I did originally worry about how durable the glass gems would be against the weather elements like rain, snow, heat and wind. But they have lasted two years so far and still look just as shiny and sparkly.
I see landscaping as being creative and having fun working with living and both non-living features to add those special touches to your garden! This was a very inexpensive feature to add to a very dull area!

Want more details about this and other DIY projects? Check out my blog post!
Comments
Join the conversation
3 of 86 comments
-
Wow that is awesome - unbelievable talent and creativity
-
I love It.
I used them on a small scale putting them a tiny clay saucer of them in my fairy container garden as a "pond." It works as a Bee and butterfly watering station that won't get mosquito larva. I also filled a tiny battery operation table top fountain for the same thing.


Frequently asked questions
Have a question about this project?
I am thinking of useing them in my fairy garden as a path. Will they sparkel shine at night? I am making the garden inside my old turtel tank. Great job! The stones look great I love them. Kay Adelaide Australia