


How to Lay New Veneer
Find out how to lay a large piece of veneer onto the top of a dining room buffet.
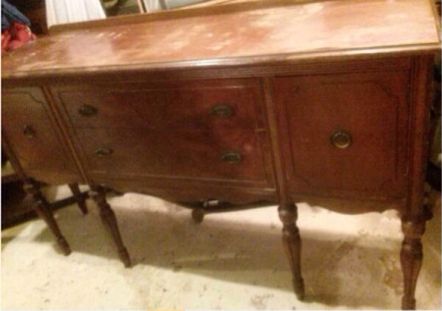
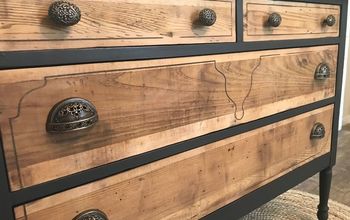
Meet Martha, when she was brought home.
Rememeber this poor gal?
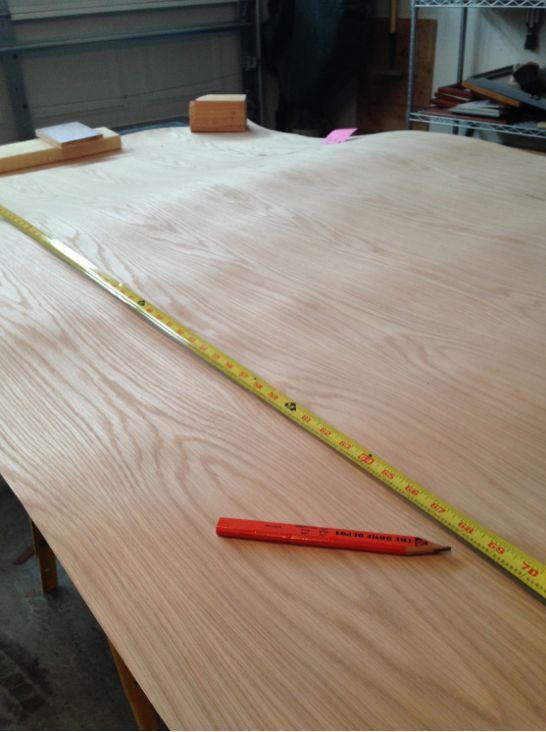
Measure out your veneer.
Measure out your veneer. Measure twice, cut once. Or in my case…I think I measured at least 6 times!
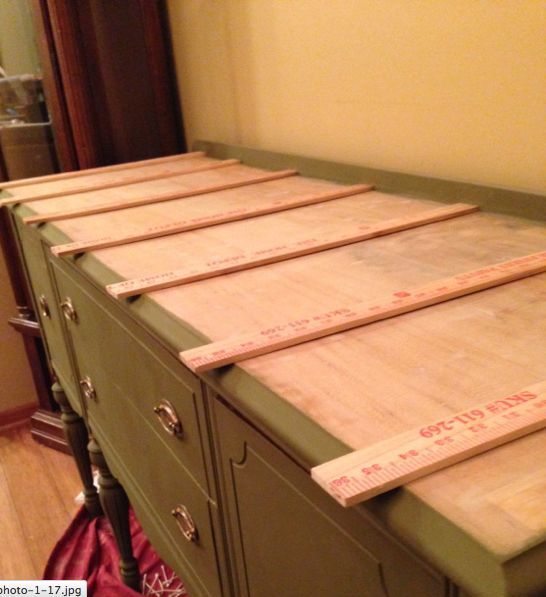
Just a trial.
Lay it all out, without the glue, to double check your measurements.
A good idea to lay out your painters tape before you start.
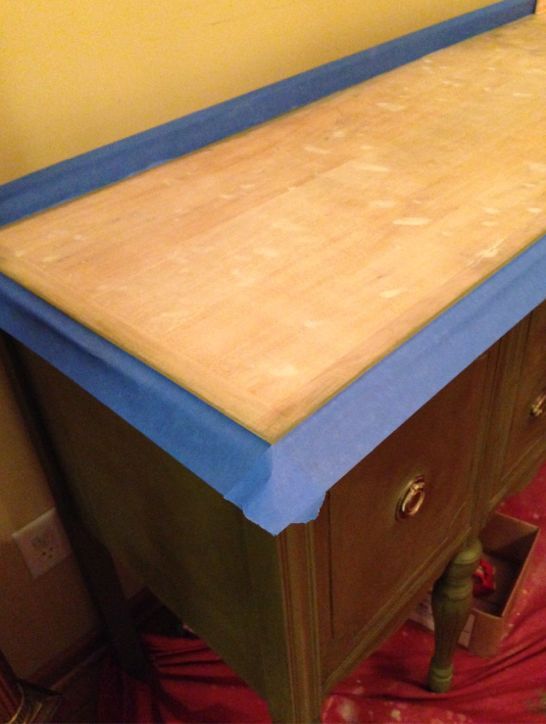
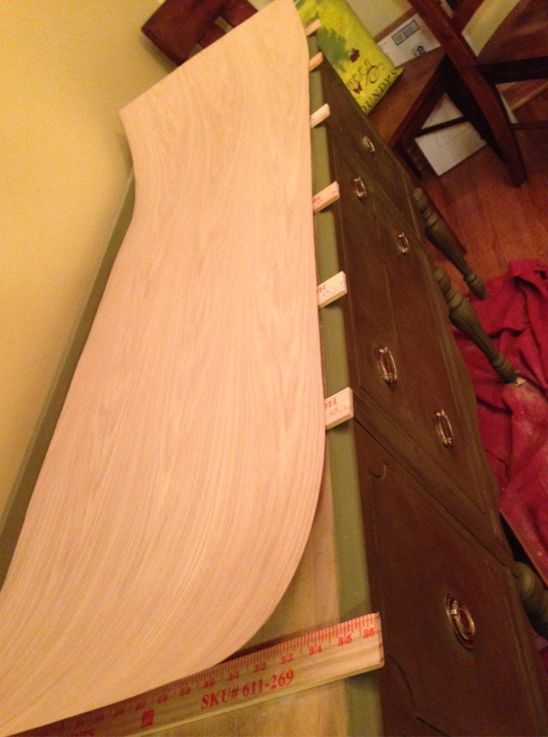
Prep for overspray.
Then, say a quick prayer and get out your glue.

Want more details about this and other DIY projects? Check out my blog post!


Frequently asked questions
Have a question about this project?