


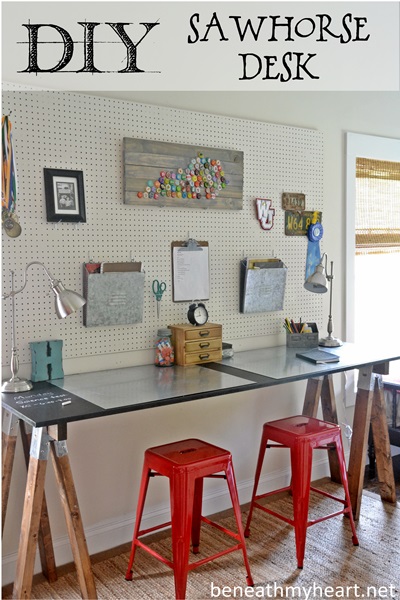
DIY Sawhorse Desk
Just in time for school to start, we created a sawhorse desk for our boys!
TO SEE THE COMPLETE TUTORIAL, CLICK ON THE URL LINK BELOW!
TO SEE THE COMPLETE TUTORIAL, CLICK ON THE URL LINK BELOW!
A sawhorse desk is easy to build and inexpensive. I like that you can build it as long or as short as you want it.
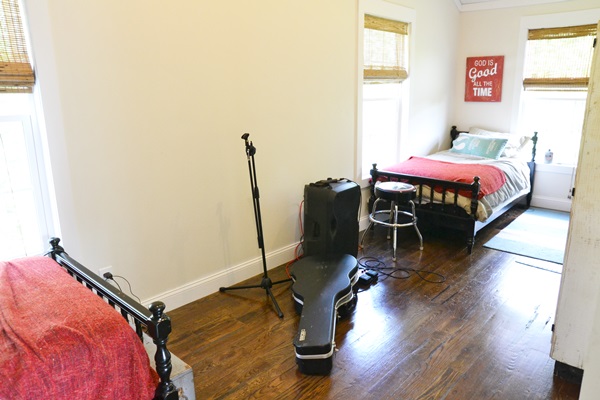
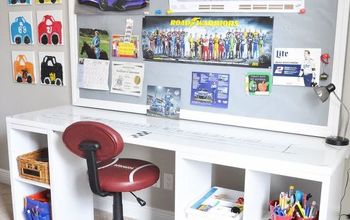
My two oldest sons share a room and there is a long wall space between two windows that we wanted to create a desk space for the before school starts (next week!)
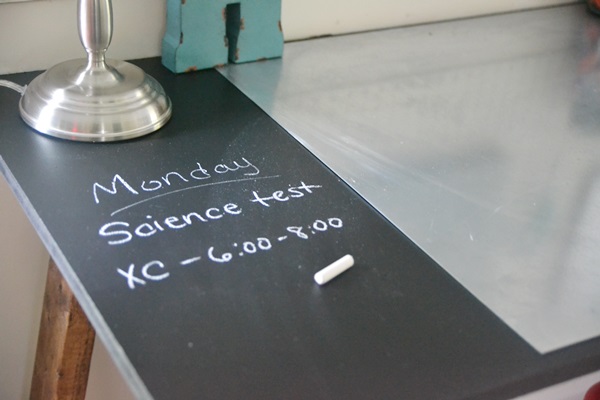
I had the guys at Lowes cut a piece of MDF board the length and width that I needed it and then I painted it with chalkboard paint. Now the boys can write themselves notes or reminders on their desk.
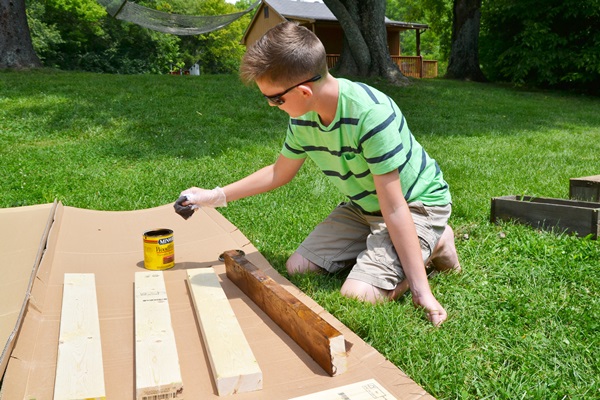
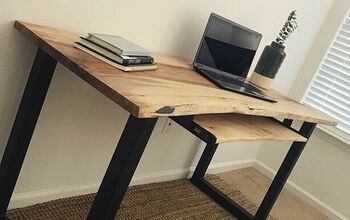
My oldest son cut eight 2x4's for me 31 inches long for the legs of the desk. He also cut two 2x4's 24 inches long for the top horizontal piece of the sawhorses. We bought two packages of sawhorse brackets from Lowe's for about $16. They were super easy to put together.

For the wall space, we added a pegboard. We attached 1x2's on the wall and then attached the pegboard to the 1x2's and painted it the same color as the walls. We also used two 24x30 inch pieces of galvanized steel to create "placemats" on their desk and define their individual work spaces. My boys helped me "decorate" the space with some of their favorite items and school supplies! We are super excited to have this space!

Want more details about this and other DIY projects? Check out my blog post!
Comments
Join the conversation
2 of 14 comments
-
Like everything about it......Except for the stools. Not good studying, writing seats, just saying.
-
This is really good. Contrats!


Frequently asked questions
Have a question about this project?