


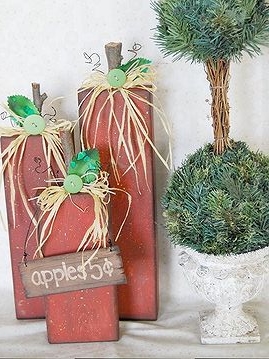
2x4 Apple Blocks Decor
It’s apple season, with fall coming up, I cannot wait to sink my teeth into some crisp and sweet apples. Yum! With being on the brink of fall, school starting back up, the air getting cooler, I love to celebrate the change in seasons. Apples are cute, let’s face it, and they’ve been part of our decor for ages. Doesn’t a bowl of them look pretty on the counter?
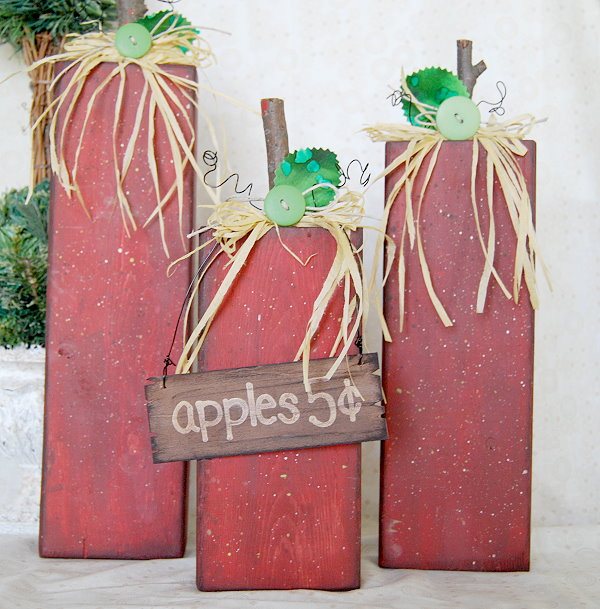
So in searching for a cute idea for 2×4 wood crafts, I came up with this sweet little bunch. You can tie them all together, or separate them a bit. I cannot wait to show you how I made these!
So in searching for a cute idea for 2×4 wood crafts, I came up with this sweet little bunch. You can tie them all together, or separate them a bit. I cannot wait to show you how I made these!
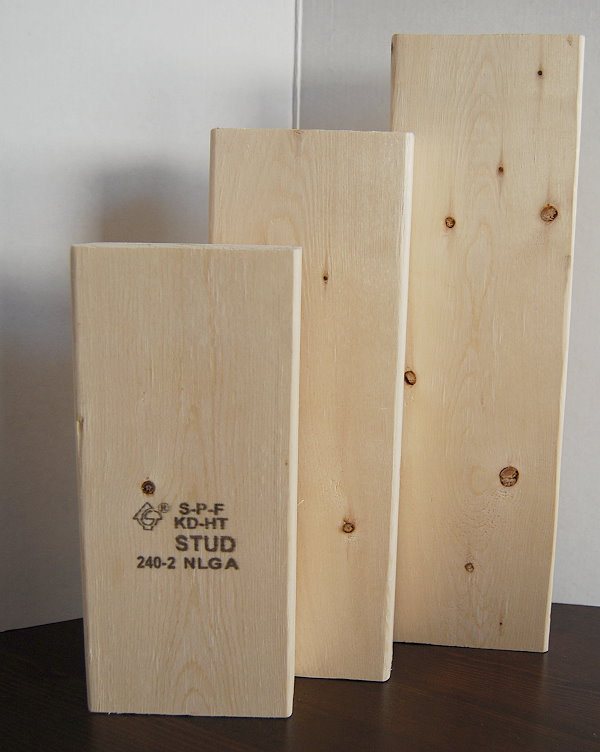
You’re gonna need- 2×4 pine wood, a piece of basewood, twig, drill and drillbit ,acrylic paint, dye ink, black wire, buttons, raffia, fabric and heat and bond, pinking scissors, sand paper, hot glue and hot glue gun, razor knife, paint pen, hole punch.
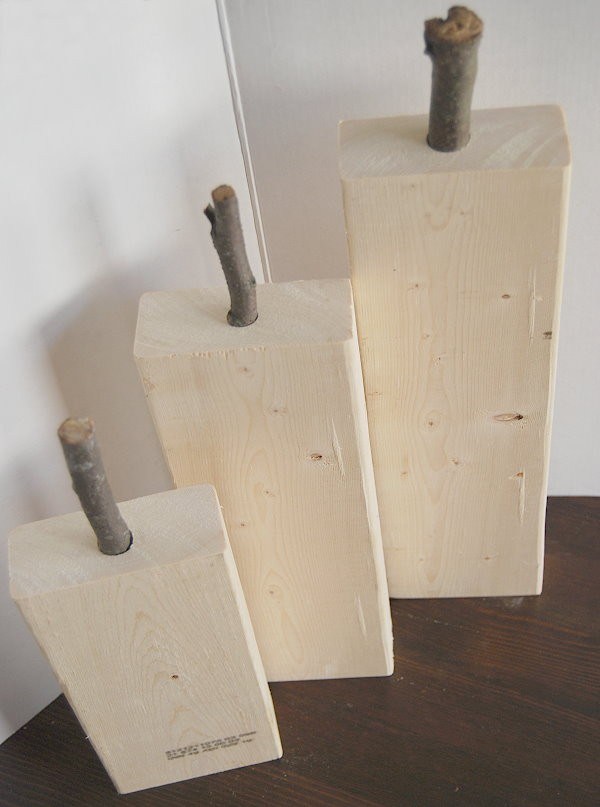
Next, I found a twig that I really liked. Hubby cut it into pieces for me ( you can do this with clippers or even a razor knife as well) then he sized my twig to the size of the drill bit and drilled holes in the top center of the blocks of wood.
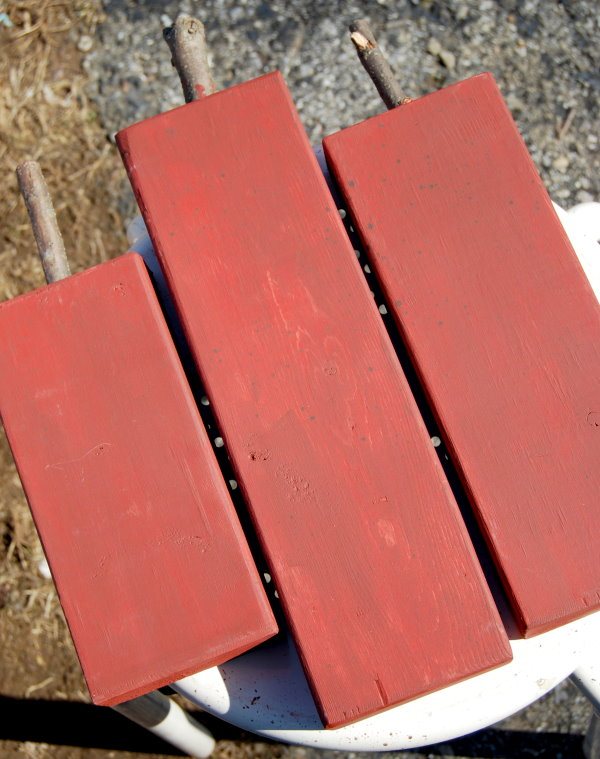
Next, paint the wood red, let dry and then splatter the wood with thinned down colors. I use a blend of about 1/2 water and 1/2 paint.
To finish the apples, I tied raffia bows onto the stems, once the bow was tied, I used my fingernails and tore the bow into strips.Next, I tied on buttons tied with twine bows, and hot glued them to the raffia bow center. I also tied a long piece of black thin wire to the stem, and twisted the ends around a pencil for the curls.Lastly, I cut a rectangle piece of basswood- this can be found in the craft store in the wood crafts section. I bought a large piece about 4 inches by 36 inches for a couple dollars. I trimmed small triangles from the two edges of the rectangle, to create a worn sign look. I painted the sign brown, then used a paint pen to write the apples 5C and after the white paint was dry, went over the whole sign with my thinned down brown/water mix of paint.
To see the complete instructions- please visit the blog.

Want more details about this and other DIY projects? Check out my blog post!


Frequently asked questions
Have a question about this project?