


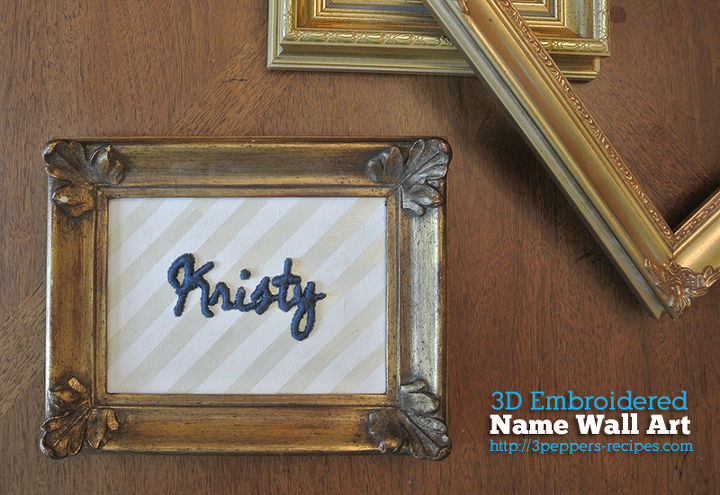
3D Embroidered Name Wall Art
I love wall art with depth.
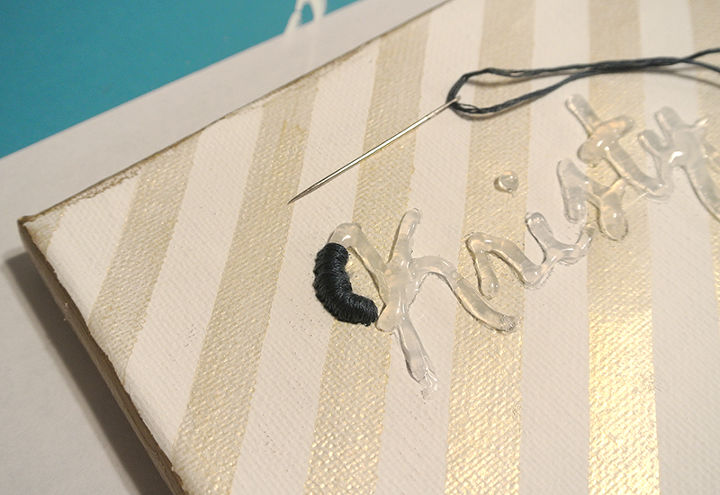
This piece is something I’m trying out for my office. It will be one of a few different pieces in the cluster, but I haven’t figured out the rest yet. I also wanted to try out a new technique – sewing over a raised bit of hot glue to get more depth to the piece.
This piece is something I’m trying out for my office. It will be one of a few different pieces in the cluster, but I haven’t figured out the rest yet. I also wanted to try out a new technique – sewing over a raised bit of hot glue to get more depth to the piece.
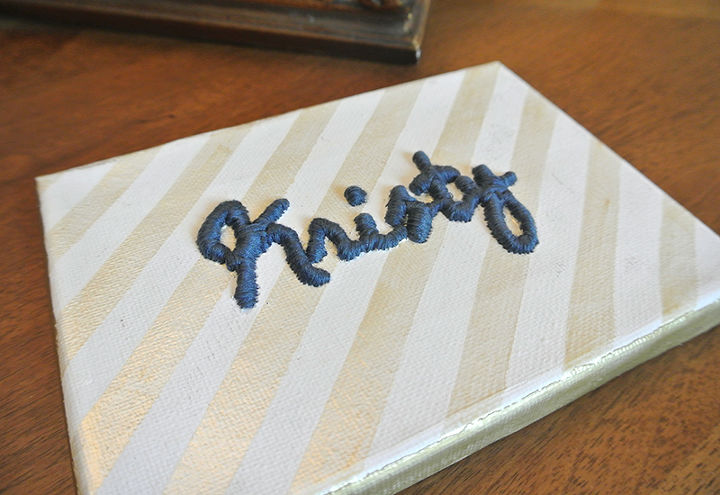
The first step is to paint the canvas. I chose to do stripes, painting the base color, white, first and letting it dry.
To transfer the image onto the canvas I used the old-school pencil transfer. I colored on the backside of the paper with pencil to cover where the name is printer. Then, placing the name on the canvas, centered in the open area, I traced the printed font – leaving behind enough of the lead on the other side so that I could see the outline.
Check out the link below to read more and see the full tutorial.

Want more details about this and other DIY projects? Check out my blog post!
Comments
Join the conversation
2 of 4 comments
-
Thank you!!
-
Oh wow... so simple yet it looks amazing 😁 I'm making these for my co-workers (who are preschool teachers) and all my kid's teachers this year... maybe I'll add some cross stitching since I'll use the same thread 😁👍 Thanks for sharing I'm super excited!


Frequently asked questions
Have a question about this project?