


DIY Hamper

by
Ronja Lotte
$0-10
1 Day
Easy
I have half built and half sewn my first "real" little piece of furniture. Since I have made an extensive tutorial for this hamper, I have split this tutorial in two parts. With this post I will show you how you can build this hamper out of pallets and tomorrow there is going be one of my infamous sewing-tutorials for the laundry bag at my blog. I hope that you try this project yourself and am curious if you like my hamper.

finished hamper
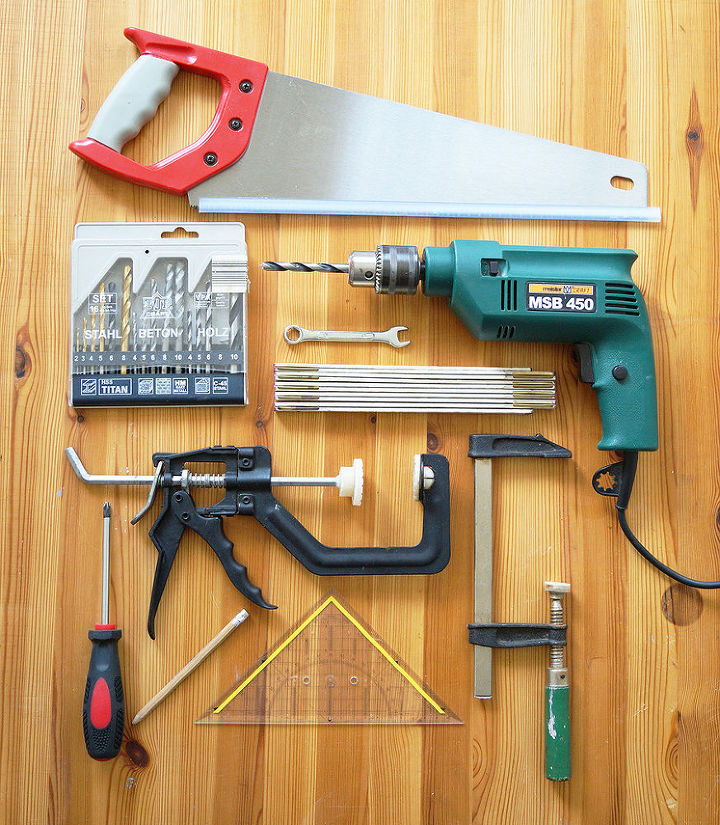
You need these tools...
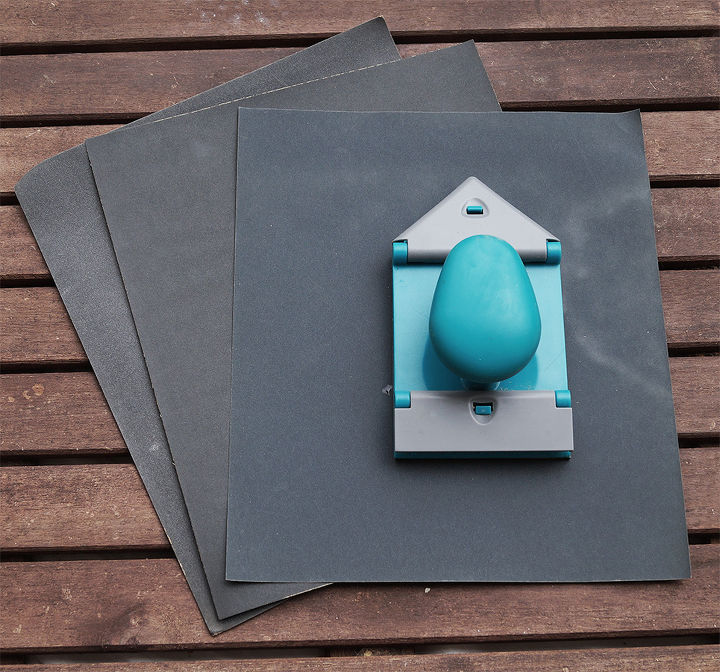
...sandpaper with different grain...

..these screws ...
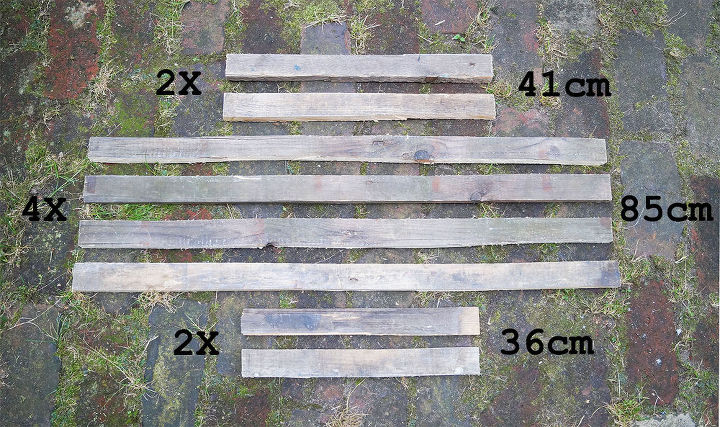
...and your boards! I have sawn my wood boards from pallets simply because I still had some. Later I was declared insane because I did not buy pre-cut wood, but honestly, the sawing of the pallets was quick and no problem. If you also want to use pallet wood, you might find my blog helpfull, where I describe how I saw pallet boards.
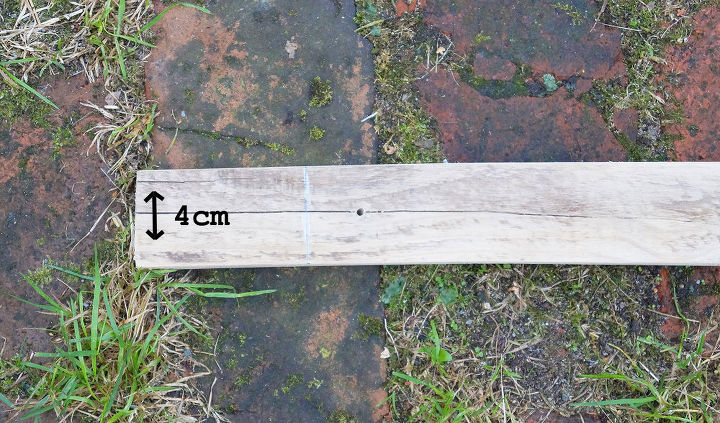
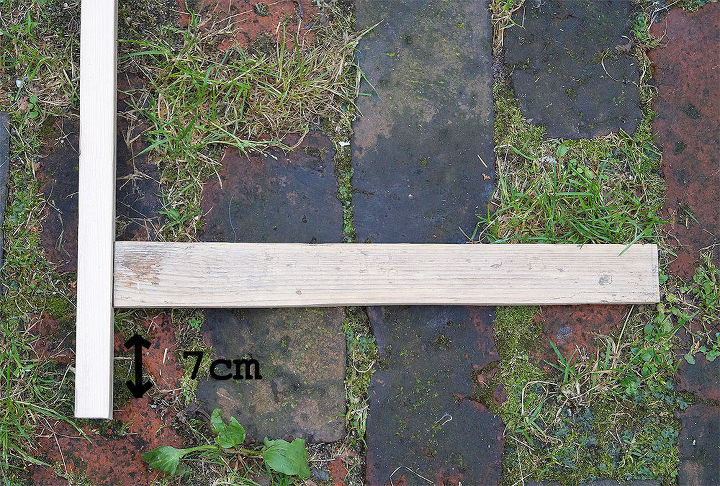
Take one of the 85 cm long boards and drill a hole at one end at the point where you want to install your cross board ( 41cm). The chalk mark on the photo above denotes the distance of seven centimeters from the end of the board and after another two centimeters (half the width of the board) I drilled my hole. If you drill screws directly into wood, it is important that you pre-drill a hole for the screw, one size smaller than the screw itself! Before whenever you screw your boards together, I recommend strongly to secure both boards to your table or your workbench with clamps. Otherwise, you will get in trouble while screwing.
In the hope that this will increase the stability of my design, I also glued the screws in the holes with wood glue.
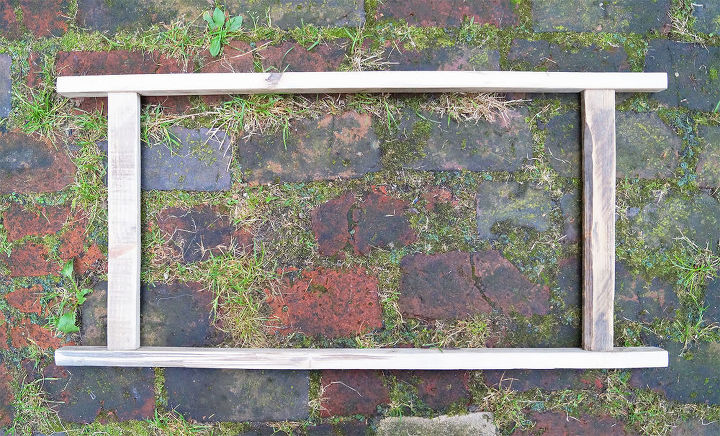
Next, you mount in the same way also the second cross board (41cm) at the other end of the board and then screw a second long board to the free ends of your two cross boards. Thus the first half of your frame is finished. Now you use the remaining boards and build the second half of your frame with the 36 cm long cross boards.

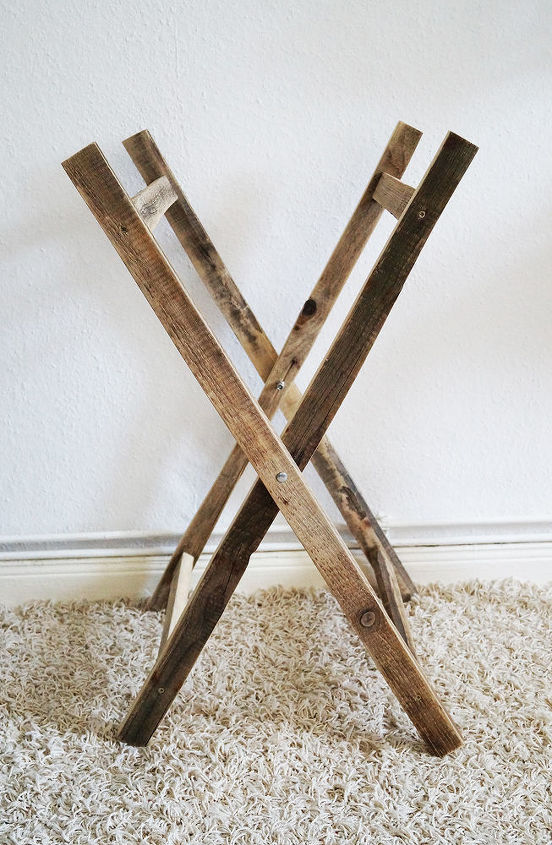
If you now push the two halves off your frame together, you can see see why the cross boards of the two halves had to have different lengths. Otherwise they would not fit together and the frame could not be folded later. Exactly at the midpoint of the long boards I now screwed together the two frames on either side. With these screws with nuts you have to drill the holes in the same size your screws have. Your construction gets support thereby that you tighten your nuts firmly with the wrench.
If you have decided how much space you want to leave for your laundry bag and have tightened the nuts, you can now already measure and write down the measurements for your laundry bag, ie height, length and width.
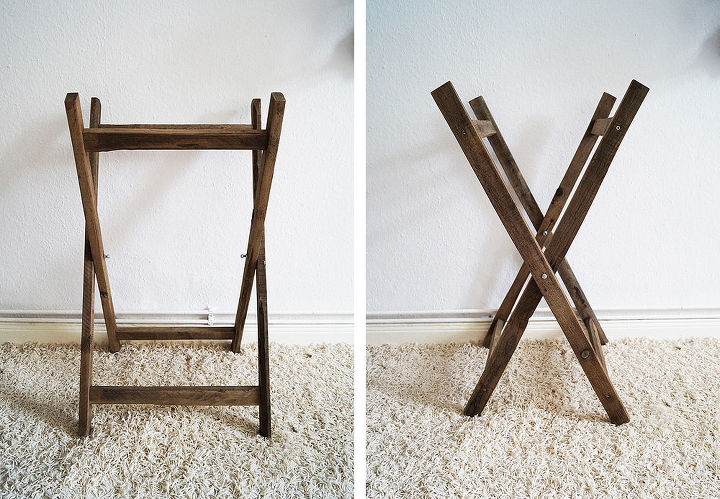
This step is optional. Since I sanded my wood in various degrees but still wanted my hamper to get a natural dark color, I treated my frame with a mixture of coffee, vinegar and steel wool to discolor the wood. Exactly how this works, you can read at my blog.
Want more details about this and other DIY projects? Check out my blog post!
Comments
Join the conversation
4 of 6 comments
-
Awesome! Great job :)
-
This is fantastic!


Frequently asked questions
Have a question about this project?