


Revitalizing a Filing Cabinet Tips
$25.00
1 Hour
Easy
Whether you have an office at home or in a corporate park, this is a great and affordable way to spruce up your desk. Recently I was revitalizing a filing cabinet in my office. Check it out.
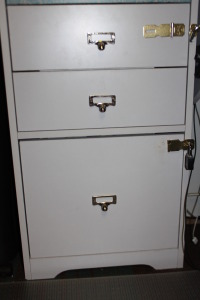
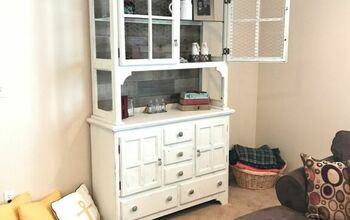
Before cabinet fronts: This is a before picture. The hardware was cheap and I have wanted to get rid of it for a while now. So I decided to give it a face-lift with pattern Contact Paper I had in my craft supplies. This is how I did it.
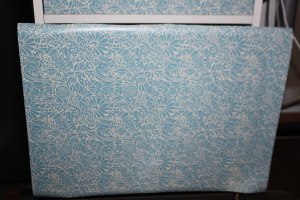
Then, I cut a strip of Contact Paper I had in the same directions so the pattern would be going in one direction. I made it about 1/2 inch larger on all four(4) sides. The I peeled the backing and attached it to the front of the drawer. I used a plastic credit card to push out all the air pockets.
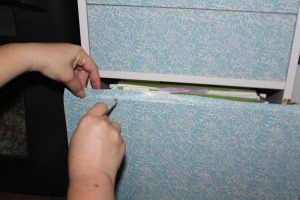
I first changed the X-Acto knife blade. Then, I took an X-Acto knife and held the excess up and dragged the X-Acto knife across all four side of the unit. It is really important to change the blade and start with a fresh blade.
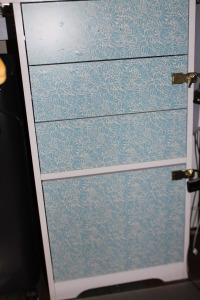
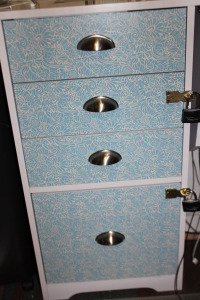
This is the finished revitalizing a filing cabinet. What do you think? Cute right? This is the image before the handles were added.
I create a template by making a copy of the back of the hardware on my printer. I used the existing holes to make sure it was centered. But the holes couldn’t be reused so, I used a larger Stanley 42-324 24-Inch I-Beam 180 Level and shorter Stanley 43-511 Magnetic Shock Resistant Torpedo Level. These are examples from Amazon if you need to buy them.

Want more details about this and other DIY projects? Check out my blog post!


Frequently asked questions
Have a question about this project?