


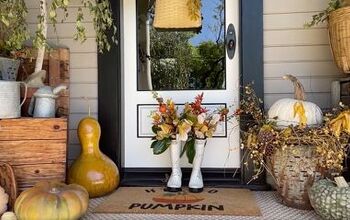
Thrifty Fall Centerpiece
I really wanted to add a pretty fall vignette to my dining room table, but I didn't want to shell out a lot of money for something that I wouldn't have up very long. I ended up using mostly older and thrifted pieces I already had. I transformed them to create the perfect neutral Fall centerpiece!
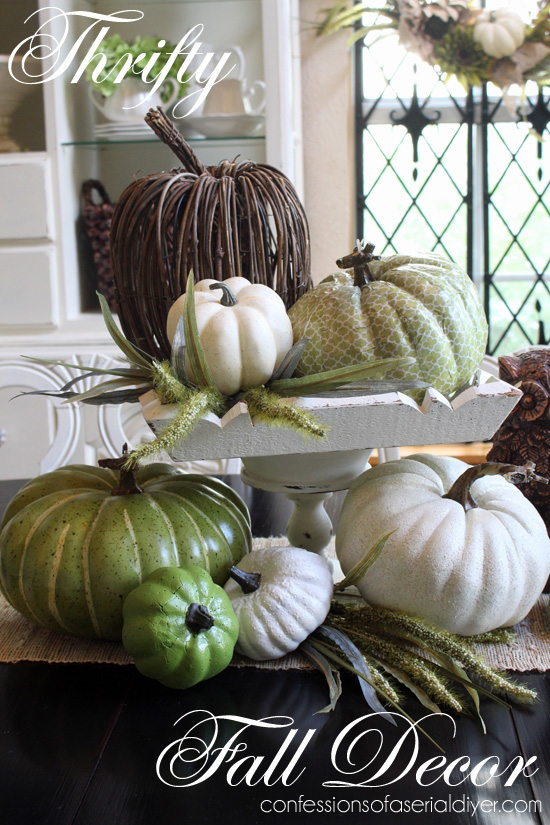
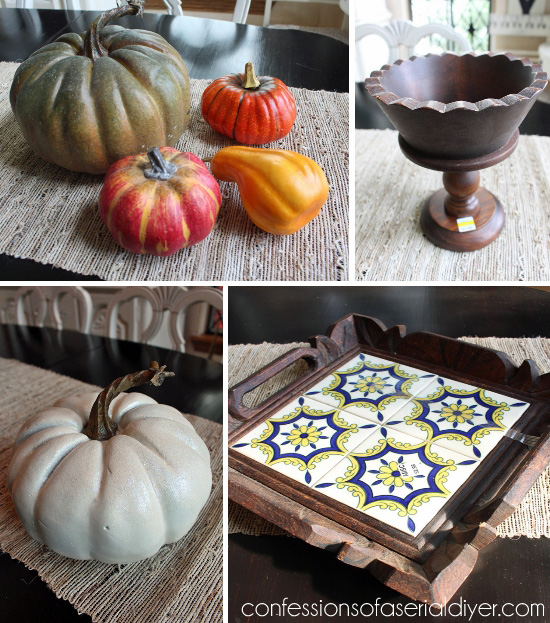
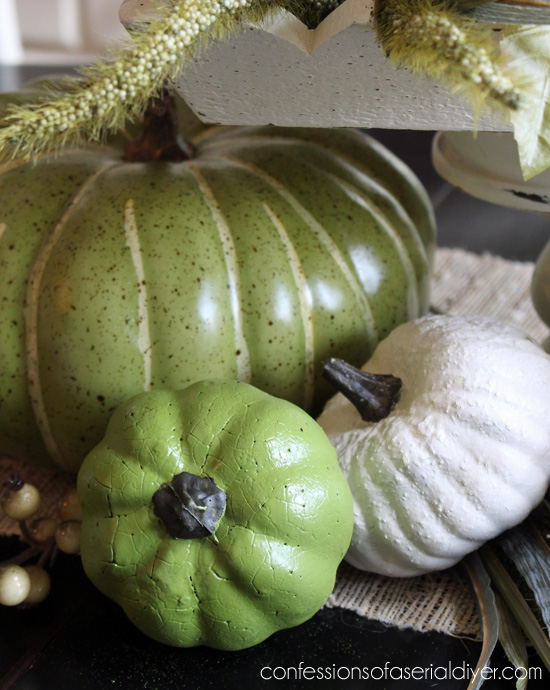
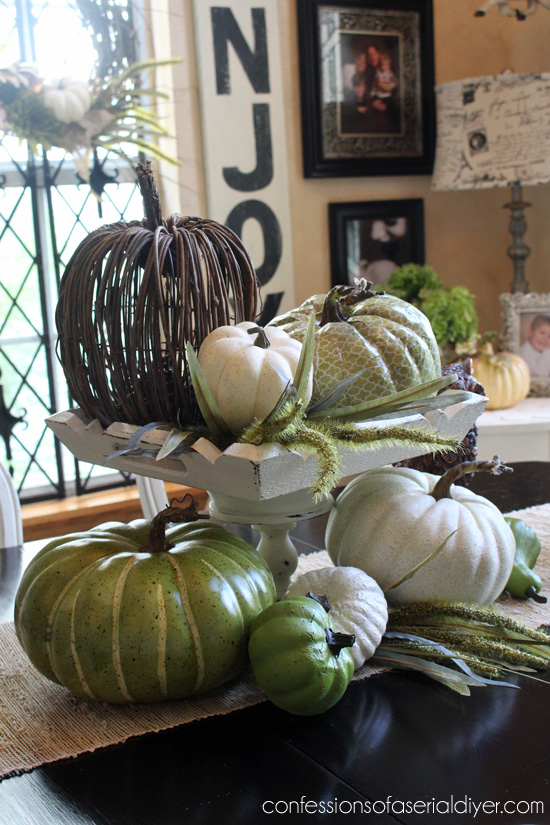
The large green pumpkin on the bottom left and the small ivory pumpkin on top were new purchases from Michaels. The grapevine pumpkin was a clearance Walmart find, but the rest used to look like this:
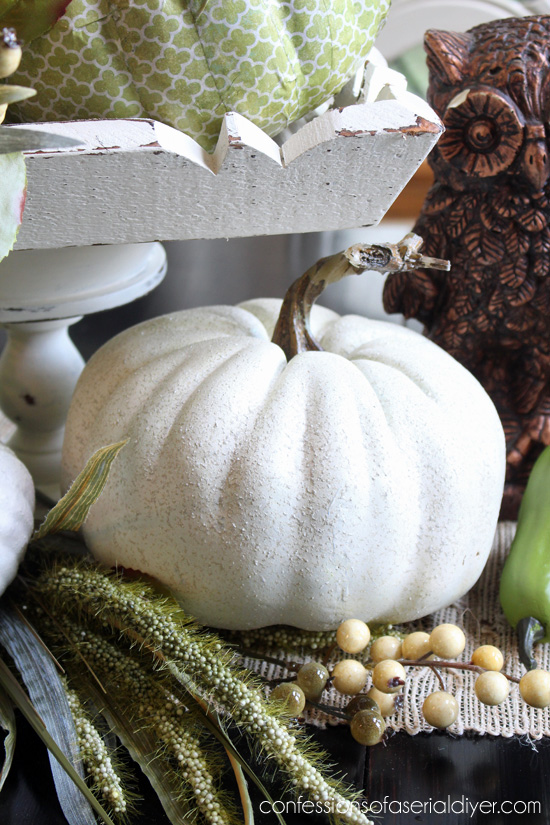
Pretty, eh? A little stone textured paint for the ivory pumpkin with the bad paint job...
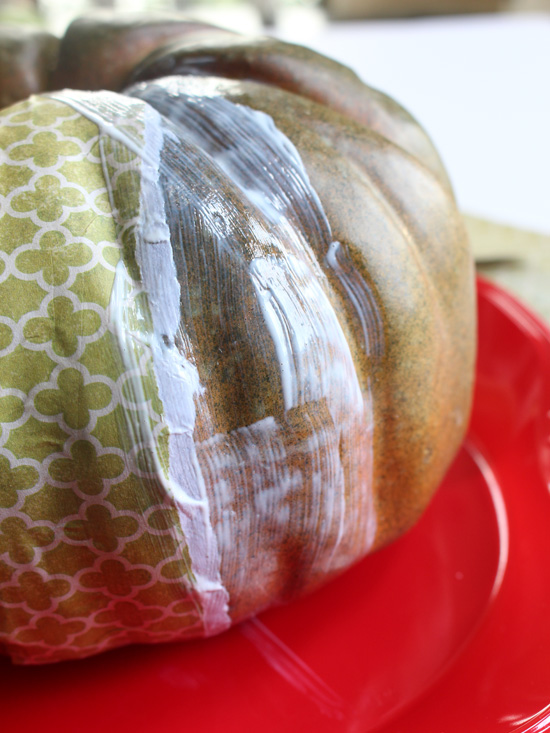
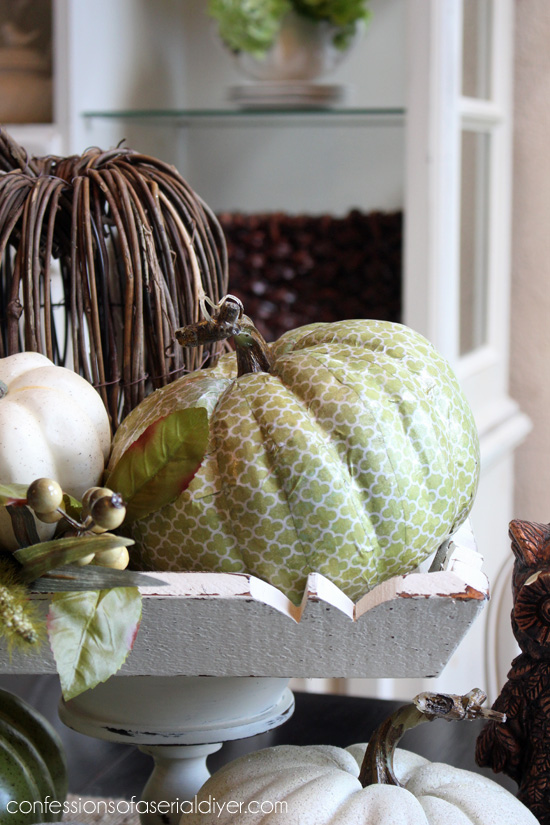
Mod Podge and pretty scrapbook paper transform the ugly green one top, right...
See the full how-to at the link to my blog at the bottom. The bowl-on-a-stand and the tray were both painted with chalk paint and glued together with E6000 glue to create the perfect base.
Spray paint in Rustoleum's Eden and Heirloom White transform the littles...
I tucked in a few sprays left over from my Fall wreath and added a sweet owl I picked up at a church flea market for 50¢ to complete this centerpiece.
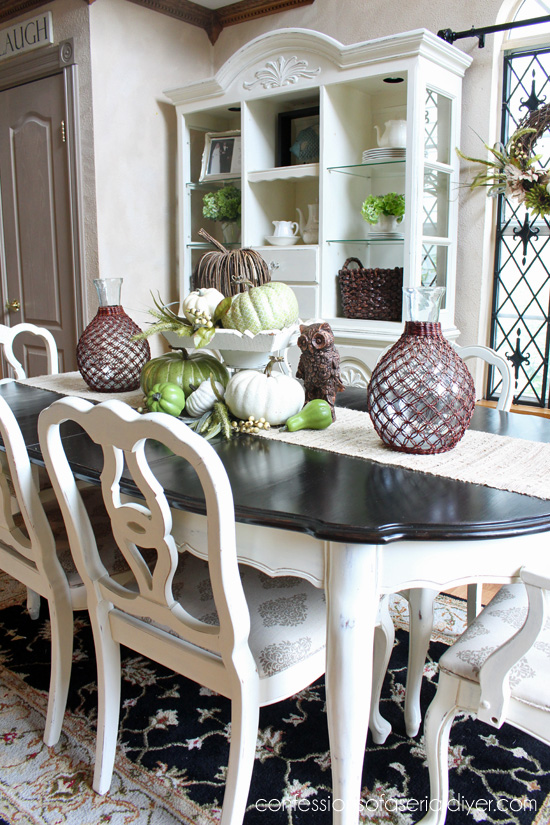
I went with a more neutral palette this year, but I really love it.

You don't have to spend a ton of money to decorate for the seasons! I did have to buy the stone paint, but even with that, I think this whole centerpiece came in at around $25. Not too shabby.

Want more details about this and other DIY projects? Check out my blog post!
Comments
Join the conversation
2 comments
-
Pretty!
-
Not too shabby at all! And look at the lampshade in the 7th picture! Did you make it?


Frequently asked questions
Have a question about this project?