


$30 Cedar Shim Kitchen Back-Splash

by
Jodi Adams
Decided to cover my chalk board back-splash with cedar shims.
Trimmed each shim down and stained them in a dark walnut colour.
Once they were all dried, we applied no-more-nails to the back of them and laid them on the wall in a brick pattern.
It has been a year and they still look great and take what ever my kitchen throws at them.
Trimmed each shim down and stained them in a dark walnut colour.
Once they were all dried, we applied no-more-nails to the back of them and laid them on the wall in a brick pattern.
It has been a year and they still look great and take what ever my kitchen throws at them.
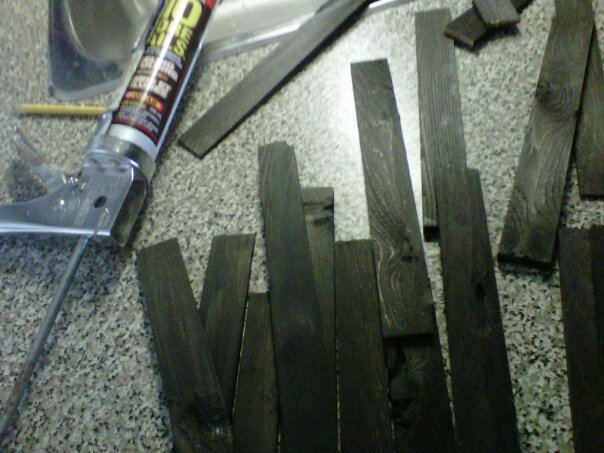
Stained and ready for no-more-nails
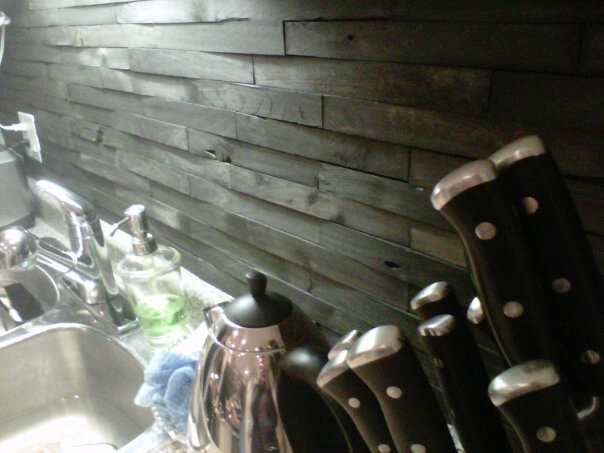
All done and looking great.
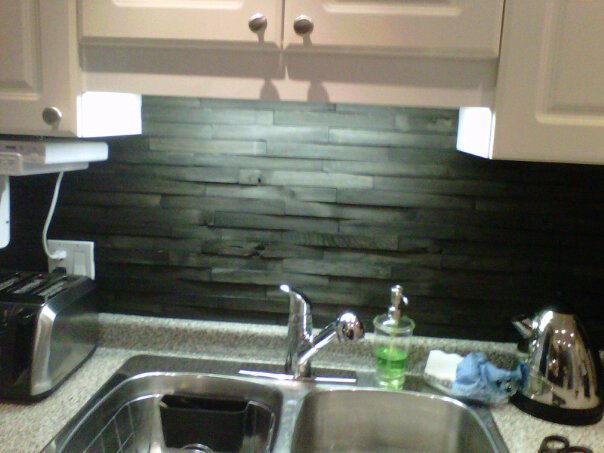
Love the texture and the rustic look of them.
Comments
Join the conversation
4 of 8 comments
-
This looks amazing. Great job !!
-
Did you install this on back of stove? I would like to do this but afraid of a fire hazard. What would you suggest for protective coatings etc.???? What did you mean trim & no more nails? It looks great!!!!!!


Frequently asked questions
Have a question about this project?
How many packs of shims did you use and how many square feet did you cover? Trying to see if this is more cost effective than my other ideas!!