


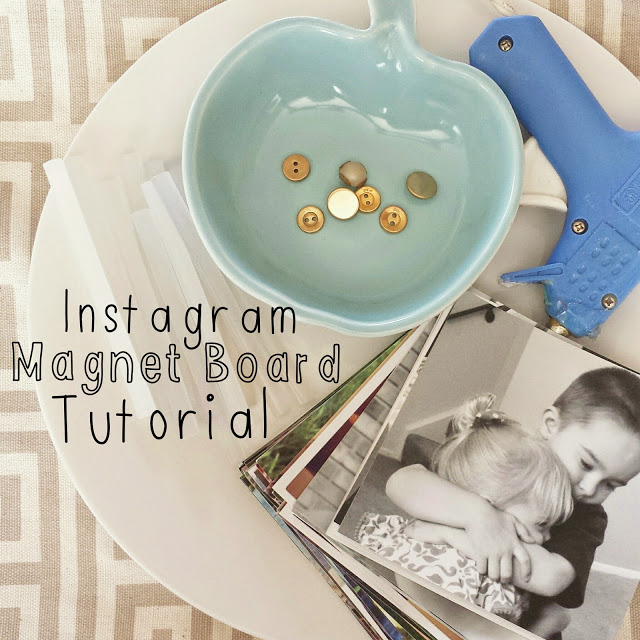
DIY: Instagram Magnet Board Tutorial

by
Heather Hess
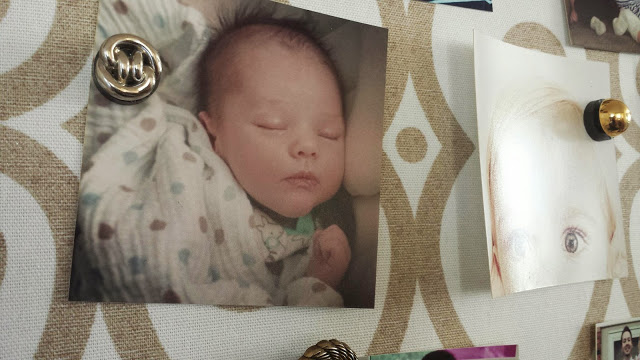
I love Instagram. Actually, it is scary how much I love Instagram. So I decided to print my favorite pictures and display them so I can see them everyday. I use PostalPix to print mine. Their app is very easy to use and they are very inexpensive. Since I didn't want to ruin any of my prints with thumbtacks, I decided to go with a magnet board to display them.
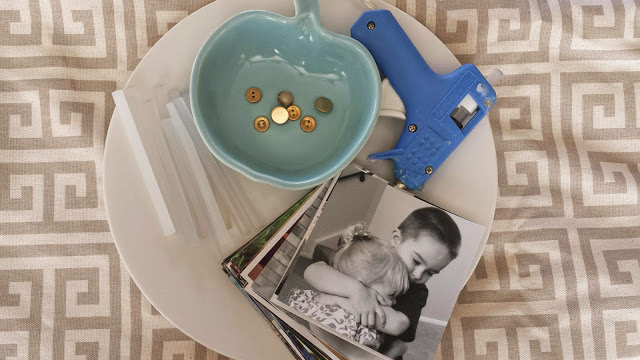
Here is what you will need:
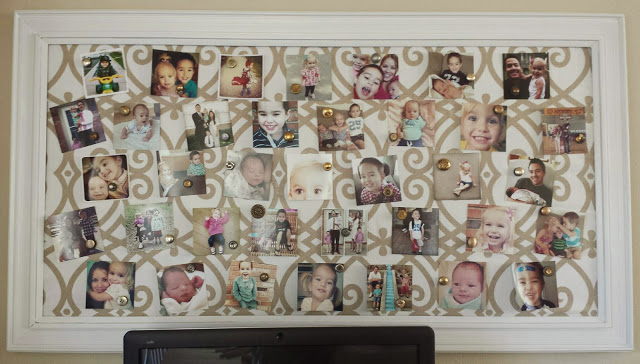
Once you have your metal cut to fit inside your frame, wrap the fabric around the front of the metal (don't put your metal in the frame yet). I used Duct Tape to secure my fabric to the metal, since you won't be able to see it anyways. You can use glue, but I prefer tape because you don't have to wait for it to dry and if you want to change fabrics later, tape will be easier to take off compared to glue.
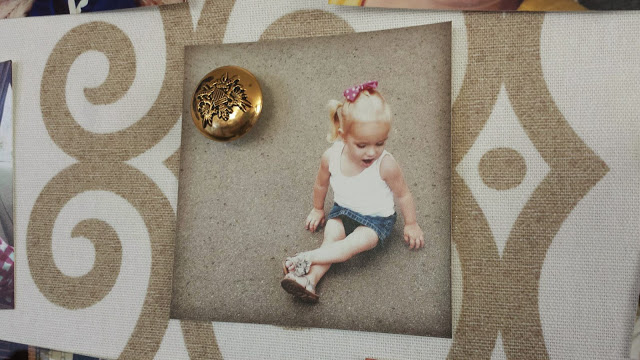
The last step is to decorate your magnets. You could just leave them plain but I decided to add a little gold. I bought a bag of 50 buttons for $5 on Etsy that you can find here. I cut off the backs of the buttons with tin snips, then hot glued them to the magnets.
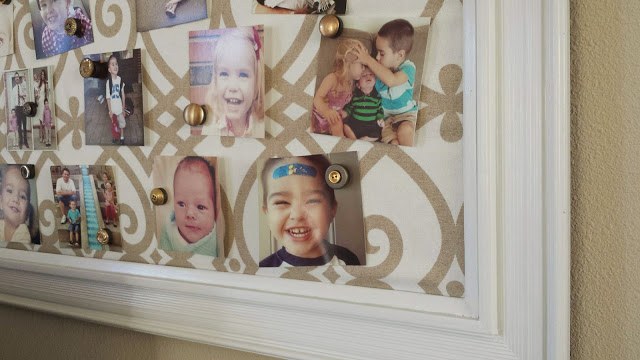
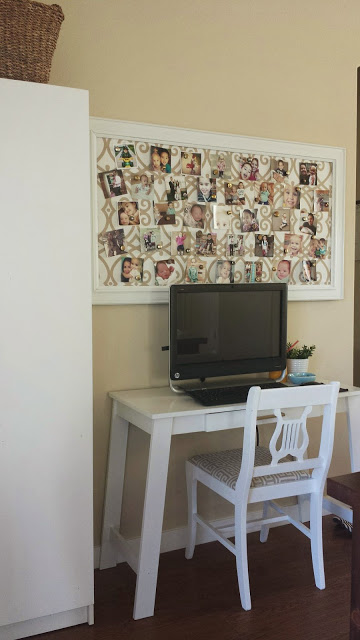
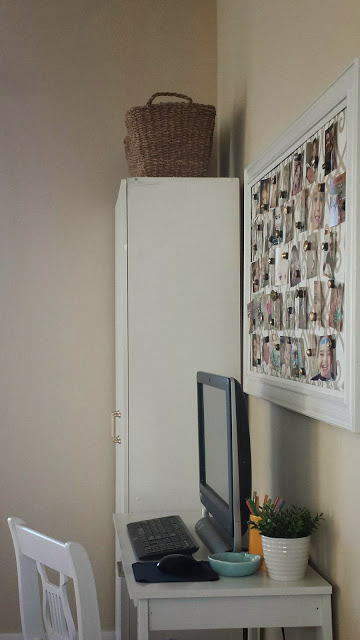
Hang your frame and you are done!
Want more details about this and other DIY projects? Check out my blog post!
Comments
Join the conversation
4 of 15 comments
-
Those are the most beautiful children ! Couldn't help noticing.
-
I love it, really cute idea I am going to make it


Frequently asked questions
Have a question about this project?