


Installing a Garbage Disposal

by
James A
Installation of a Replacement Garbage Disposal
*Options I considered for this project:
Either not using the disposal or getting a new one. Calling in a plumber for this small job did not seem cost effective.
*Questions and unexpected events that arose during the project:
The new disposal was not installedin quite the same manner as the old. Getting underneath the sink in the correct position was a challenge.
* Cost Comments:
A higher priced unit would have more horsepower and run more effectively. My usage is small and this low-priced, low horsepower unit seemed to fit my needs (and budget.)
*My motivation to do this project:
Heard a terrible noise inside the disposal. Inside the cutting teeth had become disconnected.
*Project Steps:
Went to home improvement store and decided on a small inexpensive model. Made sure power was off. Removed the slip fittings on the drain to the P-trap. Removed clamps, tubes and other fittings that connect the disposal to the drainpipe and hose from dishwasher. Disconnected the electrical wiring. Turned the locking ring with a screwdriver counterclockwise. Removed the sink flange. Removed old putty. Spread plumber's putty over the top drain opening and press the new sink flange into place. Slip the gasket and mounting rings over the bottom of the flange and tighten the three mounting bolts with a screwdriver to secure the assembly to the sink. Knocked out plug for dishwasher hook up. Unscrewed the access panel on the bottom of the disposal and use the wire nuts to twist together the white, black, and green wires with the power cord. Reinstalled the panel. Aligned the mounting tabs on top of the disposer with the slots in the mounting ring. Turn the mounting ring until the tabs lock into place. Slipped the gasket supplied with the disposal over the discharge shoot opening and connected the discharge tube to the P-trap. Tighten the large nuts with the channel lock pliers or pipe wrench. Attached hose from dishwasher Turned on the power, filled the sink with water and turn the switch to the disposal. No leaks and a new, quiet garbage disposal.
Advice:
Do arrange all tools for easy reach since you will be under the sink. Do have water cleanup items handy. Don't forget to knock the dishwasher intake plug out if there is a dishwasher. Do make sure the sink flange seats firmly and there are no leaks.
Materials:
Disposal - $69.00
Plumber's putty - $4.00
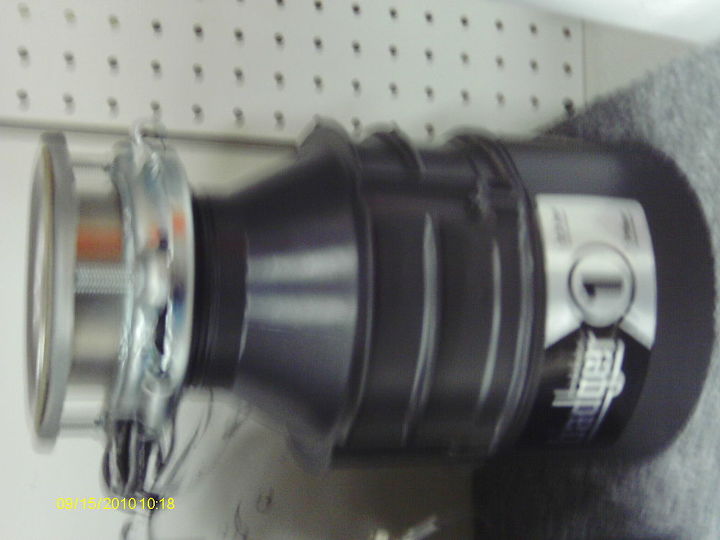
This smaller unit seemed to fit my needs.
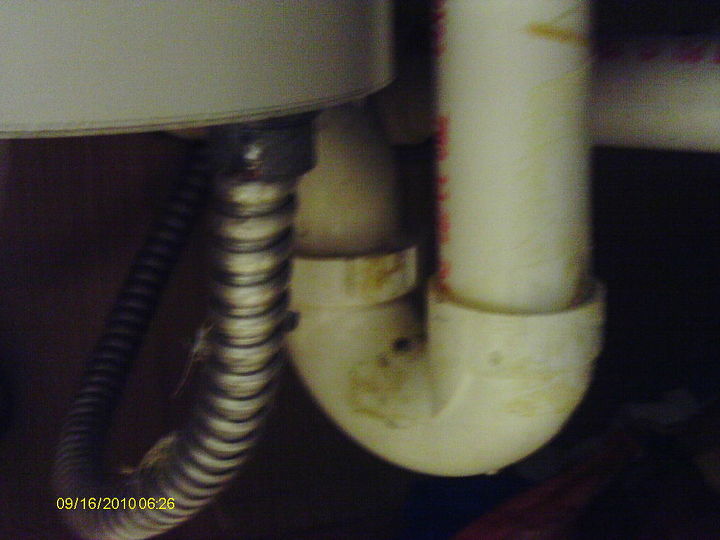
Drain attaches to P-pipe
If there is a dishwasher intake, do not forget the knockout plug.
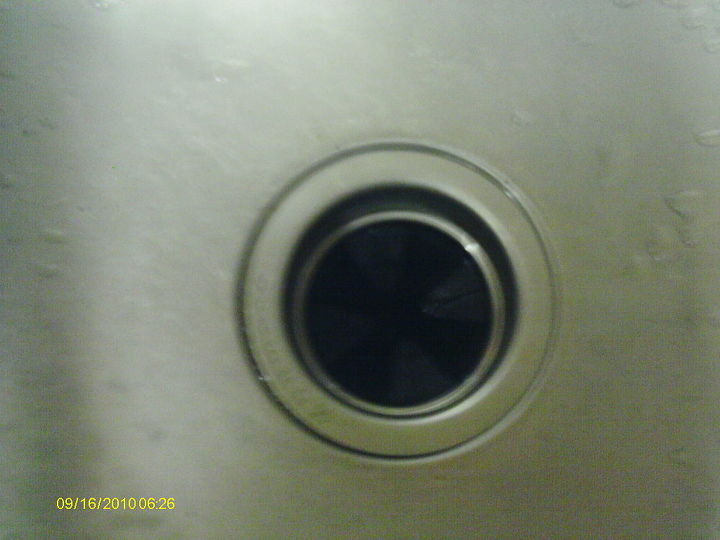
Clean around the opening before using new putty and installing the new flange.
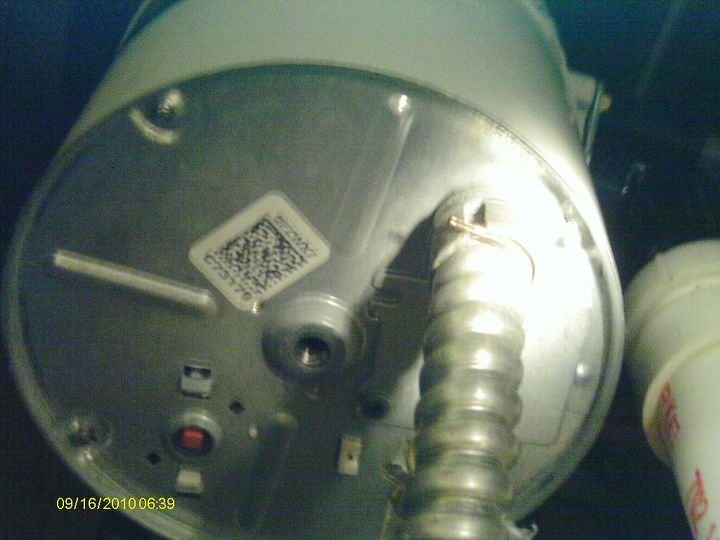
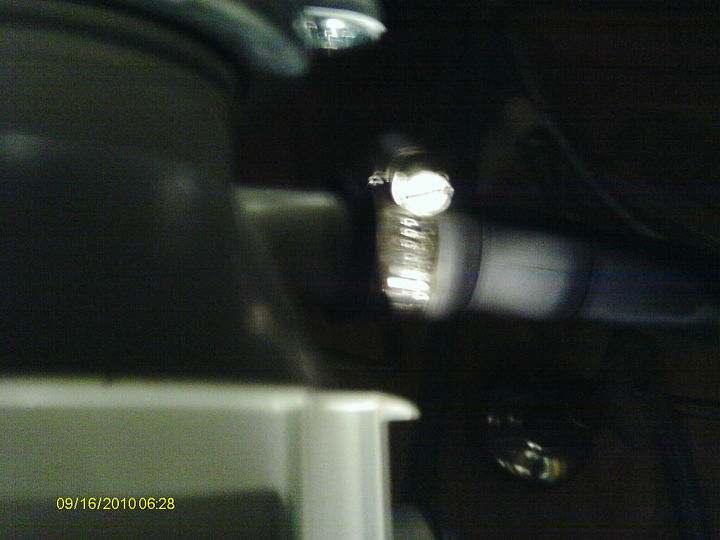
Make sure electrical connectors are tight and the cover reattached. The center hole is for an allen wrench to unjam the unit if ever needed.
Comments
Join the conversation
1 comment
-
Thanks for sharing - with the newer twist-and-lock fittings that the main brands now use for their disposers, it's super-easy to fit a new garbage disposal but, as described here, it's key to check the electrics and call in a specialist !


Frequently asked questions
Have a question about this project?