


Black White Kitchen Counter Beautification Tiling Project

by
Alicia A
I have the ickiest, dirtiest formica junk on my kitchen counters right now. I want to replace them with these groovy black and white tiles I found
*My motivation to do this project:
First of all, because I NEED new counters, no question. Secondly, my mother recently (successfully) completed a kitchen re-tiling project - it was only 2 people, only took 3 days and cost probably only $1000. Thirdly, because these particular tiles fell out of the sky for me, thus reducing my cost.
*Project Steps:
1. you decide whether or not you'll just cover the existing surface
2. if yes, then you take the sink and the stove out
3. if no, then first you strip the existing stuff; then
4. you lay your tiles "en seco" throughout the entire surface to figure out how it will all lay, and how many cuts will there be (as in corners and odd places)
5. you lay down your backing (backerboard--the nastiest stuff on earth!), where the tiles lay on top of
6. once the backerboard is attached (w/screws) to the surface, you have to figure out the openings for the sink and stove that you formerly took out
7. that's the WORST of the WORST (opening those wholes), becz that nasty stuff is made of concrete and the dust that you displace is HORRIBLE! almost requires oxygen masks to work w/it.
8. once the holes are open, you start putting down the glue for the tiles to lay on, a little at a time, and laying down the tiles in their permanent position
9. once all the tiles are glued in place, including all corner pieces, and the ones that go on the edges,
10. You lay down the grout in sections and smooth it out before it dries (it dries pretty fast)
Materials:
3 (contains 10 sets each) X Daltile 2" Oct./Black Dot/Matte White Tiles - $0.00
1 (was just trying it out) X Custom Building Products VersaBond Fortified Thin-Set Mortar White 50 Lb. - $15.97
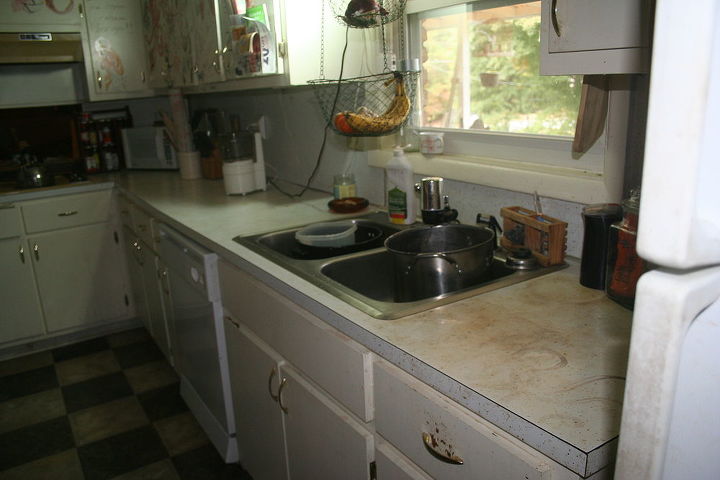
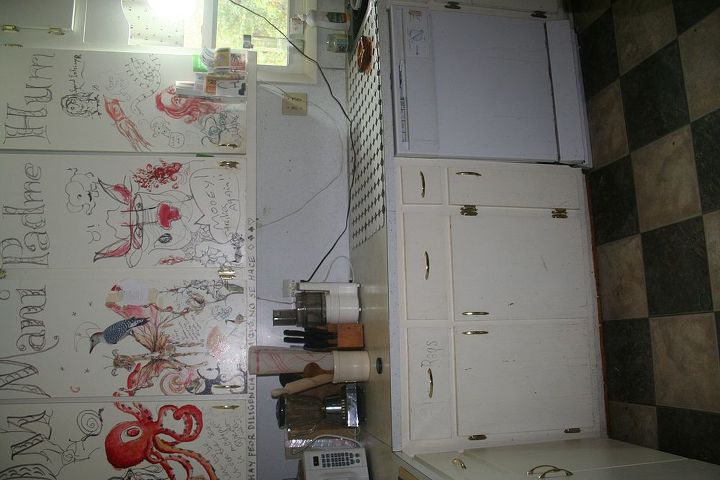
current state of kitchen
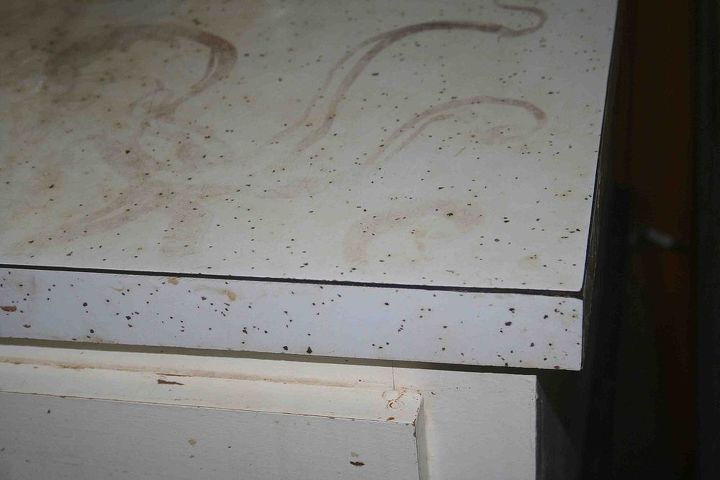
This is how gruesome these counters are!!! You can't ever EVER clean the stains off them
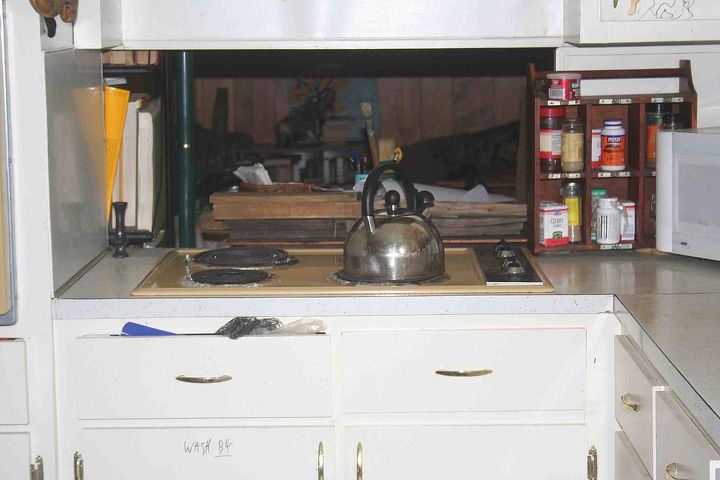
this stove part has it, too. Would need to also be re-tiled. Maybe cutting up tiles?

the tiles in question
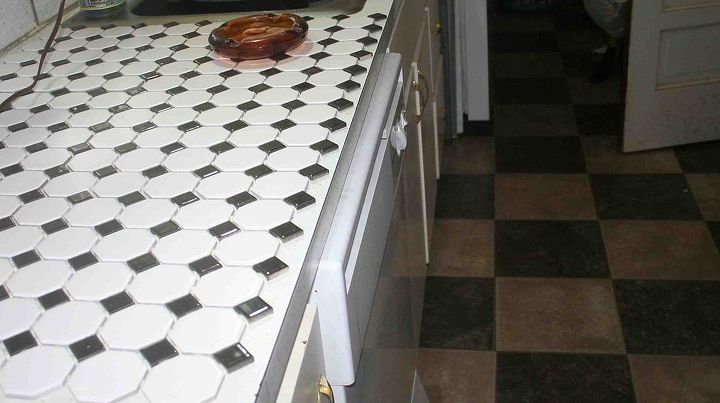
see how nicely they match up with floor?
larger view of how it could be vs what it is now
Comments
Join the conversation
2 of 33 comments
-
What about the cabinets? Should you work on these first? I don’t want to sound discouraging but there is a lot to consider. Let us know what you come up with.
-
rethinking my whole project... aarg! more delay!!


Frequently asked questions
Have a question about this project?