


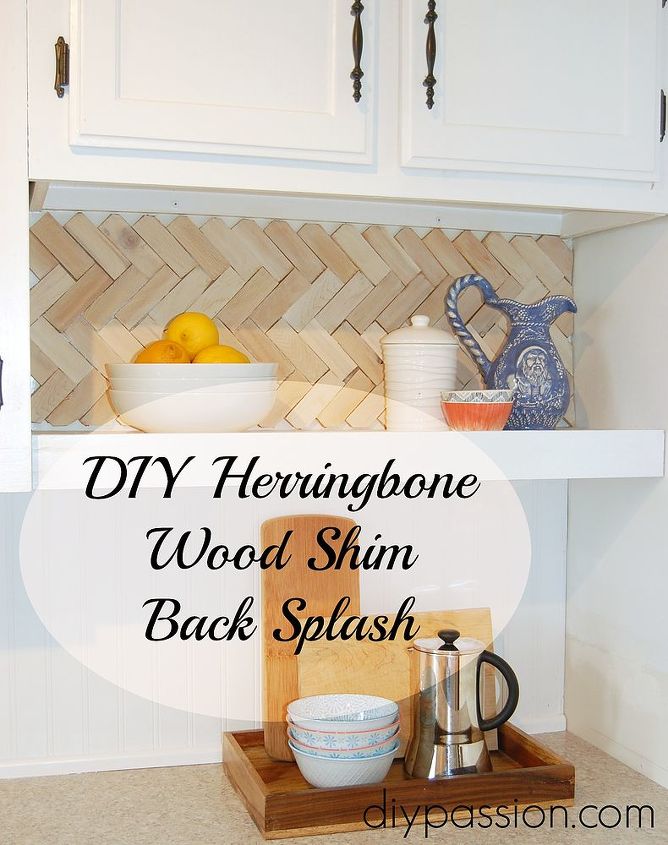
DIY Herringbone Wood Shim Backsplash

by
DIY Passion
$4
1 Day
Medium
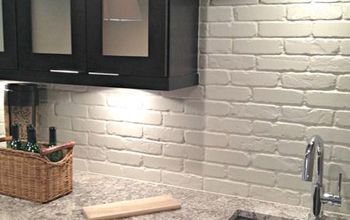
We are trying to add some texture and rustic charm to our 'new-to-us' kitchen. This open shelf was created when we relocated our fridge and it was a boring, blah space. We added a little 'something' with this herringbone back splash made from wood shims. Bonus? It's completely removable down the line!
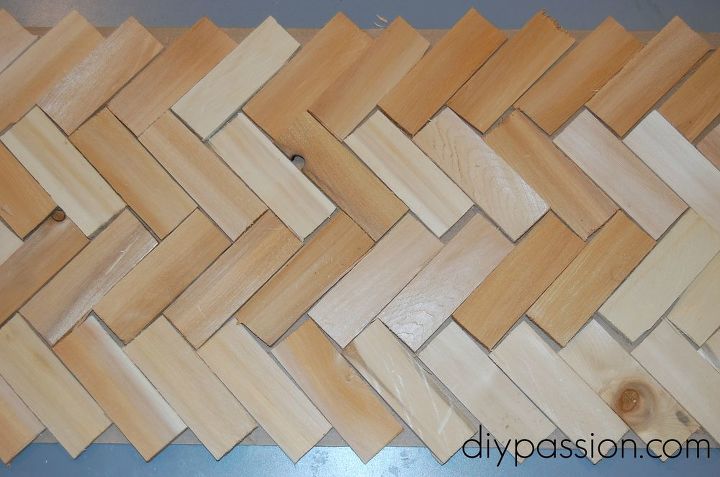
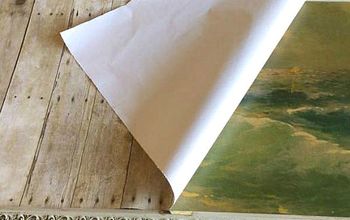
I started by measuring the shelf space and sizing some cardboard to those dimensions. I actually had to tape two pieces together. Then I drew a line down the very centre.

Then, I filled in the rest of the pattern to make sure it all fit and I liked it.
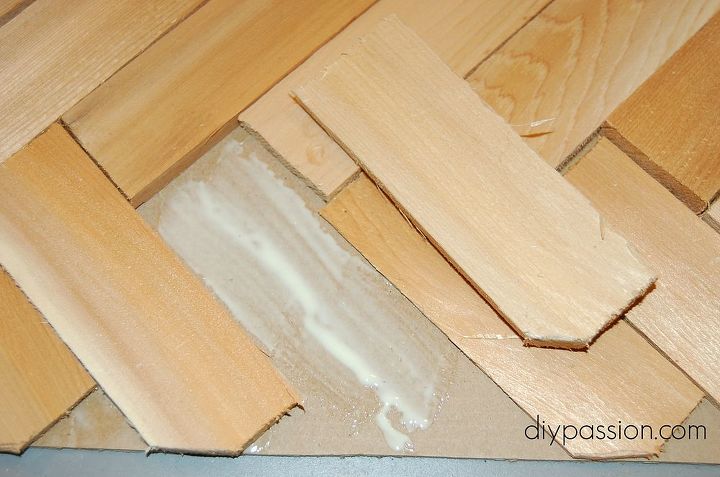
Using basic wood glue (and some heavy books!) I fixed each shim to the cardboard. I also used a hack saw to carefully size each piece to the cardboard's dimensions as best as possible.
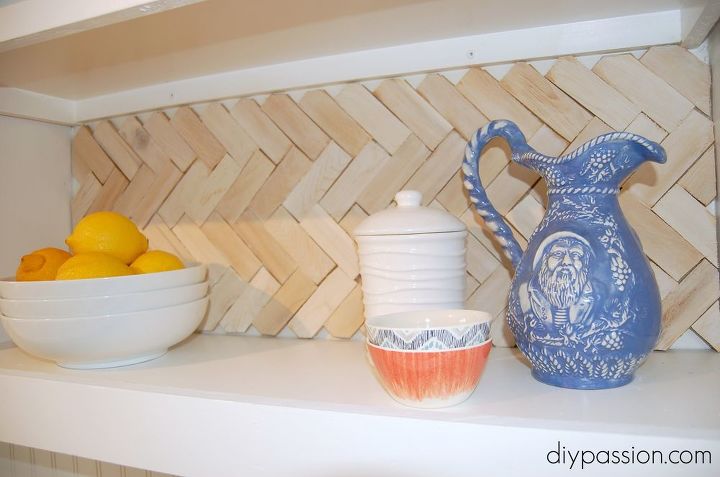
Then I simply stuck it up on the shelf! No need to nail or glue it to the wall - the cardboard fit nice and snug!
For more details on how this project came together, make sure you visit our blog www.diypassion.com! Thanks so much for reading :)
Want more details about this and other DIY projects? Check out my blog post!
Comments
Join the conversation
2 of 55 comments
-
I made something similiar and used wood mixer sticks and yard sticks (ordered online) from Home Depot.
Easily painted if you want!
-
Genius idea!! Much cheaper than tile. What I love is it’s paintable too and that makes it so much more flexible for resale (which I plan to do in a few years). I can have my bright color but make it neutral for the sale.


Frequently asked questions
Have a question about this project?
LOVE the project. I have to ask, where did you get the beautiful blue jug? Thank you, Linda
Great job! I have a thing for Herringbone anything! Hey do you have a picture from further away so I could see what it looks like from like say 6 feet away from it?
Hi, like your idea. Do you think that could put it over my square tile back splash. Our house was built in 1984, it was my parents and they never did any updates. The tiles are yellow and I want to see a little more blue in my kitchen.