


L shaped Walnut Slab desk
Working on for a client...Starting with large thick walnut slabs from a local sawyer. First step was jointing a flat edge and gluing up the three main boards. Surface was flattened using old world tools and techniques...(my power planer can not handle 40" stock)
Next up rip and joint the remaining slabs for the narrower return part of the L shape.
stay tuned for more progress
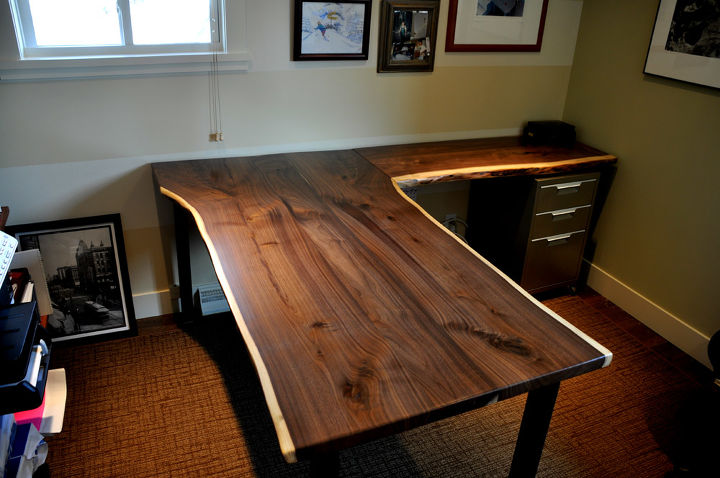
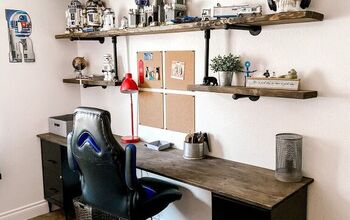
Got this installed last week at the clients home
Next up rip and joint the remaining slabs for the narrower return part of the L shape.
stay tuned for more progress
Got this installed last week at the clients home
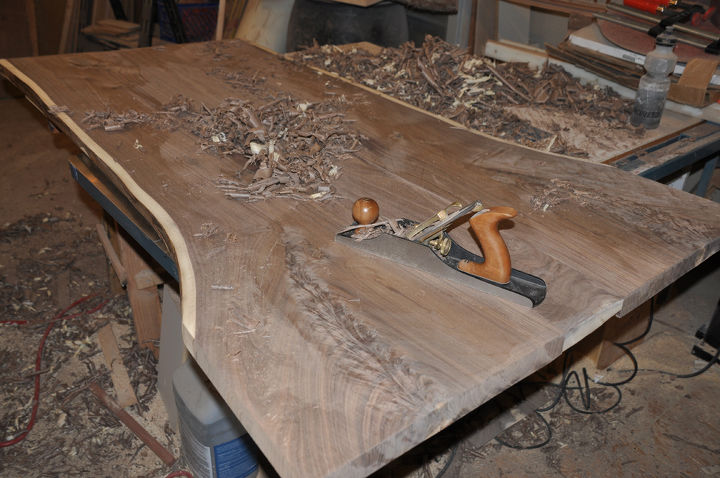
Main area of desk being flattened with #5 Lie Nielsen smoothing plane.
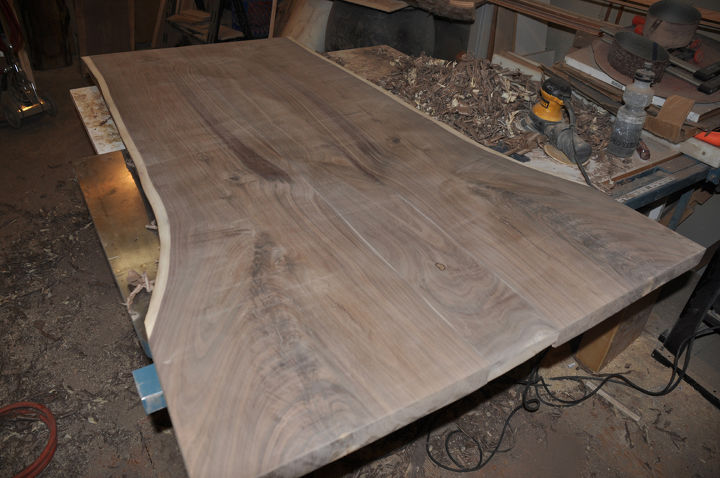
planned and rough sanded
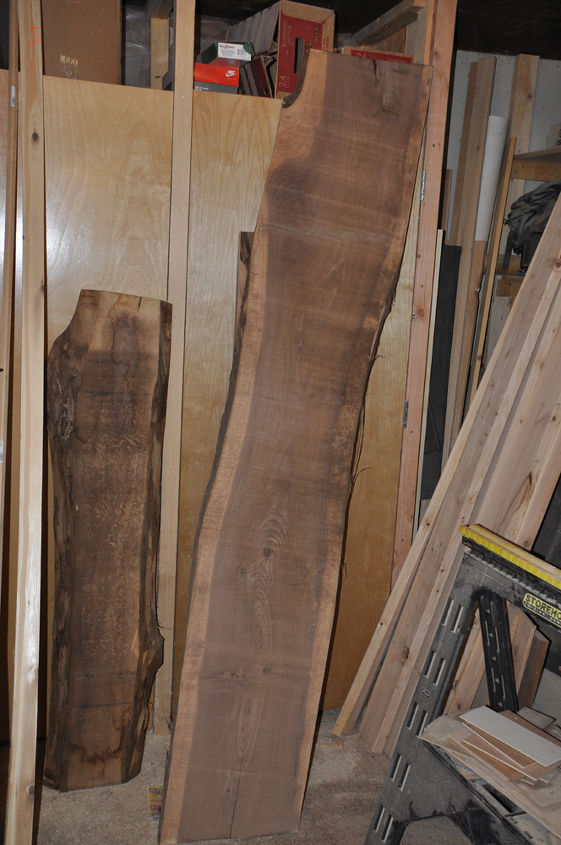
remaining slabs for L return waiting to be worked on
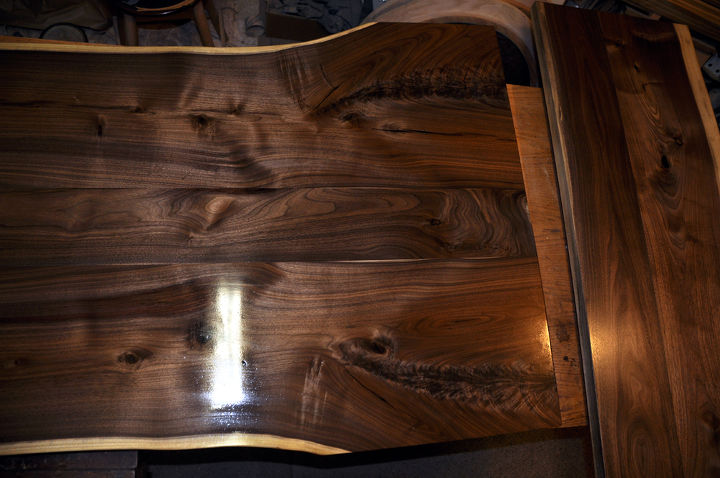
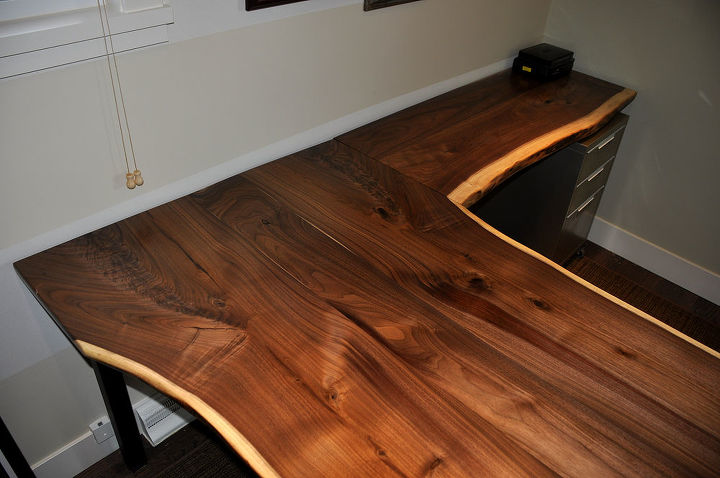
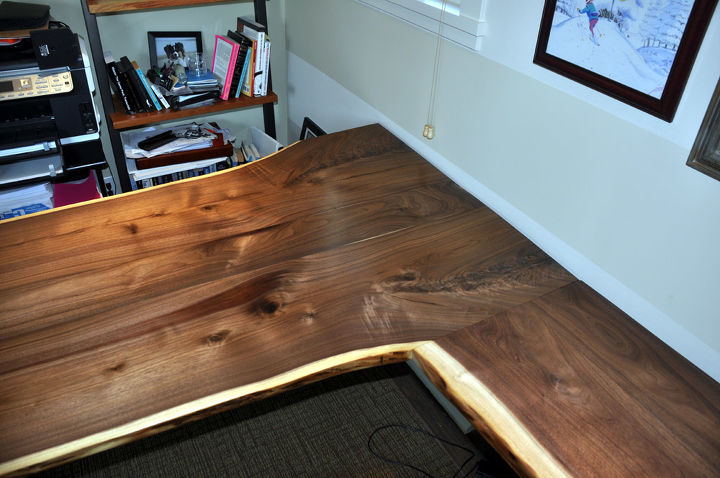
Got a few costs of finish on there...the little piece to the right in this pic will get swung 180 degrees and connect to the straight part at the bottom right of the big slab...dowels and sash locks to be able to take it apart
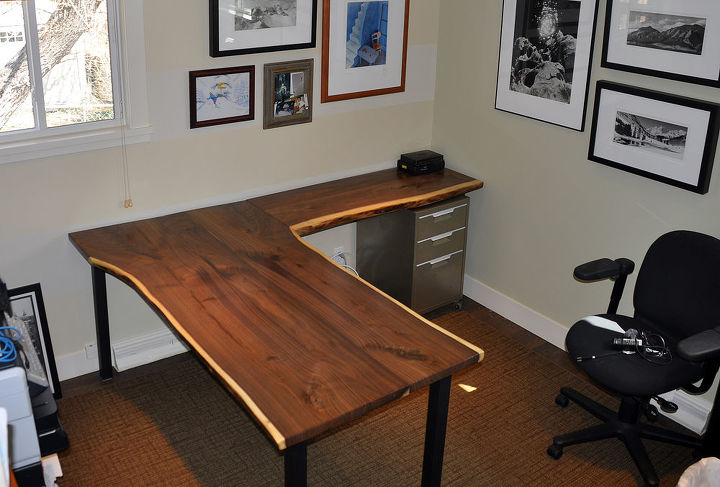
completed desk

Want more details about this and other DIY projects? Check out my blog post!
Comments
Join the conversation
2 of 23 comments
-
Word. We've been using the Makita power planers on a framing job (decided to go to school for carpentering...). They make quick work of rough planing. I was looking at a No. 8 Stanley Sweetheart at a tool sale and this old timer tells me, "you'll only use that thing once." I figure that if I'm ever going to need to smooth out large slabs like that you really need the larger reference face.
-
winding sticks...and a good eye can do wonders.


Frequently asked questions
Have a question about this project?
Waht are the dimensions of this desk?