


DIY Tufted Headboard Tutorial

by
Larkandwren
With a little creativity and a plan you can easily create your own tufted headboard. From start to finish this tutorial will walk you through how to make the headboard in a few simple steps. By the end of the post you’ll be able to great the perfect DIY tufted headboard for your little princess too!
Need:
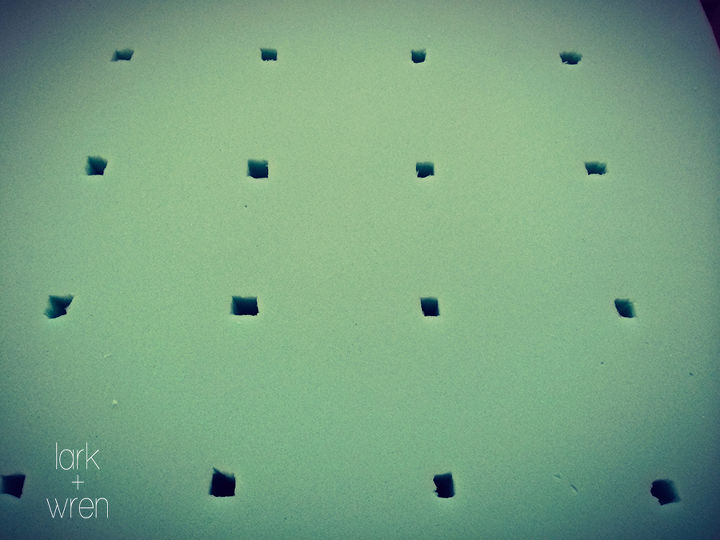
After determining how many tufts there will be and where they will be located, cut out 3 inch thick foam to the size of the MDF headboard and cut out 1 inch holes with a knife.
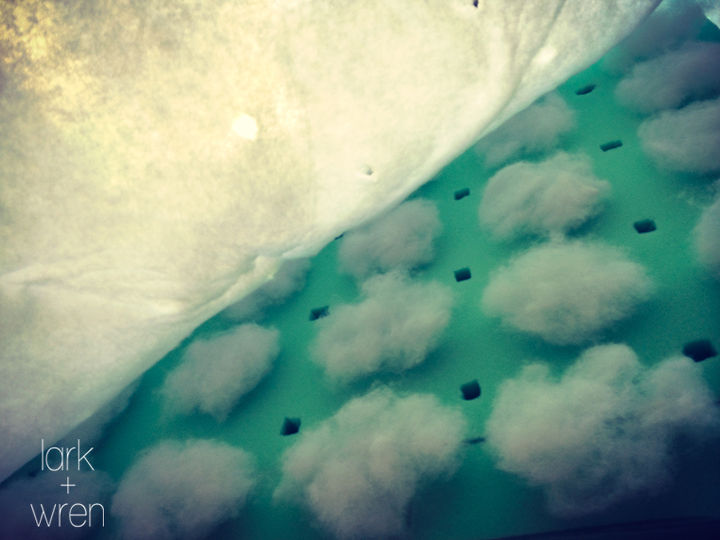
Add balls of batting where the tufts will be (in-between the holes).
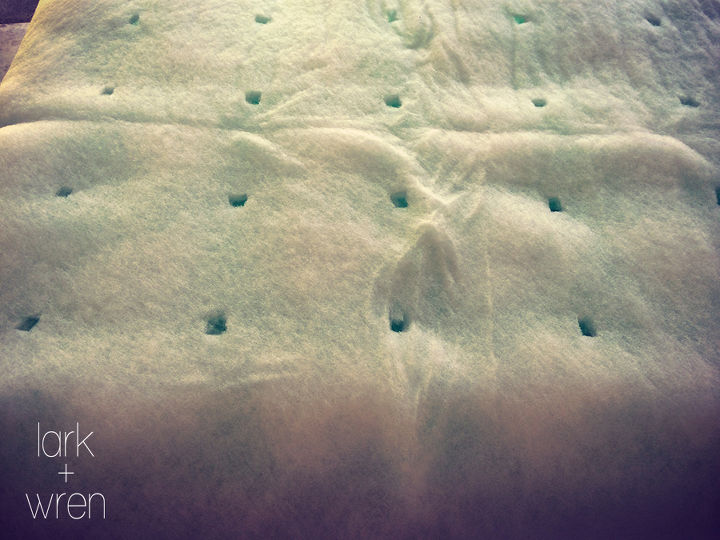
Cover with quilt batting and cut out the holes.
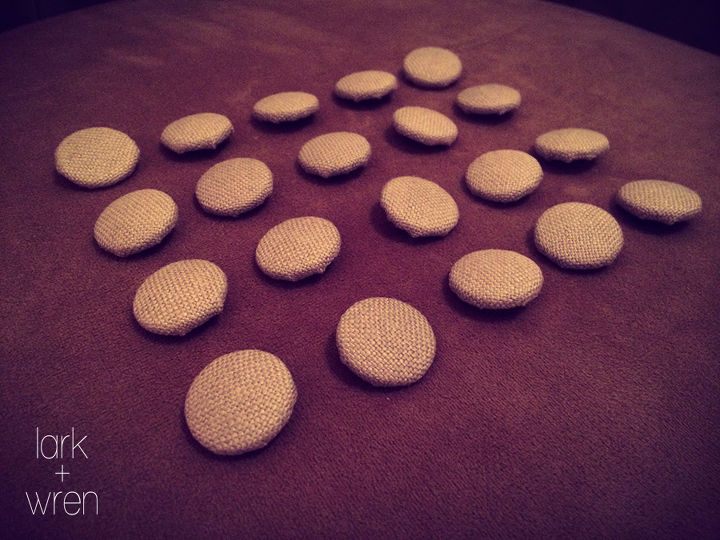
Cover buttons in the fabric of your choice.
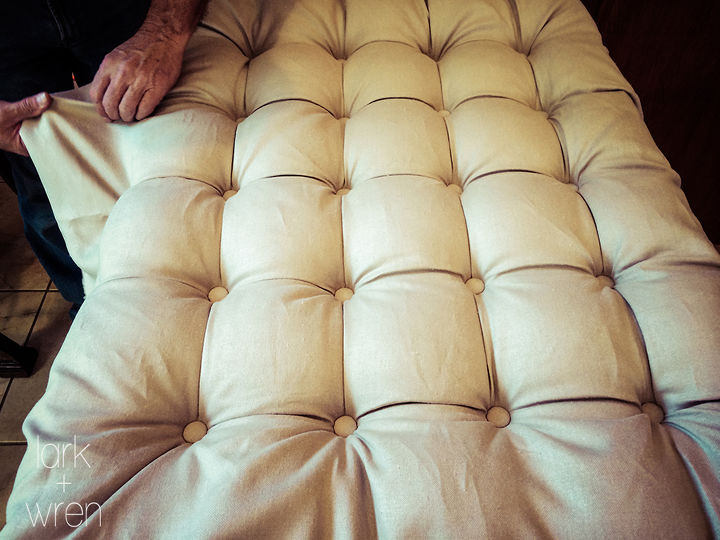
Lay the fabric loosely over the foam board and pull the buttons into the holes about 1/2 inch using the upholstery needle and waxed thread. Start in the middle and work your way out for the best shape.
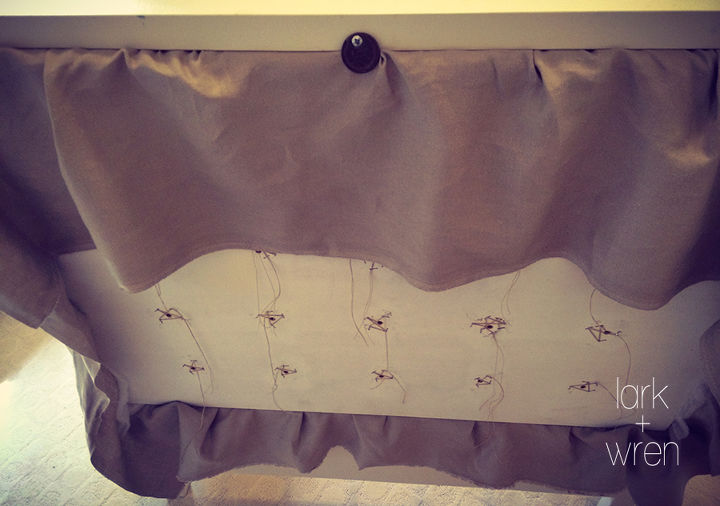
Secure the thread underneath by stapling with a staple gun in a W pattern. Trim excess fabric in the back.
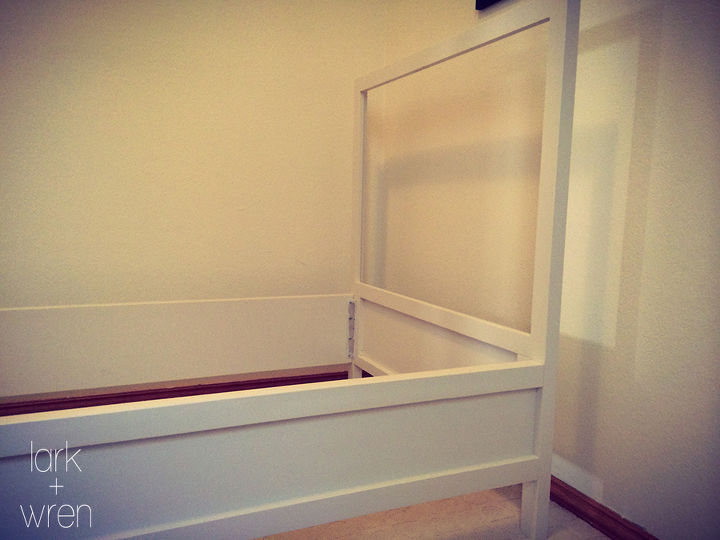
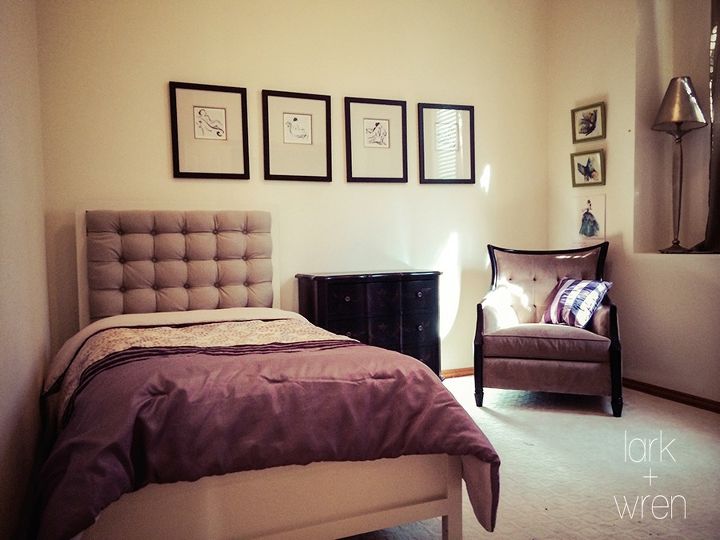
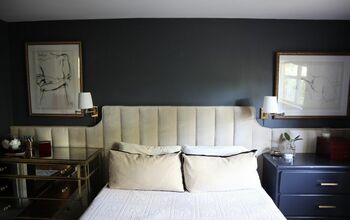
Either hang on the wall as it, or fit into a pre-made bed frame.
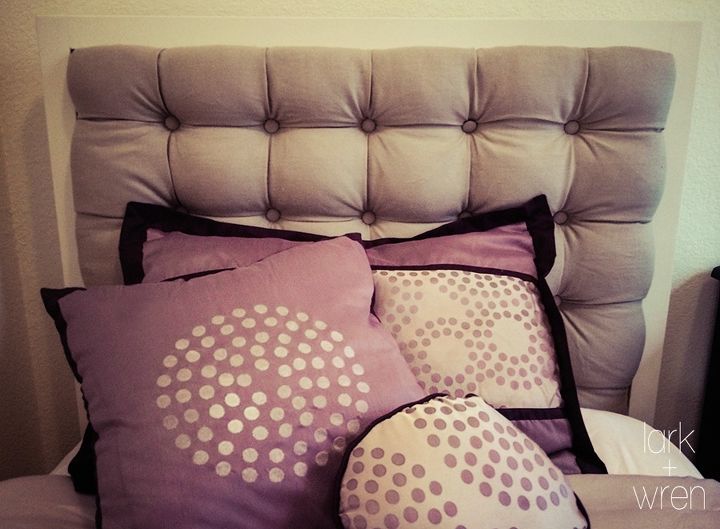
Now the project is complete!
Want more details about this and other DIY projects? Check out my blog post!
Comments
Join the conversation
2 comments
-
Awesome post! I love all things tufted :) I'll have to be brave and give this a try sometime!
-
Thank you! I am glad you enjoyed the tutorial!


Frequently asked questions
Have a question about this project?