


DIY Pottery Barn Inspired Valencia Armoire Part I (Dresser Portion)
$125
6 Hours
Medium
I recently built a new bed, nightstand, and dog bed. I needed a new armoire to match. I looked at a few different plans, but I couldn't find a plan that I really liked. I don't have a closet in my bedroom, so I needed a pretty large one. I really liked Pottery Barn's Valencia Armoire, but I did not like the $1,599 price tag. I decided to make one on my own. I decided to make it in two parts. I first made the bottom dresser and then the top shelving unit. Either could be used individually or bracketed together to make one unit. Here are the steps I took to make the bottom dresser. The cost of the materials for the dresser portion was around $125.
More details can be found on my blog at http://jaimeofalltrades.blogspot.com/2014/10/diy-pottery-barn-inspired-valencia.html
More details can be found on my blog at http://jaimeofalltrades.blogspot.com/2014/10/diy-pottery-barn-inspired-valencia.html

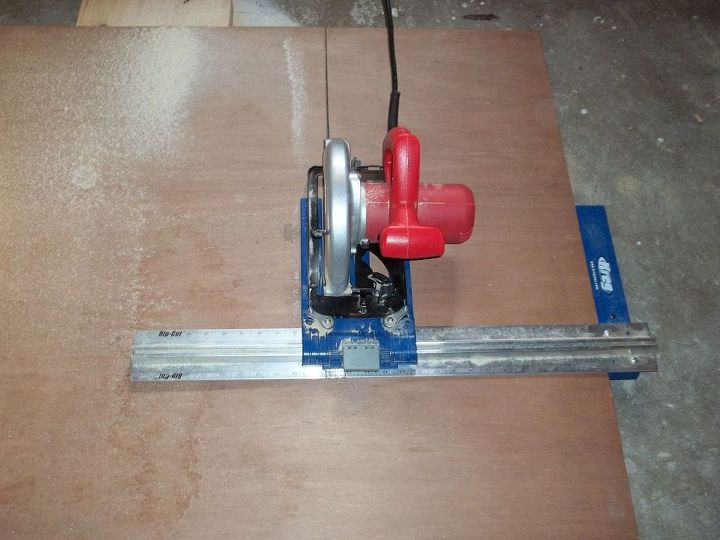
Step 1: Make your cuts.
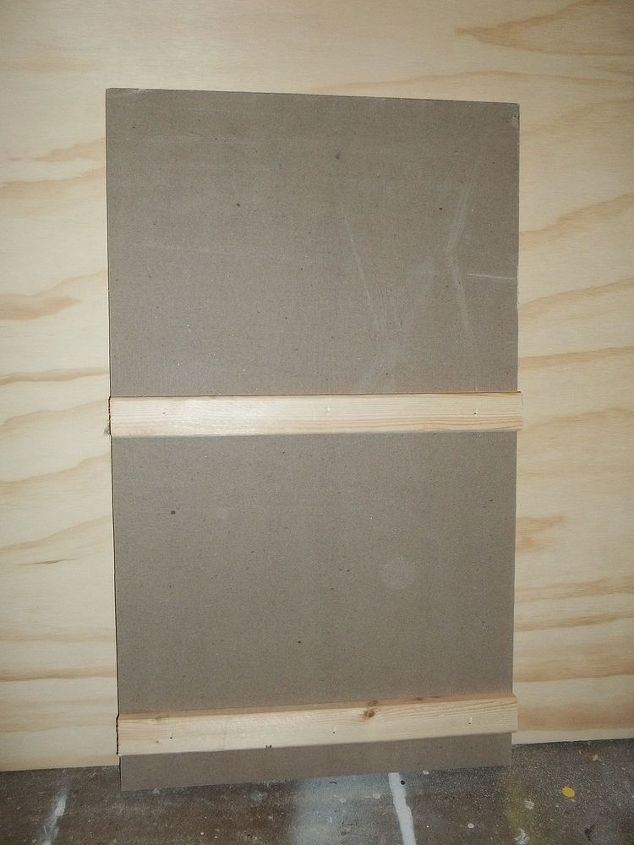
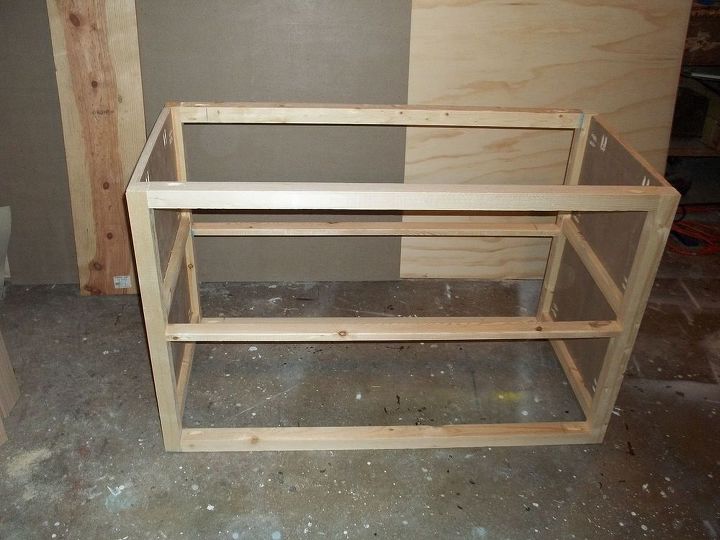
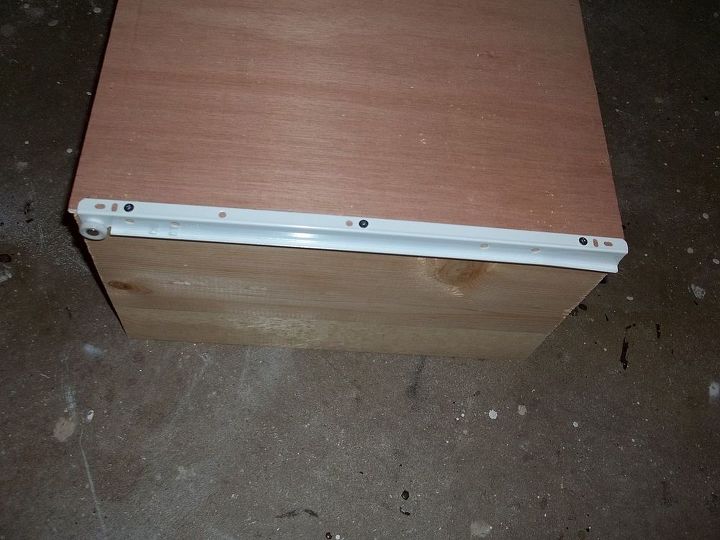
Step 2: Attach the drawer slide holders to the inside of each side. Place one 1 1/2" from the bottom. Place the other one 11 1/2" from the top. There will be a 10 3/4" space between the two. Be sure these are level because this is what the drawer slides are going to be attached to.
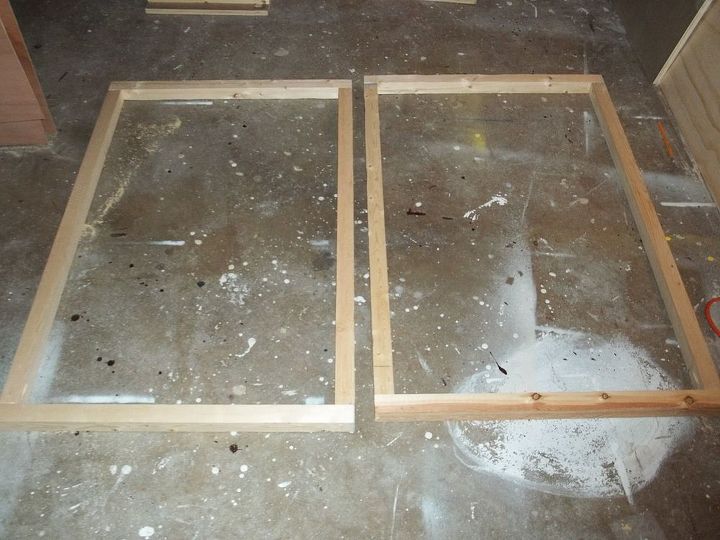
Step 3: Build the front and back frames. Make sure the frames are square. If they are not perfectly square, the drawers will not work properly.
Step 4: Attach the front and back frames.
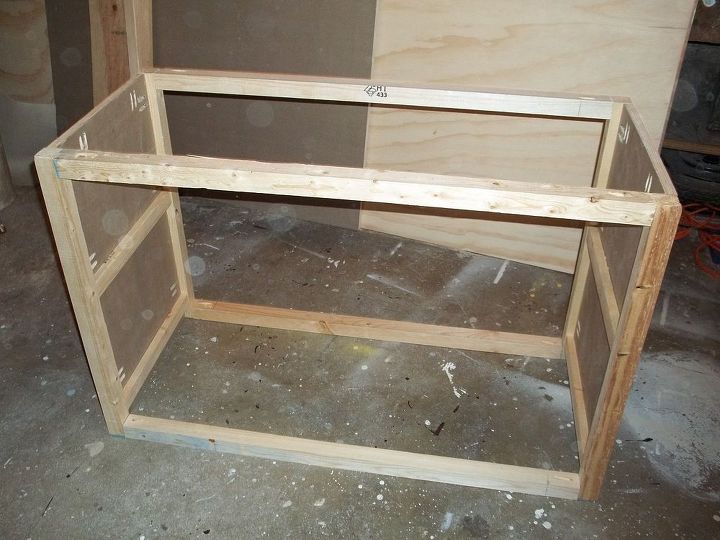
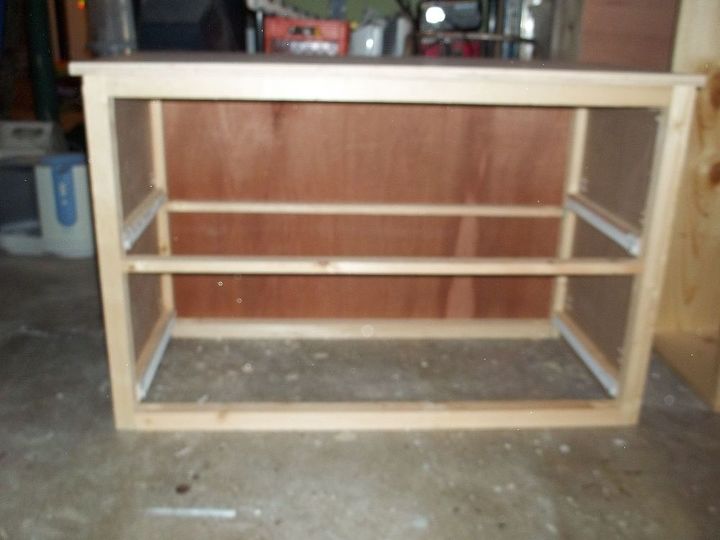
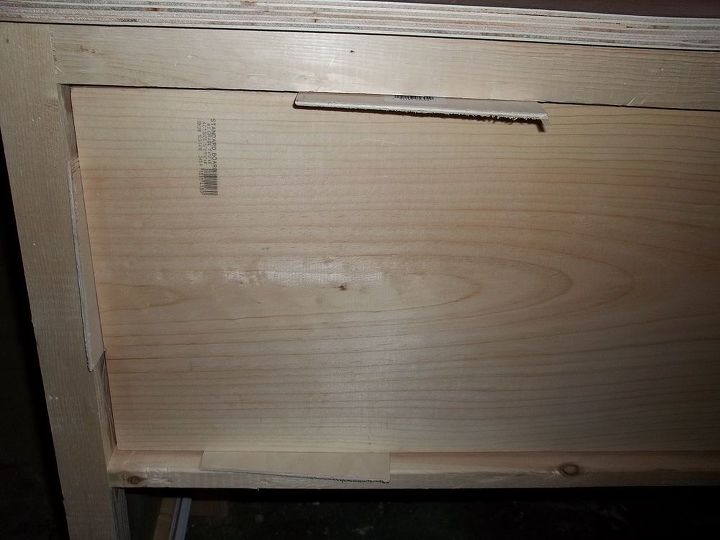
Step 5: Attach the drawer divider in the front. I also added one to the back. I did this just to help keep everything square, but you don't need to add this if you don't want to.
Step 6: Attach the back. This is optional, but since this is the first time that I have attempted drawers, I figured I would add it just to help keep things square.
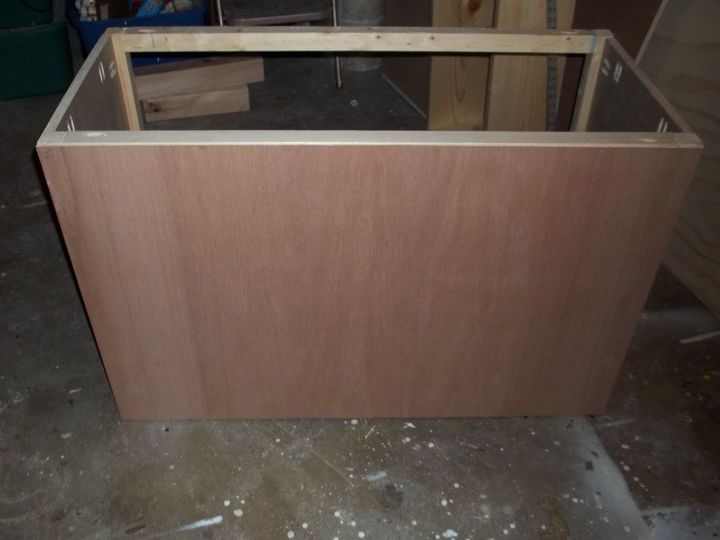
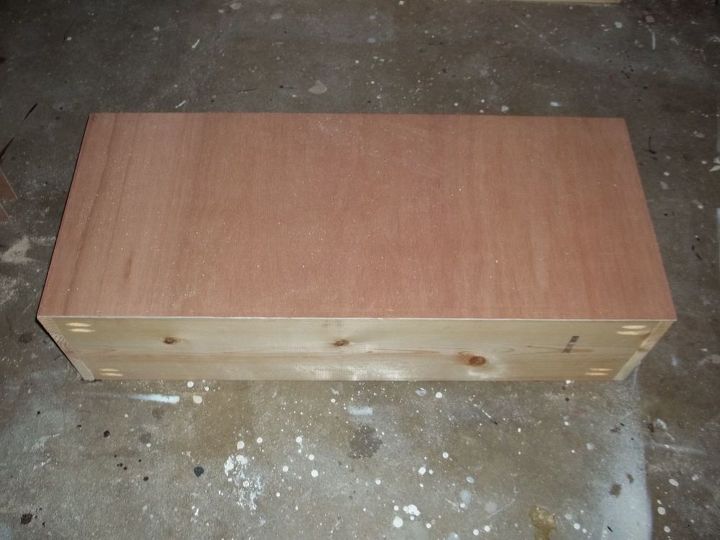
Step 7: Attach the top with an overhang of 1/2" on all sides. I also added some finishing nails to hold the top to the 2"x2" frame.
Step 9: Build your drawers.
Step 10: Following the manufacturer's instructions for the drawer slides, attach the slides to the drawers.
Step 11: Put your drawers in place and then test out the drawer face to make sure it fits. I used 1/8" shims on each side to act as spacers. Then attach the face to the drawer.
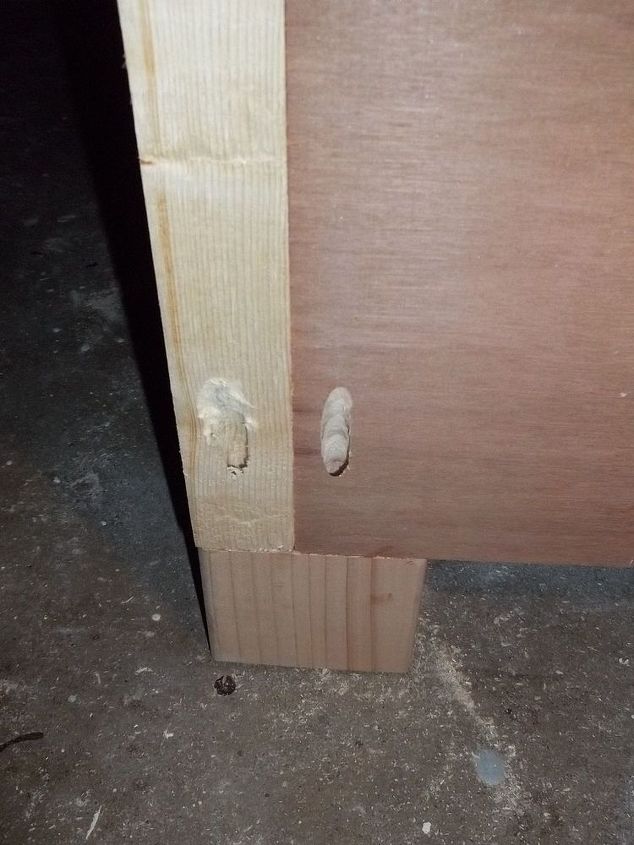
Step 12: Attach the feet. I was not going to put feet on this, so the way I did it was probably not the best way. They should have been attached from the inside to hide the pocket holes. I had to place the pocket holes on the outside.
Step 13: Fill any holes with putty and sand it.
Step 14: Paint or finish it. I used Rustoleum Painter's Touch in Kona Brown.
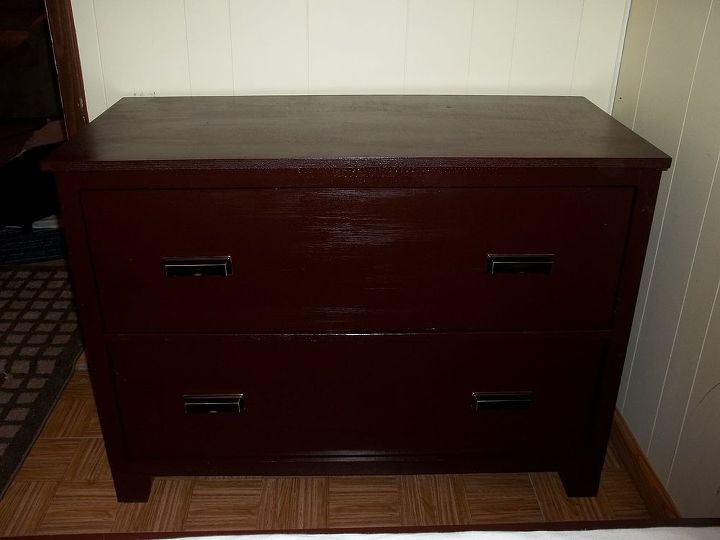
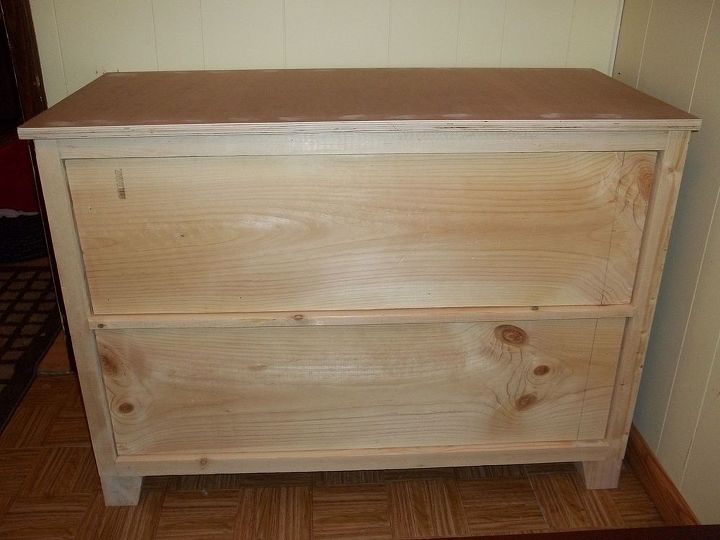
Step 16: Enjoy your new dresser!

Want more details about this and other DIY projects? Check out my blog post!


Frequently asked questions
Have a question about this project?