


DIY Fridge Magnets

by
Ronja Lotte
20 Minutes
Easy
Unfortunately I had to give up my favorite dish. After it was already glued, the crack was now discolored and could not any longer be cleaned properly. Since I nevertheless did not like to throw it away, I decided to give the porcelain a second life on my fridge.
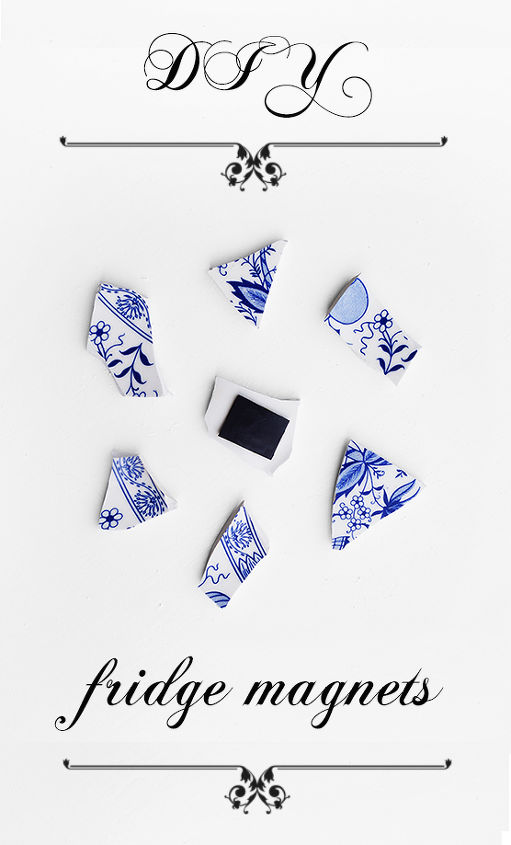
Finished magnets.
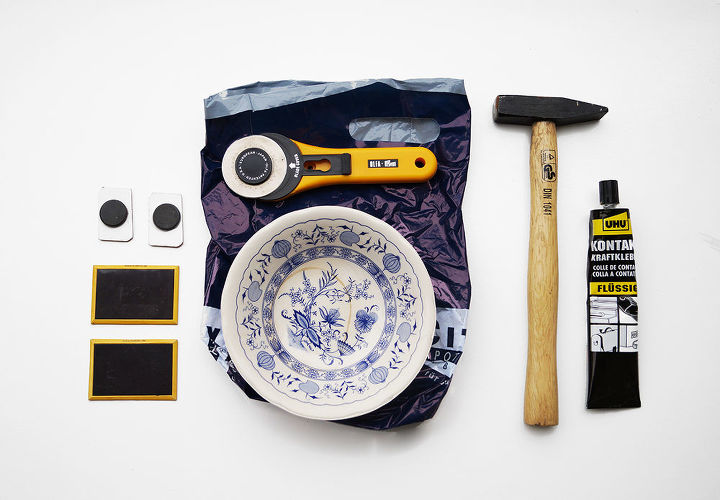
Materials and tools: Old magnets, a plastic bag, a sharp knife, old china, a hammer and glue.

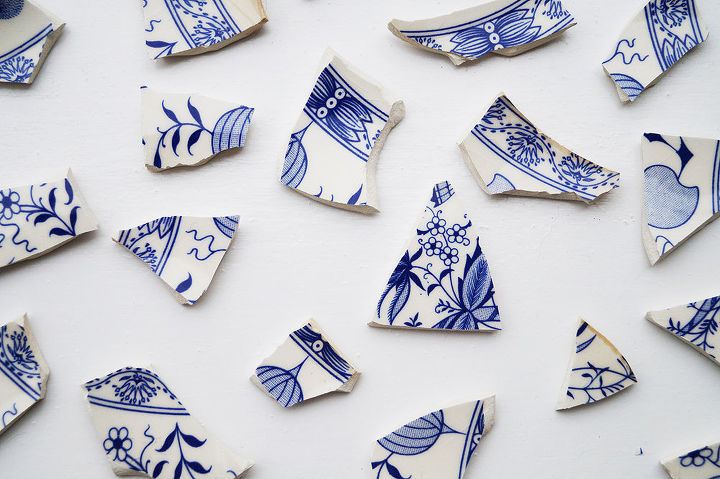
First, I put the bowl in the plastic bag and smashed it from the outside with a hammer to smithers.
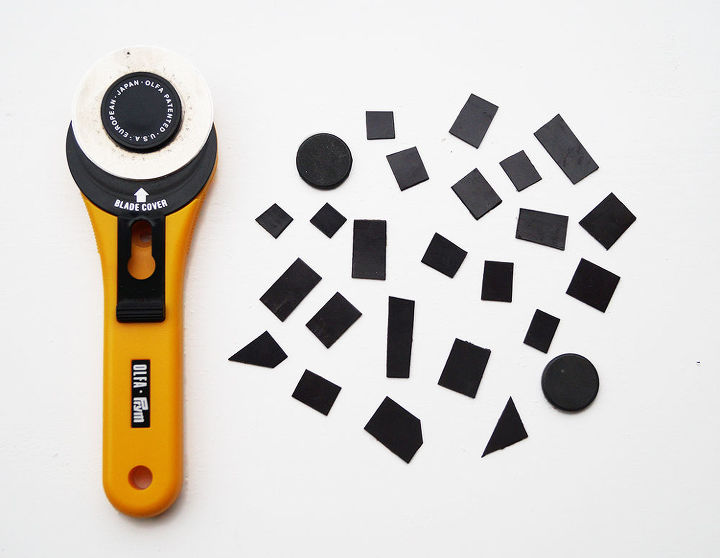
If you have a knife that is sharp enough, you can cut flat magnets and that's what I did next.
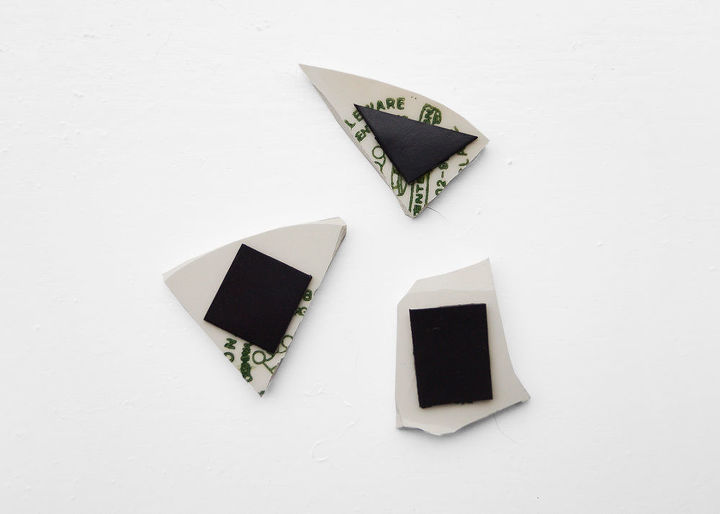
Finally I now glued the small magnets on the back of the fragments and my new fridge decor was done.

If you like to see more of my projects just visit my blog :-)
Want more details about this and other DIY projects? Check out my blog post!
Comments
Join the conversation
3 of 11 comments
-
I would sand the sharpness of the edges due to having little hands around the house. You know when the grandkids or your own little ones may pluck one off the fridge to display their moist prized piece of artwork for mom or grandma!
-
Meant to say you never know.....lol


Frequently asked questions
Have a question about this project?