


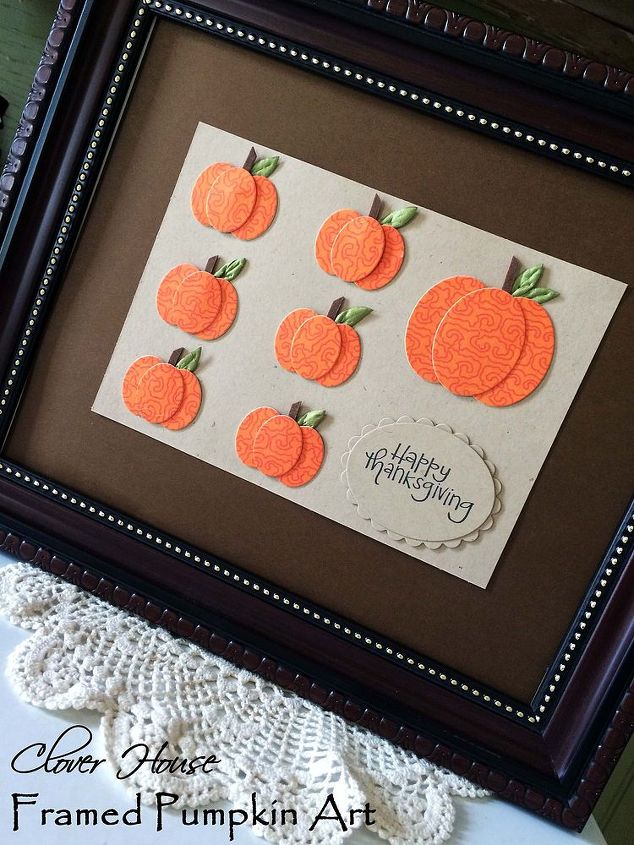
Framed Pumpkin Art

by
DeeDee
1 Hour
Easy
I saw this idea on Pinterest and wanted to make one for myself, so I did! There's no link to the person who created the one I saw on Pinterest, but thank you to whoever you are for the inspiration!
I already had everything I needed to create my framed art so this was a FREE project! Woohoo! Those are the best kind!
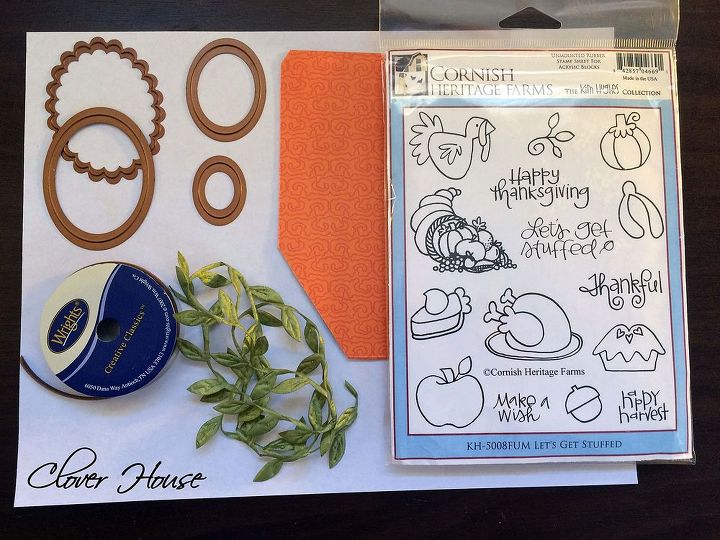
I used my oval Nesties with my Cuttle bug, a Kim Hughes stamp set, some leather cord, some leaf ribbon, Kraft card stock, a cheap 8 X 10 frame and some orange recycled paper (its a frozen dinner box). You can see how I originally made these pumpkins on my card blog.
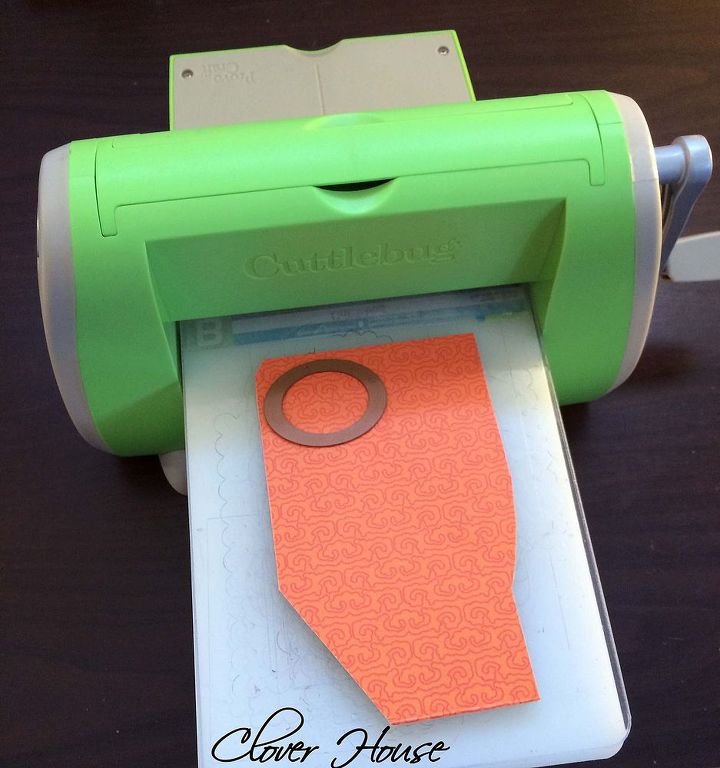
You will need 18 small ovals and 3 large ovals all cut out of the paper you choose to have your pumpkins from.
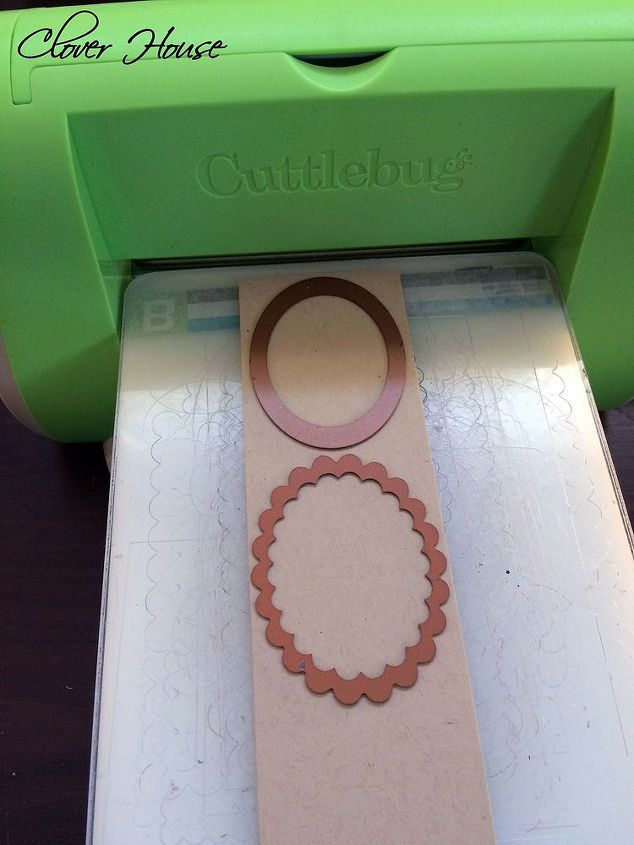
Using Kraft card stock and the larger oval cut one for stamping your sentiment and then one scalloped oval for backing the sentiment oval.

Now to make the pumpkins: I used Aleene's quick dry tacky glue for this project. It dries quickly, but also gives you enough time to adjust your pieces before they dry completely.
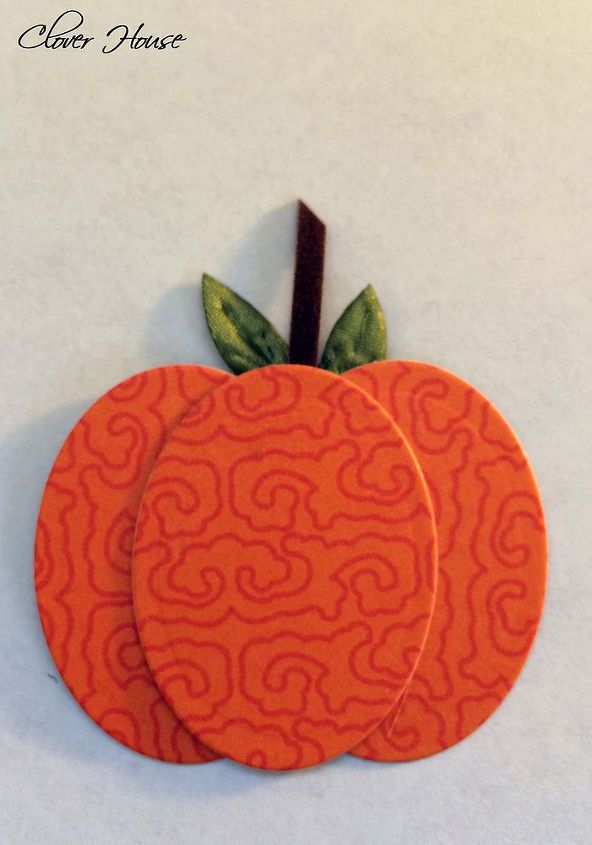
Lastly add your stem and leaves. I used leather cord for the stem and the leaf ribbon for the leaves. Two leaves for the large pumpkin and only one for the smaller ones.
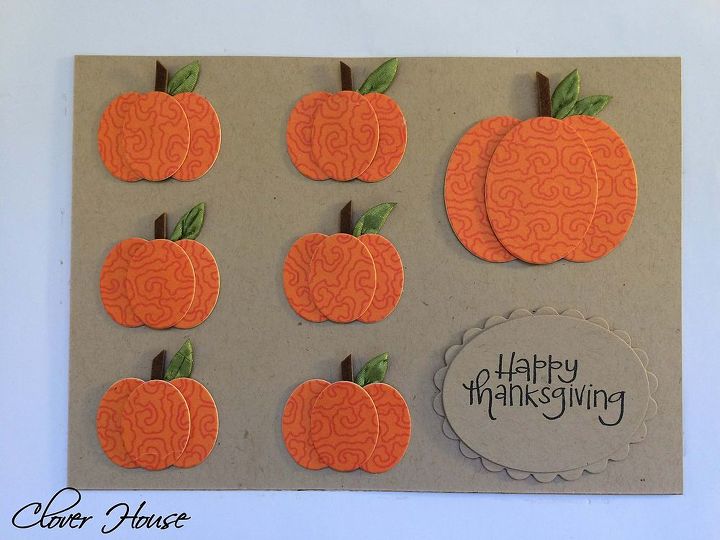
I used a 5 X 7 piece of Kraft card stock to adhere all the pumpkins and sentiment to. Space them evenly like so. Glue each one in place.
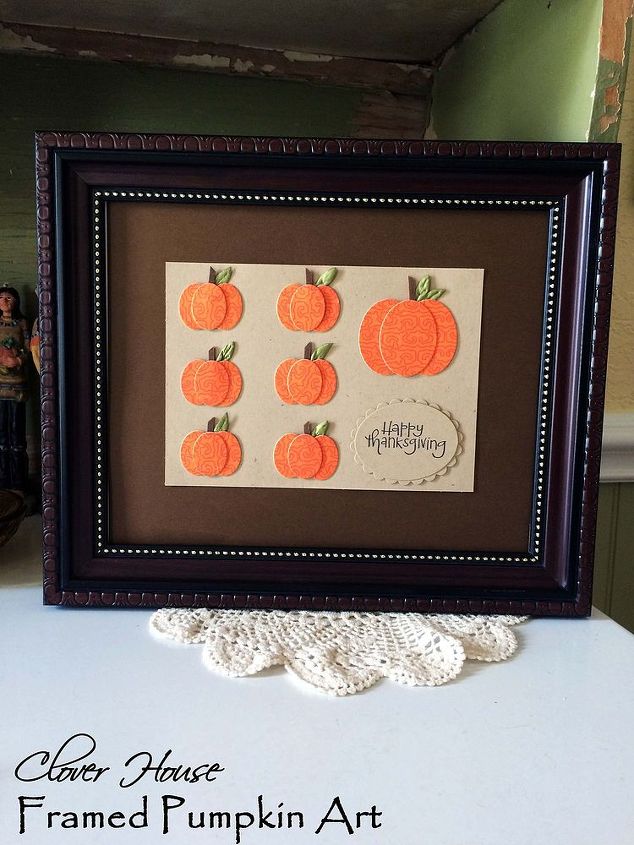
I used a chocolate brown piece of card stock as a mat for my creation and then added it to a frame I already had in my stash.
Want more details about this and other DIY projects? Check out my blog post!


Frequently asked questions
Have a question about this project?