


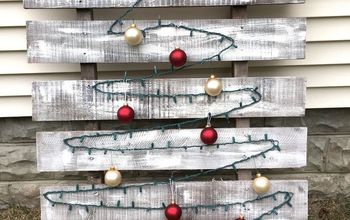
Pallet Christmas Tree

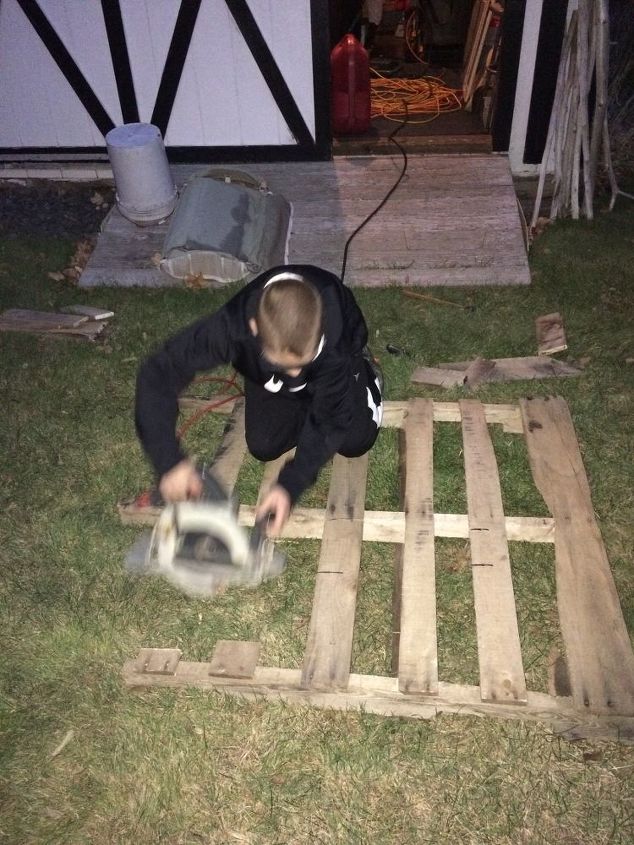
Took an old beat up pallet that had been sitting out back of boyfriends parents house. As you can see my son was busy at work cutting the pieces needed. Great project for your children to get involved in with you!
You will need a total of 7 pieces cut for the tree, one for the trunk and 3 for the base.
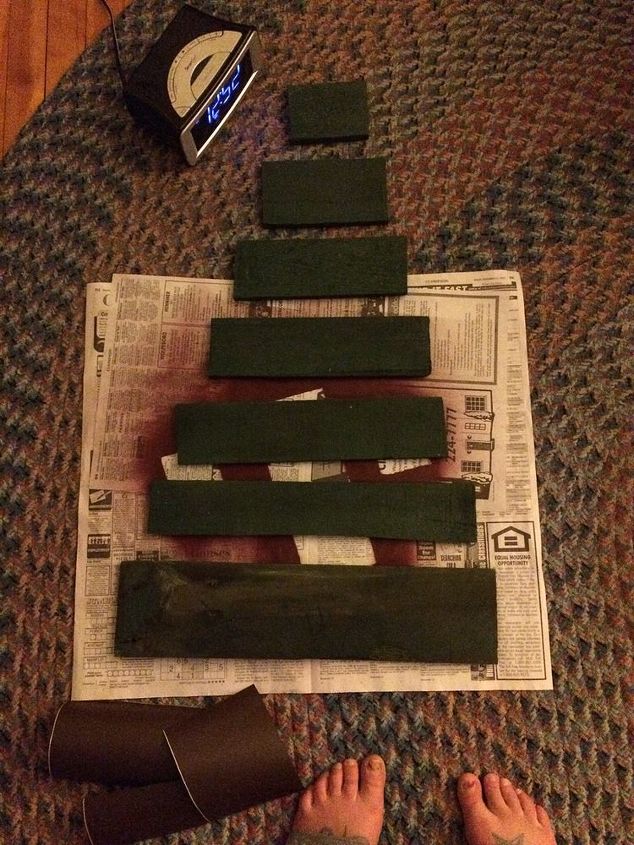
Tree limb measurements 19.5, 17, 14.5, 12, 9.5, 7, 4.5. The trunk to your tree goes based on your taste and desire. Mine was cut at 3 ft. The base or stand to your tree is 3 pieces 2 pieces that are 3.5 and one piece at 10 inches. Lol these measurements are all in inches in case you were wondering.
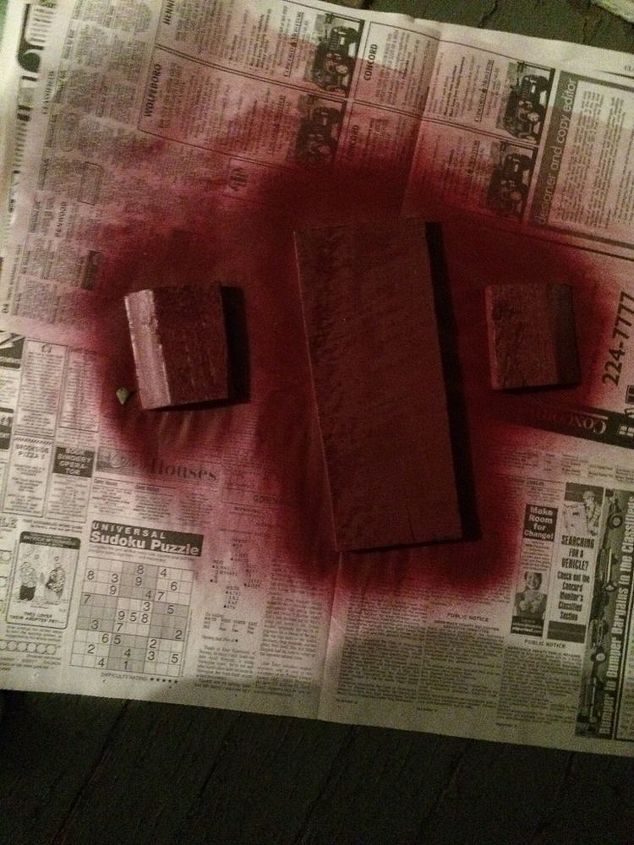
Paint all pieces to your tree. Again whatever suits your decor or taste. Let them dry over night. After they are fully dried place your tree limbs spaced however you would like and screw them to the trunk. I suggest to use 2 screws per limb. The base is a little tricky to assemble. The directions I had seen said something about carving holes 2 in each 3.5 piece to be able to screw on each side of the 10 in piece. Me I ised this high tech hot clue and its held it together.
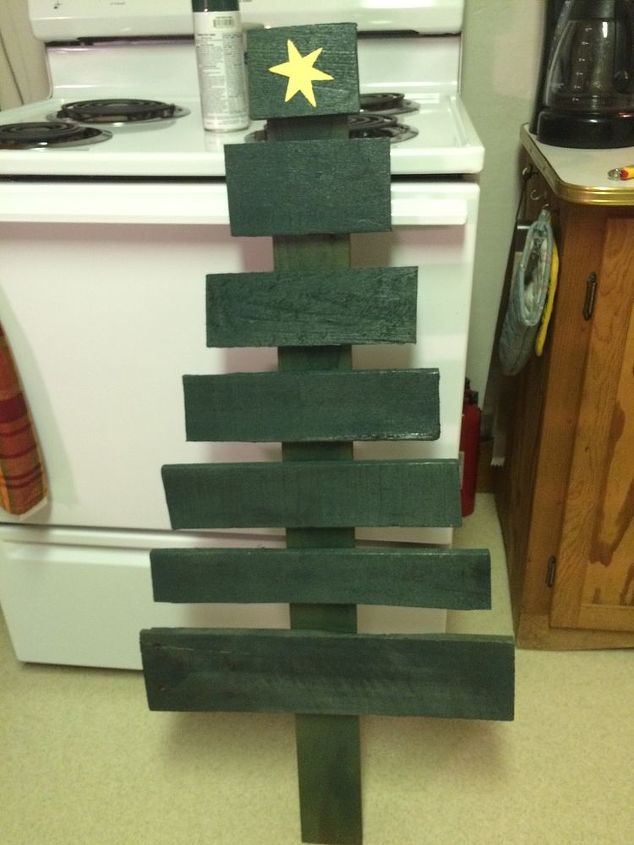
This is the finishing product. I added a star to the top of mine using my circutachine and vinyl. Thinking of adding some more vinyl stencils on the other limbs with some more holiday cheer? Again this is your creation and what you like so have fun with it like we have!
Comments
Join the conversation
2 of 5 comments
-
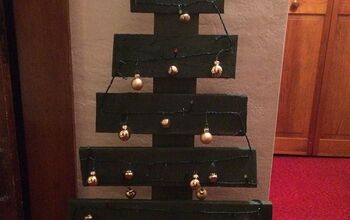
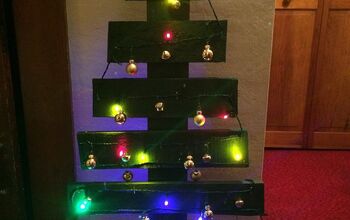
So my boyfriend decided that my tree was very cute but needed a little spice to its life! So I took his suggestion and added 2 sets of multi led twinkle lights, one set of small gold Christmas balls and some jingle bells cause I have a million and 1 of them. Never have I been a fan of multi colored lights but I will say that they fit the tree perfect! 🎄
-
Here they are! I must say he has good taste!


Frequently asked questions
Have a question about this project?