


Goodwill Find : DIY Vintage Table Lamp Makeover
$10
1 Day
Easy
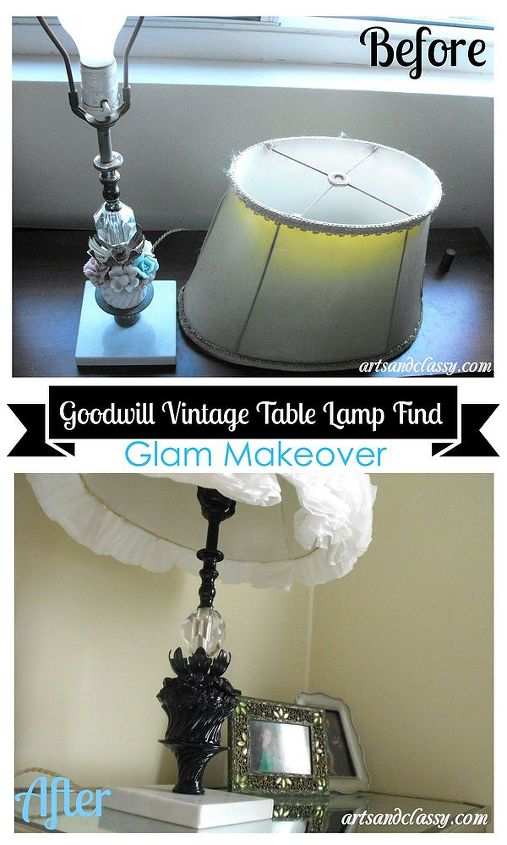
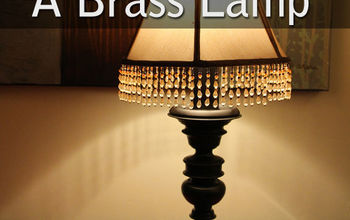
In my quest for decorating on dime, I found a thrift store gem. I loooovvvve the thrill of finding an old forgotten piece of unwanted furniture or decor. Then reviving it with some new life, new look, and potentially a new home.
In this case, I found a shabby looking vintage table lamp that I purchase for $10.
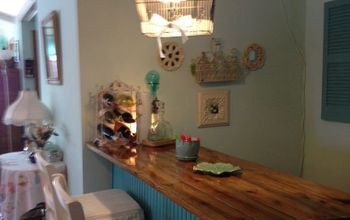
You may have seen another recent do it yourself goodwill find table lamp I made over recently for my new apartment. I love how it looks now and I hope to move it into my glam vintage bedroom once I make over my bedroom. This is going to be my first big project that I tackle in 2015!
Stay tuned for the before post of my bedroom.
I plan to makeover my bedroom for the entire month of January. Stay tuned for the updates as the month progresses.
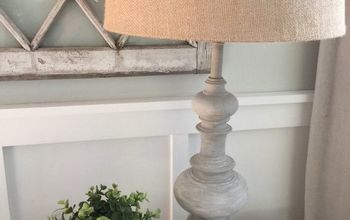
This glam bedroom I am looking to create was the inspiration for this piece. I wanted to make it look chic, but keep some of it’s high-end lucite and marble decorative finishes showing. This lamp does have charm. It just took a little spray paint and coffee filters to give it some pizazz.
This makeover cost me only $10 for the lamp. All the supplies I needed were already in stock in my office. (Life of a DIY-er is so rough)
If you want to try this type of makeover on a lamp of your own you will need the following supplies:
Painters Tape
Spray Paint Primer
Spray Paint – I chose a glossy black spray paint
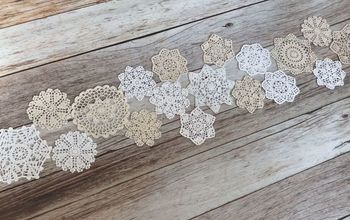
Coffee Filters
Hot Glue Gun
Glue Sticks
In this case, I found a shabby looking vintage table lamp that I purchase for $10.
You may have seen another recent do it yourself goodwill find table lamp I made over recently for my new apartment. I love how it looks now and I hope to move it into my glam vintage bedroom once I make over my bedroom. This is going to be my first big project that I tackle in 2015!
Stay tuned for the before post of my bedroom.
I plan to makeover my bedroom for the entire month of January. Stay tuned for the updates as the month progresses.
This glam bedroom I am looking to create was the inspiration for this piece. I wanted to make it look chic, but keep some of it’s high-end lucite and marble decorative finishes showing. This lamp does have charm. It just took a little spray paint and coffee filters to give it some pizazz.
This makeover cost me only $10 for the lamp. All the supplies I needed were already in stock in my office. (Life of a DIY-er is so rough)
If you want to try this type of makeover on a lamp of your own you will need the following supplies:
Painters Tape
Spray Paint Primer
Spray Paint – I chose a glossy black spray paint
Coffee Filters
Hot Glue Gun
Glue Sticks
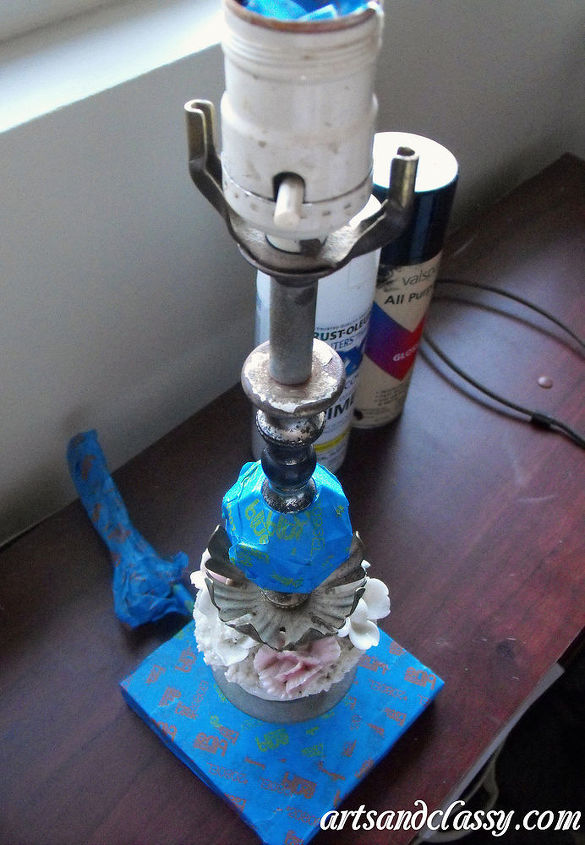
The first step of this makeover (for the lamp itself) is to remove the lampshade, harp (this is what keeps the lampshade on the lamp), remove the light bulb, and the decorative top that secures the lampshade to the lamp.
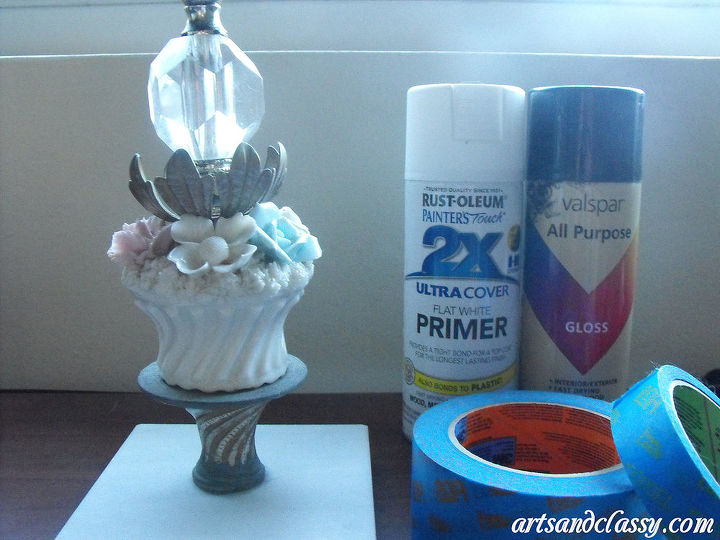
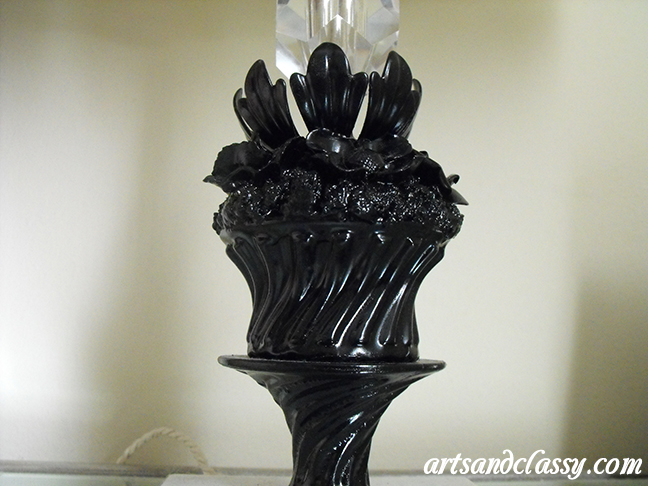
Second, tape off the areas you want to mask from the spray paint. I chose to tape of the acrylic decorative ball in the center of the lamp and the base since I wanted to keep the marble look to this lamp. You will also tape off the cord so that you don’t muck it up with spray paint… yes I said muck…
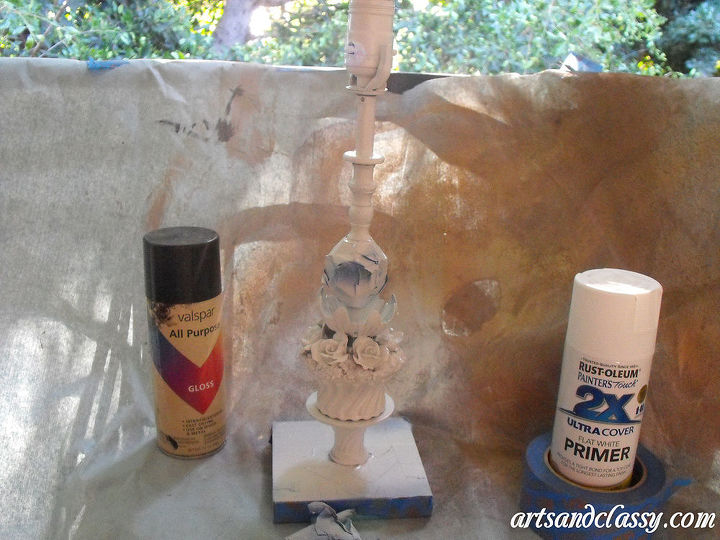
Third, find a safe place to spray paint the lamp with primer. Make sure you properly mask off your space to protect from any overspray.

Fourth, wait for the primer to dry and then begin with your color of choice spray paint. You may have to do a couple of coats of paint.
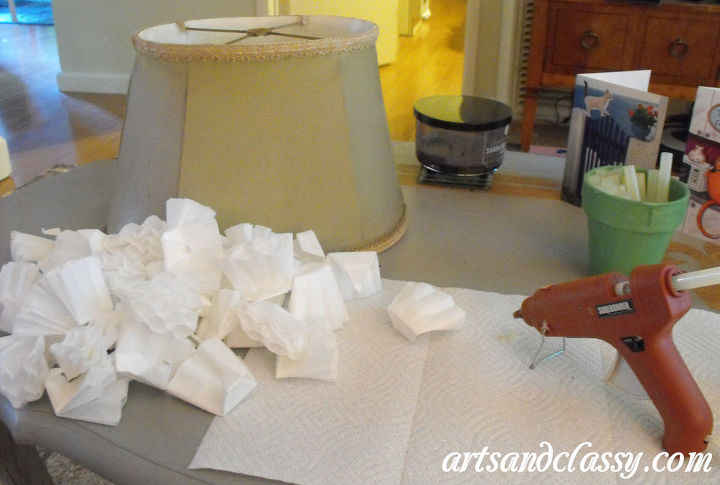
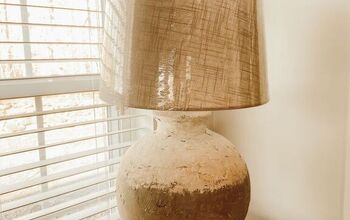
Now on to the lampshade. I once made a pendant lamp for my mom’s reading corner completely out of coffee filters. It turned so cute and she really loved it. Since I had some fun working on that lamp, I decided that I wanted to apply he same method to the vintage lampshade of this piece.
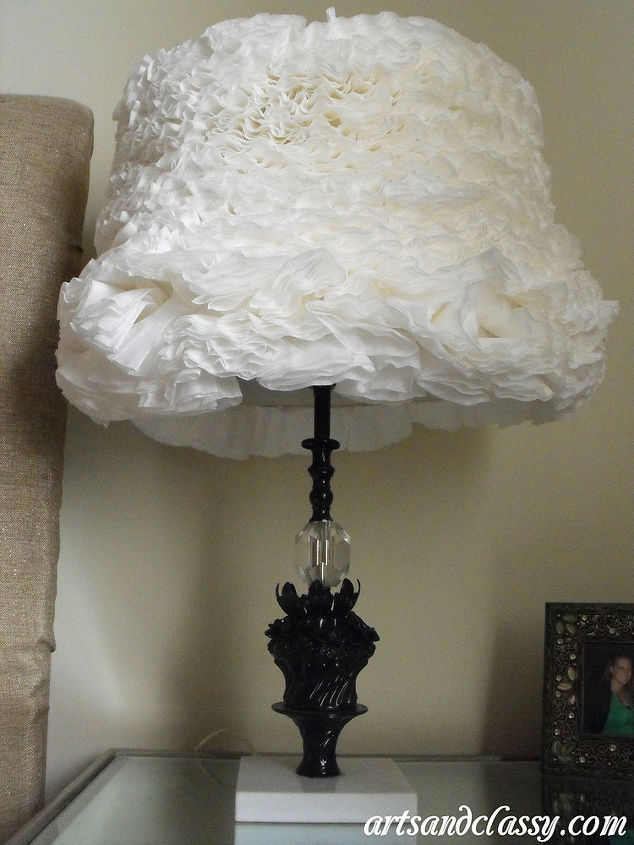
Once completely finished with both lamp and shade were complete, they were ready to be re-assembled as one.

Want more details about this and other DIY projects? Check out my blog post!
Comments
Join the conversation
3 of 6 comments
-
Great Job on Redoing this Lamp....
-
This is the best looking fire hazzard ever.
Can you modify the design so that it is candle powered?


Frequently asked questions
Have a question about this project?