


Photo Door, Repurposing Project

by
Tracy Snyder
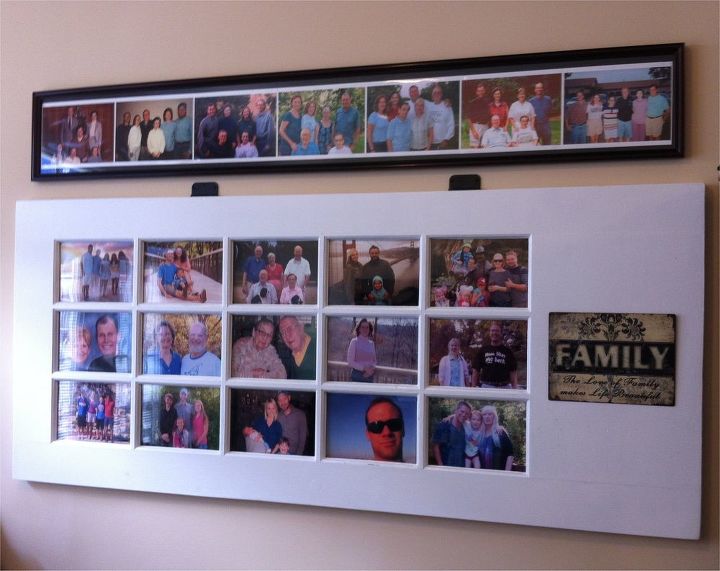
When I saw this 15 pane door I immediately knew what it was going to be - A photo Door. What a great way to use an old door and display so many photos.
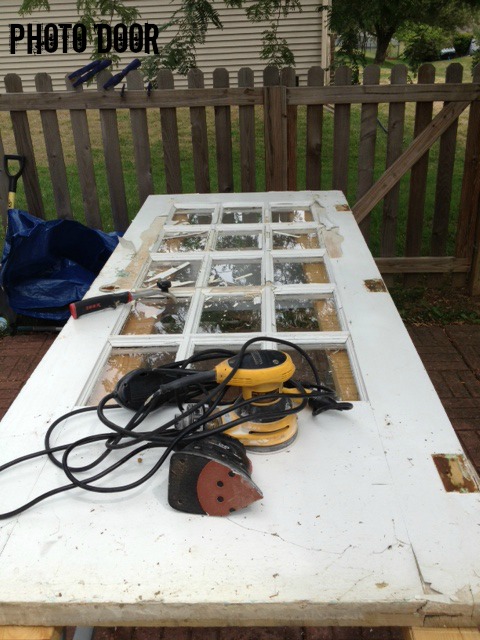
The door was certainly old and well used. It had seen several paint jobs over the years.
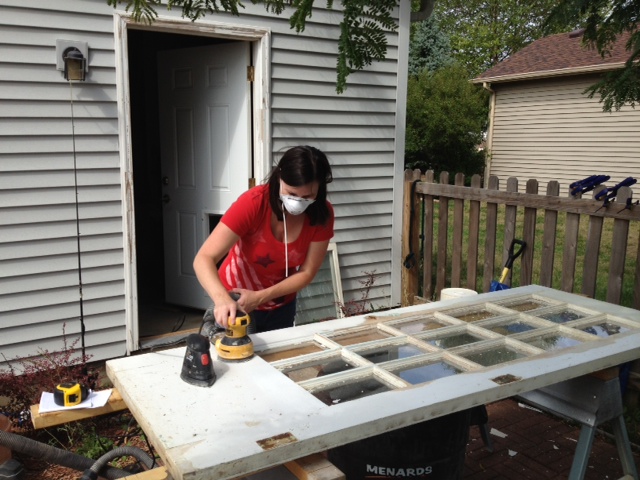
I wanted a distressed look which wasn't hard to achieve with the doors condition. First we removed all the hardware then scraped and sanded.
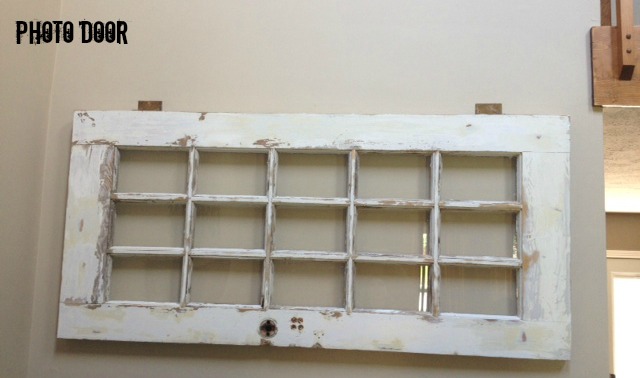
For the space we had we needed to trim the door. We opted to cut the door down so both ends were the same size. The hinges were reinstalled to be used to hang the door on the wall. The hinges are through a beam with extra long screws. This door is heavy so needed to be carefully secured.
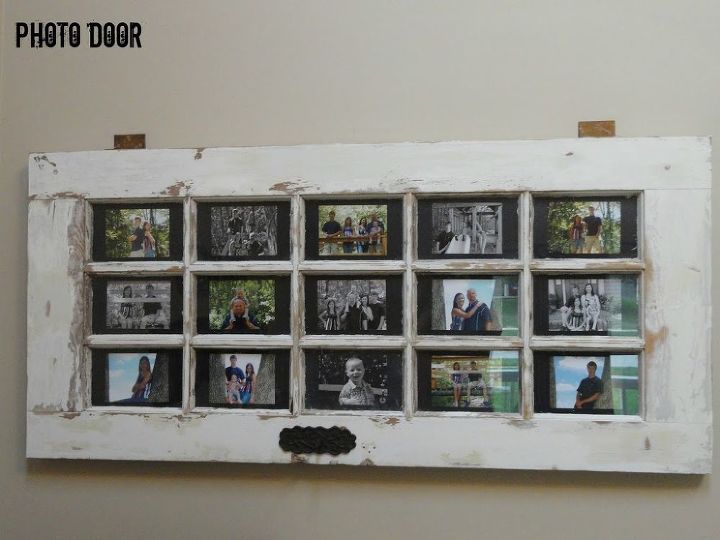
The hinge allows me to lift up the door to add and change out photos. To add the photos I measured each pane then cut cardstock to that size. Then using photo adhesive mounted the photo centered onto the cardstock. Then placed the photo into the pane and secured it by placing tape to the card stock and wood frame around the pane. The tape isn't seen this way.
Want more details about this and other DIY projects? Check out my blog post!
Comments
Join the conversation
2 of 60 comments
-
I finally finished my project, @Tracy Snyder. I left the door full size and added a plaque. http://www.hometalk.com/diy/decorate/walls/how-to-turn-an-old-door-into-a-photo-gallery-9635783
-
This is wonderfully displayed. Goodbye frames!


Frequently asked questions
Have a question about this project?
Love this idea. My wife has RA so the weight of the door would be a burden for her when she wants to change out pictures. With that’s said, what could we use to prop up the door open without damaging the door or the wall so she could change the pictures out?