


Outside Studio Construction
Let me show you how I made a functional outdoor room on a deck.
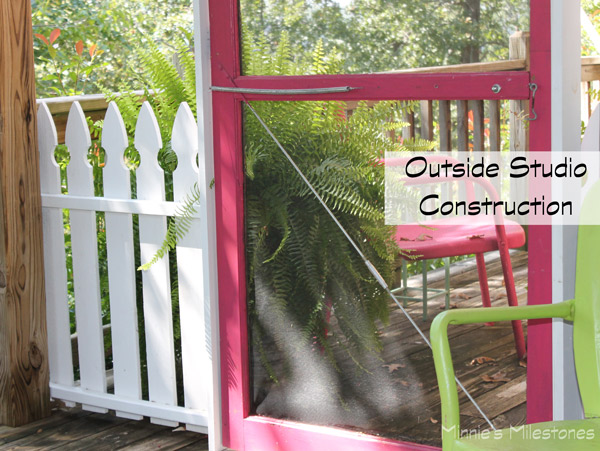
Construction always goes through the ugly stage, and this is the ugly stage!
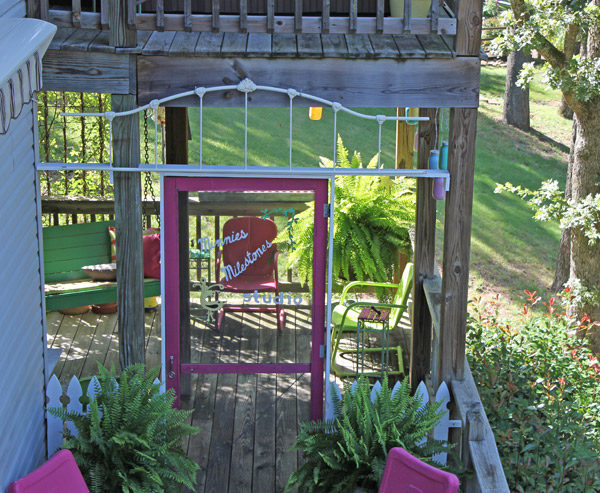
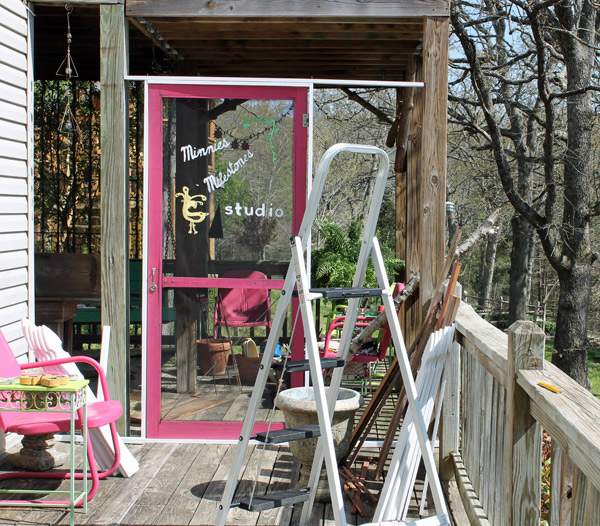
I should mention that the open studio is below and upper deck and my inside studio opens onto the outside studio on the lower deck. This made it easier to construct the frame. A repurposed daybed rail was added to the top of the frame and hung with hooks from the top deck.
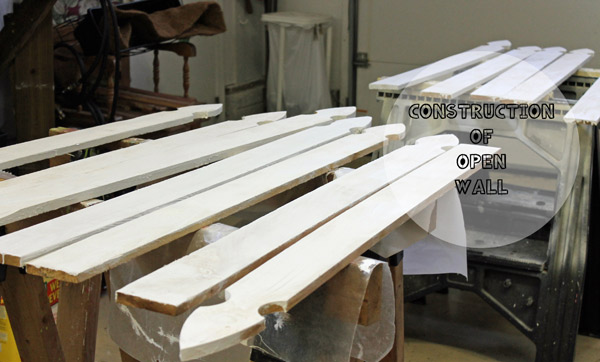
The white picket boards were nailed onto the frame.
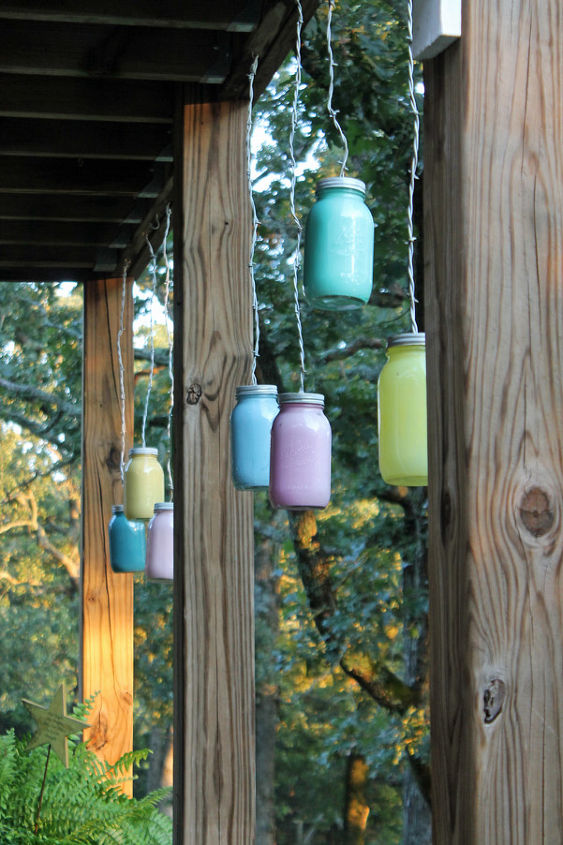
Then for the illusion or feel of walls for the other two sides? A little eccentric, but I love the way these mason jars look. I painted the inside of the jars, make sure you let them dry completely. Poked a hole in the lids, put barbed wire into the hole with a knot in the end and then sealed them with caulking. They are all hanging at different lengths and now almost a year later, are still looking beautiful.
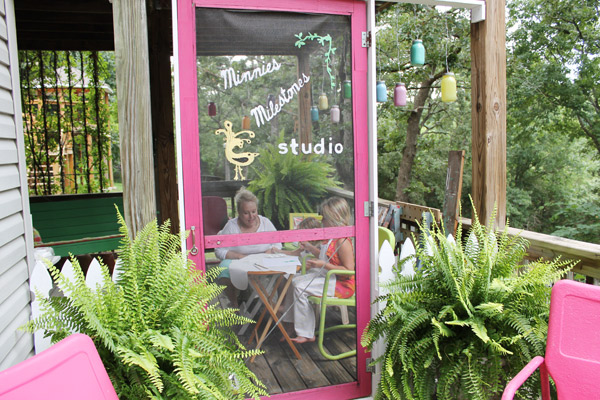
This picture was taken in July (2014). The room gets a breeze, shade and the enjoyment of being outside. The perfect place to teach my granddaughters mixed media art.

Want more details about this and other DIY projects? Check out my blog post!
Comments
Join the conversation
3 of 7 comments
-
This is awesome! The hanging mason jars are too cute.
-
can't wait to see Minnie


Frequently asked questions
Have a question about this project?