


DIY Stamped Tile Splashback
Sometimes life throws you some old tiles and then you have 2 options: live with it, or paint and stamp it! Use this very simple stamping technique to create stunning tiles in a colour of your choice.
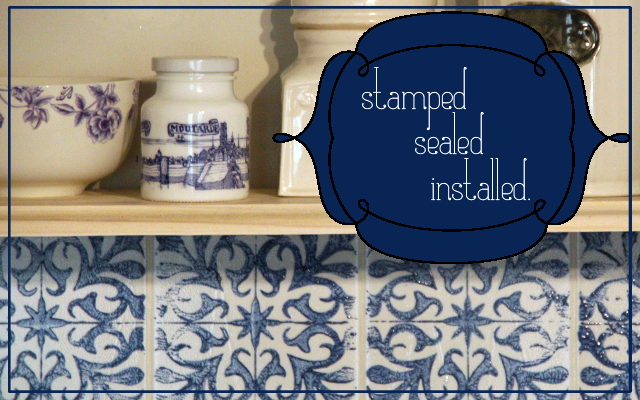
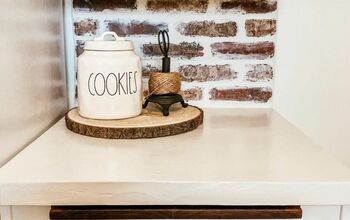
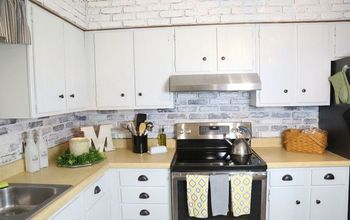
My kitchen had been in desperate need of a tiled splashback because unlike most old homes, I wasn’t blessed with horrid old kitchen tiles. In fact, I don’t have ANY tiles in my house – do you see another DIY coming on?
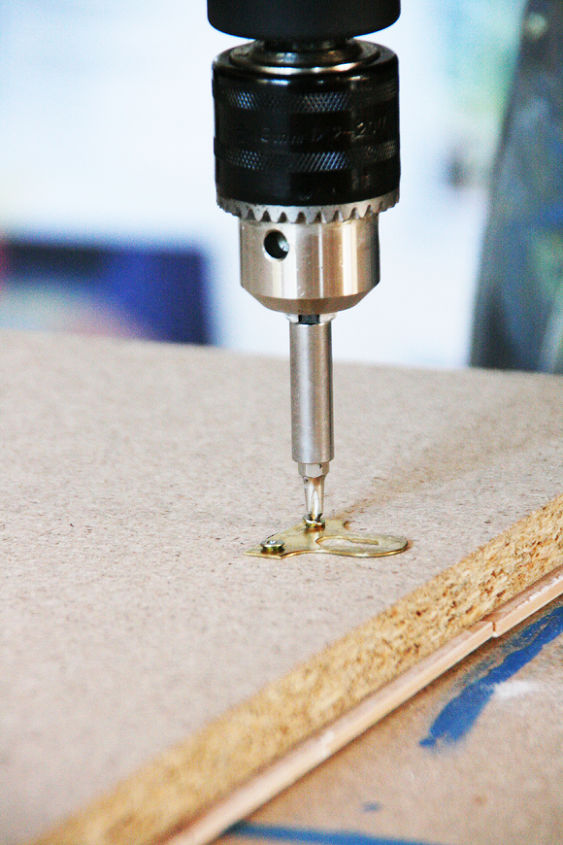
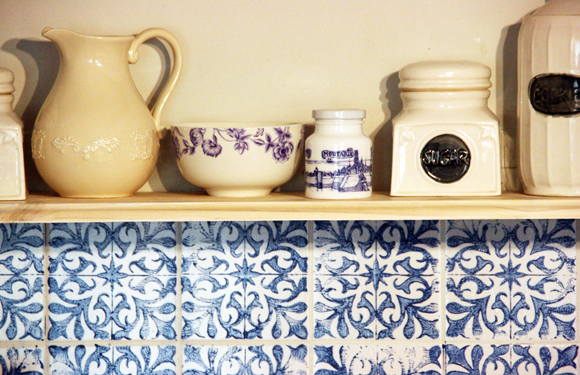
Cut 16mm chip board to the size you want your panel to be, minus 2.5mm on all 4 sides. This will ensure that the tiles hang over the wood a little bit to create a nice shadow line. Fix 2 mirror fixings to the back – it’s easier to do this first otherwise you risk breaking a tile or 2.
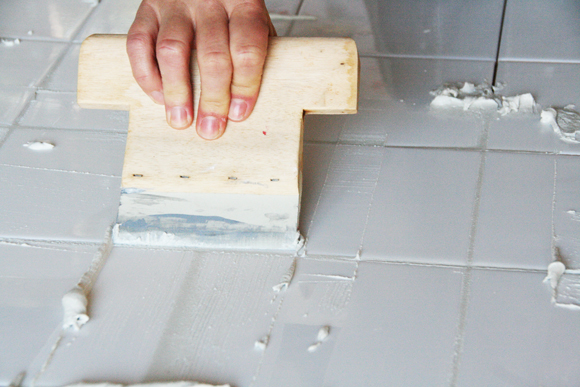
Use grout to fill in the spaces and let it dry for a couple of hours. Prime the tiles with a standard tile primer – there are many brands on the market – and then let it cure for 24 hours.
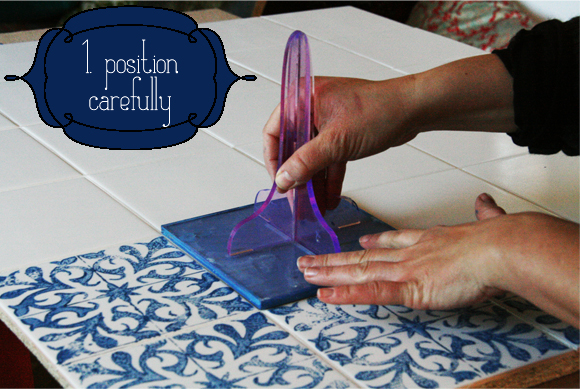
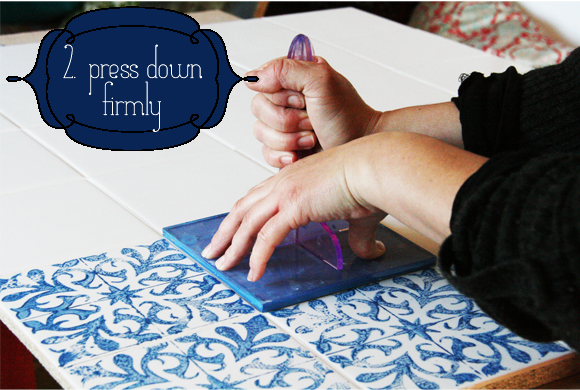
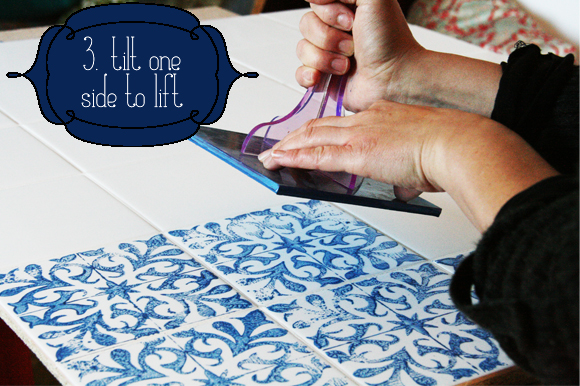
I used a interior water-based PVA for the pattern and it worked beautifully. When you stamp the tiles, use a sponge roller to apply the paint lightly to the stamp. Test the stamp on a loose tile first so that you can get the feel for it. Now systematically stamp away! Take your time to place the stamps squarely on the tiles.
{
"id": "3597998",
"alt": "",
"title": "",
"video_link": "https://www.youtube.com/embed/4zpFpk5gZtk",
"youtube_video_id": "4zpFpk5gZtk"
}
{
"width": 634,
"height": 357,
"showRelated": true
}

Want more details about this and other DIY projects? Check out my blog post!
Comments
Join the conversation
2 of 82 comments
-
GONNA DO THISSSSSS GORGEOUS.
-
I wish we could see it from a better perspective. It is hard to get the overall impact. From what I can see it came out beautiful.


Frequently asked questions
Have a question about this project?
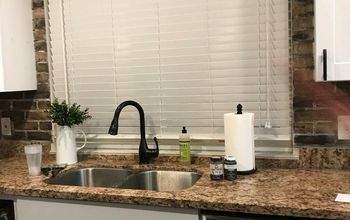
I like your pitcher on the shelf.....gorgeous antique?