Slider installation

-
Sure can. Please understand that a standard door can be a bit difficult for someone who has never attempted this project, and much harder for a sliding door. A qualified contractor should take about 3/4 of a day to remove and replace a door if they have the correct tools and do the job correctly. A DIY job where you never did this before can lengthen this project by several more hours. But it can be done. If you find yourself confused or simply overwhelmed by these basic directions. Get a pro to do it. Its one of those projects that is worth paying for. If you still want to get your hands dirty see if you can arrange to help them by doing some of the removal process and install process yourself. I am providing you with the necessary information on how to remove the older door unit. Often times the worse part of the project as it seems impossible to remove without knowing how it was put in. Once you understand that the rest is pretty easy to do. Also if the door was installed in aluminum siding, vinyl siding, stucco or brick. Each install has their own set of challenges that you will need to address. But the majority of homes its not all that hard. Also if the old door is wood, vinyl or metal there are a few challenges as well. But in any case they all are installed and removed basically the same. Part of the project will involve the door trim either on the outside or the inside of the unit. When we do them we like to leave the indoor trims alone and work with the outside. However if the siding such a vinyl or aluminum covers over the edges of the door, requiring them to be disturbed we work from inside. In your case I will use that route. Remove everything around the door, drapes, hangers etc. Then carefully using a razor blade cut between the trim boards that are on the three sides of the door and the wall. Do this also were the trim comes into contact with the old door. This will allow you to remove the trim successfully without tearing the finish on the wall and if your careful using a few flat pry bards remove the trim without damaging it so it can be used again. Once you have removed the trim, you need to remove the doors from the unit. However you need to stop right at this point and measure!! The exterior edges of the old door will now be exposed. This is the time that you check again the measurement of the opening to assure that you have the correct door for the door opening. If its right proceed, if not, leave the trim off, re-measure the door outside to floor and side to side. If you remove the door first, and find you have the wrong replacement it might become a bit drafty in the house while you go on the hunt for the one that fits. Once you have determined you have the correct replacement proceed. On the bottom of each door, both fixed and sliding side there are a few buttons or holes on the sides and edges. If you remove these buttons you will find inside small screws. These screws when turned raise and lower the door itself within the track. You want to turn them so the door drops all the way down. On the top you will also find these very same holes. do the same thing. This allows the door when lifted to go all the way up into the sliding section of the track. When you do this the door will come off the bottom track completely. This allows you to tilt the door and remove it. It is heavy so be careful You will repeat this with the non sliding side, however you will find a screw or bracket along the edge that locks the door and prevents it from sliding. Remove that first then change adjustments like the first door and remove. Once the door sections are removed and depending upon the age and style of door you have, you may need to do one or a few things. Some older doors were nailed into place. If that is the case, you will need to cut these nails to remove the frame, This is done using a small saw mounted on a reciprocating saw. Commonly called a Saw-Zall. Cut the nails and remove the door. If no nails are visible the door is held on with screws. Look down inside and along the track edges for plugs or holes. Normally there are a few near the top, middle and bottom edges. Remove these buttons if still there and back out the screws. A power screw driver makes quick work of this. They are normally long screws that are difficult to remove doing it by hand. Once done, take the saw again and cut the frame somewhere in the middle of the top. Bend down each side of the cut and pull the frame away from the rough in opening. You may find that you have to go outside and use the knife again to remove any caulking that may be present. You may also find that the siding contractor has used tiny nails to hold the trim into place on the door frame. Not supposed to but it happens. This should allow you to pull the old frame out of the opening. Once that is complete, you need to carefully follow the directions for the new door. You will need a few tubes of good quality silicon caulk to place along the bottom edge of the door to seal out weather. Depending how the old door was installed or where its installed in relation to the outside deck, patio, porch you may find there is a flashing that is between the door and the wall framing on the bottom. Be sure to use this and if its not there, purchase one. This prevents water from leaking under the door causing rot and decay. If you do not have one do not be surprised to find rot along the door bottom edge. If you do, you will need to repair this. It may be a simple fix, or complicated. All depends on where and how the door was installed. If your on a slab of cement, no worries, but if your on a wood built floor and perhaps patio or deck that is located close to the same height you may find some decay. Be prepared to handle that. Do not cover it up, this can have a detrimental effect on the quality of the install when it comes to adjusting the door so it slides carefully. On another note, if the house is brick or is sided with wood there is often a trim called a brick molding that is part of the older frame. This will fall out along with the door frame as its removed. Be prepared to replace this trim once the new door is installed or you will find a large gap between both the new door and older siding.
 Woodbridge Environmental Tiptophouse.com
on Jan 28, 2015
Helpful Reply
 -
-
Thanks, I will end up hiring a pro & watching him carefully so I'll be prepared next time. Many thanks for your great response!!!
 B Brown
on Feb 05, 2015
Helpful Reply
 -
Related Discussions
How to get rid of mice?
We seem to have some unwelcome Mickeys and Minnies in our house. What is the best way to get rid of them?
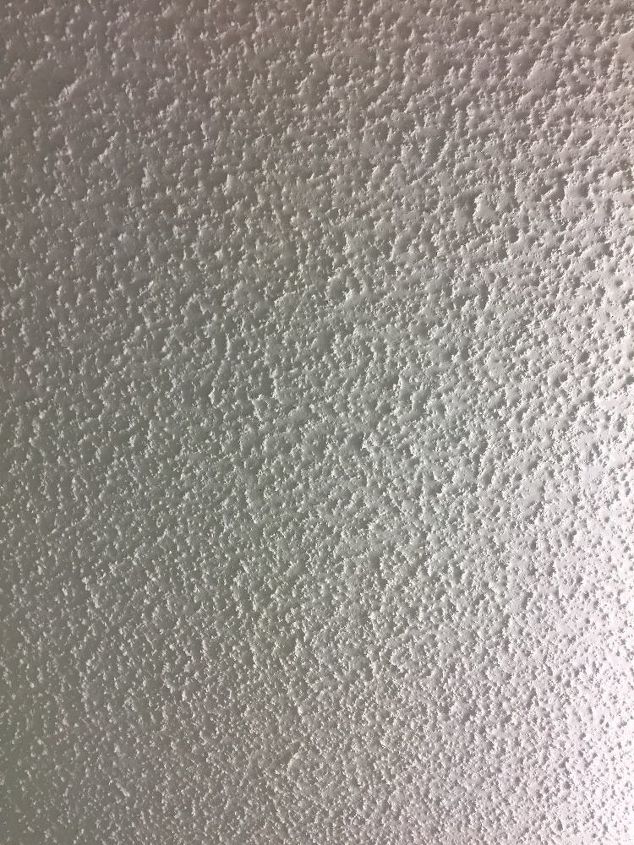
How to remove popcorn ceiling with asbestos?
I want to remove my popcorn ceiling, but it has asbestos in it. How do I go about this safely?
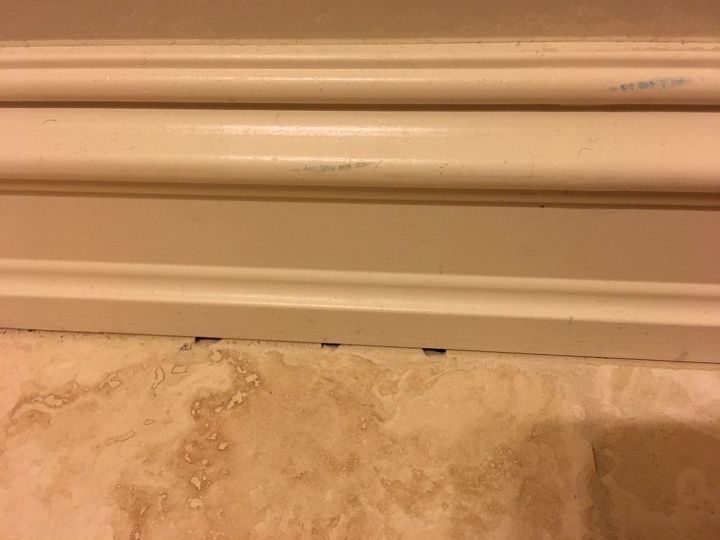
How to caulk baseboard gaps?
How do I fill gaps at baseboard, should I caulk? If so, does anyone know how to caulk baseboards?
How to fix squeaky hardwood floors?
How do I fix squeaky hardwood floors?
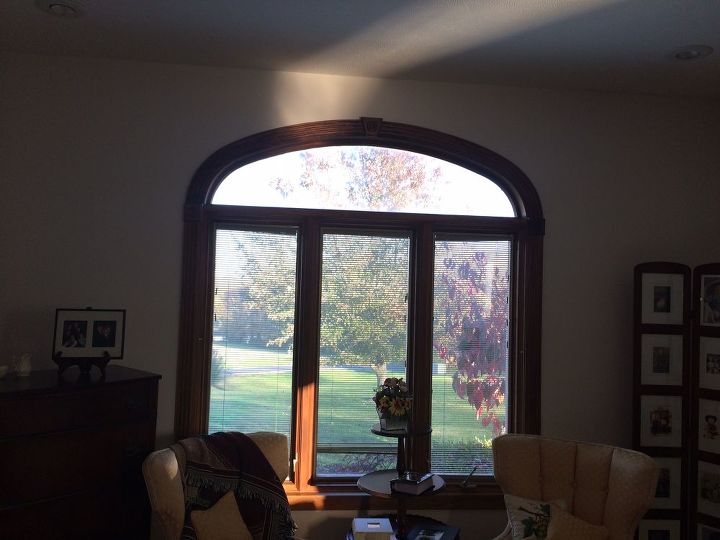
Tips for updating or repairing Pella between the glass blinds?
Our 14 year old cord controlled blinds are all giving us trouble with raising and lowering and tilting. Many of the top mechanisms are coming unglued from the top. I ... See more
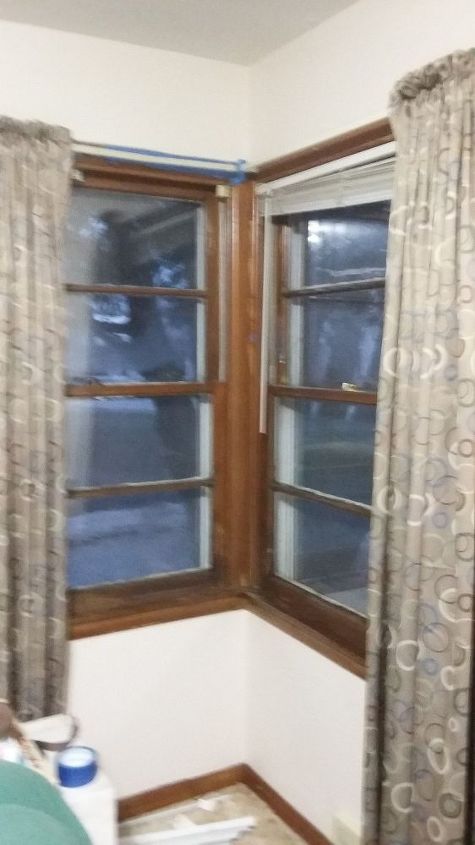
Brr! Drafty windows- how to cut the draft?
I have 3 sets of windows configured like this...very drafty, How to you winterize them? There is nothing in the corner to stick tape to. Thank you

