


My Laminate Flooring Installation

by
BBB
Tips and things I did to install laminate flooring ( fold and lock) in my home.
We had old berber carpet that didn't stand the test of time. It was beyond fixing or cleaning and I simply had to do something. Laminate! It was in my budget and it seemed so simple from the video's I just had to get my hands into this project.
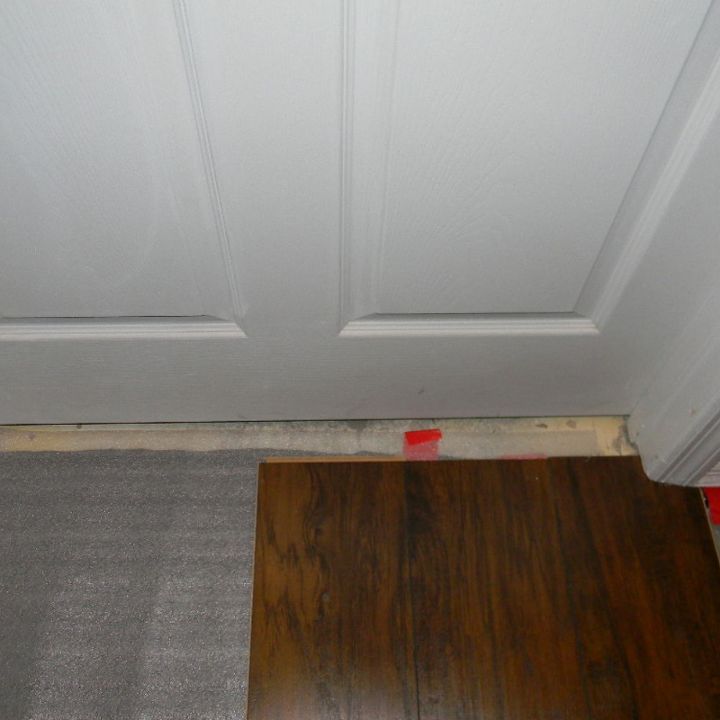
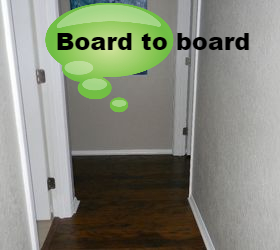
This is the door to the room down the hallway. I stopped at this point for a couple of days to recover and to think about how I wanted it to look. I went with no transition in the doorway. Lot's of cuts were made to get it to properly fit under the jamb and to allow it to pick up neatly in the other side of the room.
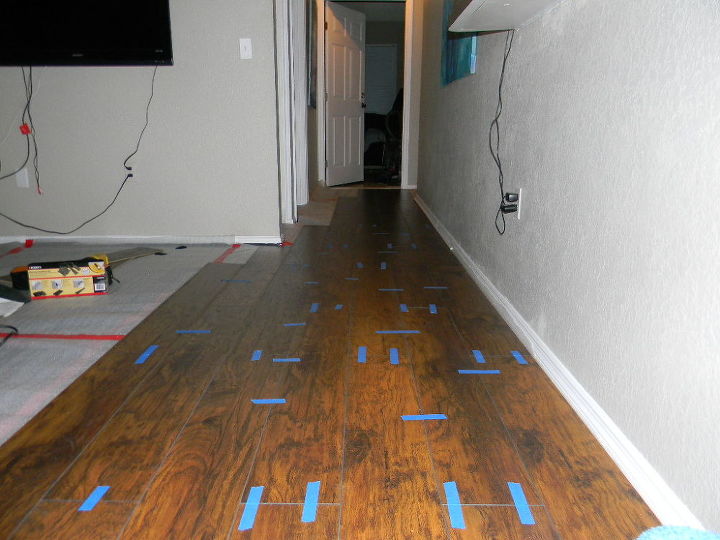
This is the L in the hallway. I went board to board without the stagger down about 7 ft of hallway. The hallway is only about 36 in wide and a stagger would look choppy. After calling a few pro's they all agreed down a small section of hallway I would not need to stagger the boards. Staggering is done to keep the boards from pulling apart. Since this is a "glueless" system, the next board holds the other ones and so on and so on to the end of the wall.
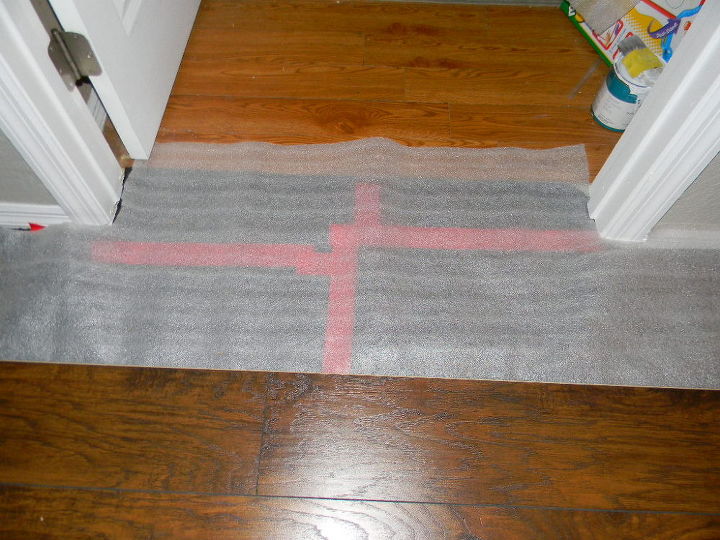
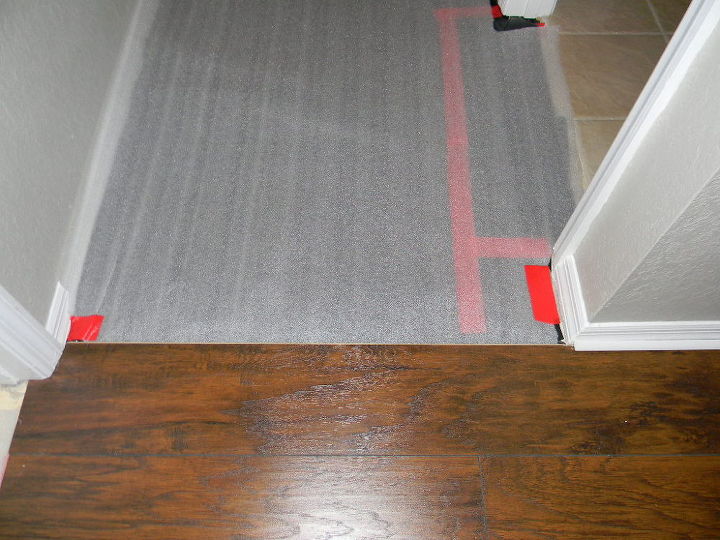
This is one room down the hallway where I had to eventually put a transition. Since I know that I will do this room without a transition later on ( the current floor is vinyl ) I didn't cut the board and let it flow into the room. The transition is gently placed and glued to the vinyl so that I can remove it later on and continue into this room.
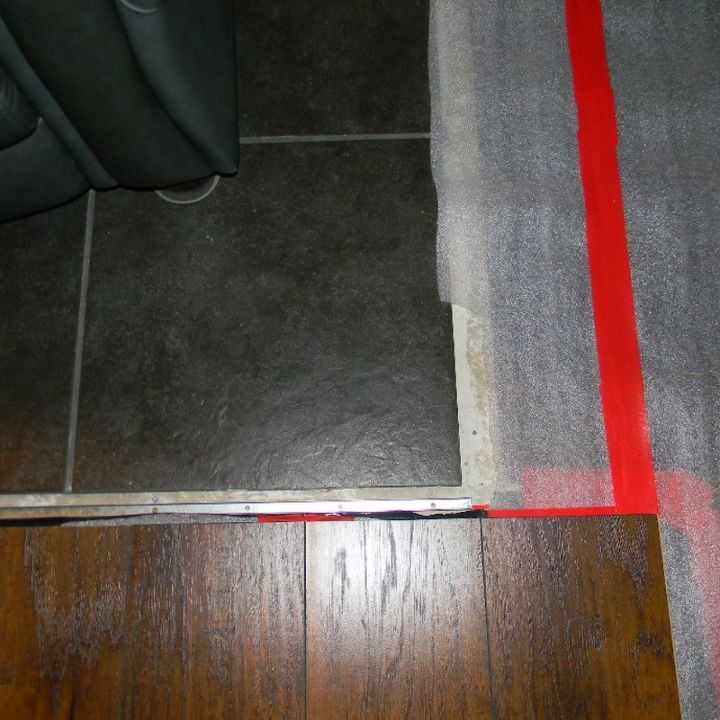
Here is the tiled entryway. For the life of me I had no idea of what to do with the metal tracks that didn't fit and seemed flimsy. I used a quick grab glue and glued the reducer molding around the tile. I used a miter box ( I do not own a miter saw ) to cut the 45 degree angles for the reducer.

You must leave a space around the perimeter of the room. I used 7mm which is the same depth as the laminate I installed. Not only will the boards expand but don't forget the molding that's already there is probably wood and that expands too.
Here is the reducer around the tiled entryway. It's not perfect but it works. Tried T molding but wasn't going to happen so had to use a reducer. Wish I had a router or better tools to create my own reducer from wood. I am not sure how long this mdf reducer will hold up and it's a trip hazard...looking for ideas so please post if you have any.
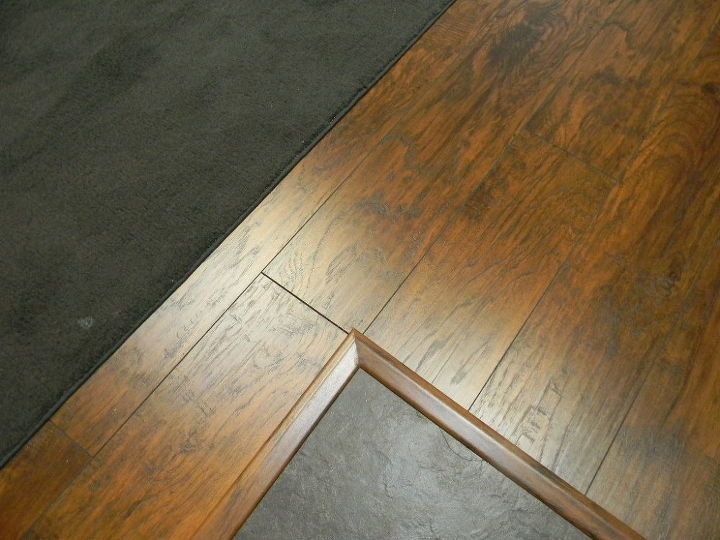
If you look closely you can see how the boards are set up in the hallway. This is the turn at the end of the hallway where it's only about 7 ft long. There is a T Molding placed in that doorway to the hall bathroom which is tiled. In some cases you have to use t molding or reducers. I just went board to board without a stagger. Since it's not over a large area and each board meets at the wall ( with spacers) it should hold up. Crossing fingers on this.
Comments
Join the conversation
3 of 8 comments
-
Thanks Charida!
-
Not only did you do a wonderful installation, but you also did a super job with the pictures and step by step instructions! Loved your sense of humor in the write-up.


Frequently asked questions
Have a question about this project?