


Shutters Make-over

4 Materials
$65
5 Days
Easy
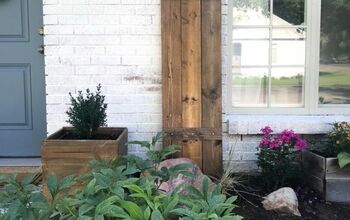
I was out thrifting and came upon these great 100 year old shutters and fell in love. Bought them and then stored them in my garage for 2 years not knowing what to do with them. And then their time had come. Of course I forgot to take the before picture  ... I'm so sorry!!
... I'm so sorry!! 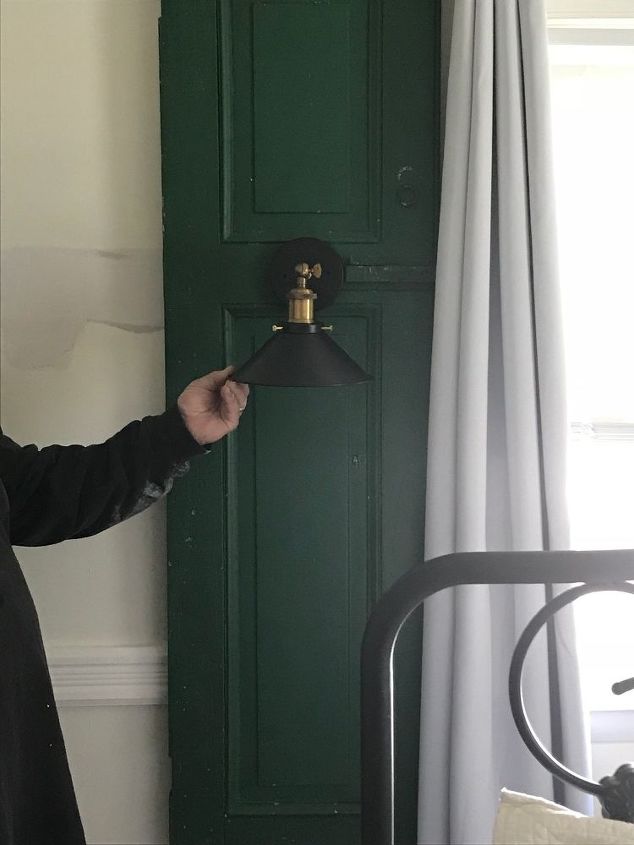
Here they are after being cleaned and left with the original paint of them. There was some kind of shelf on wall with pegs that the lady who lived here before hung her jewelry on. So that's why the wall next to them looks like it does.
If you're anything like me, I didn't want to do anything permanent until I am absolutely sure I will love it for all time. I'm forever changing things daily in my home.
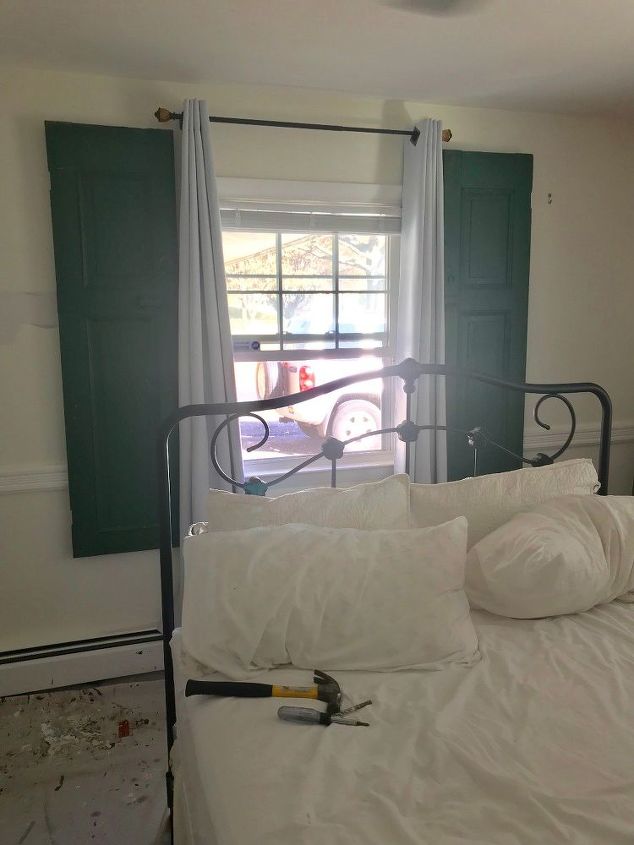
Here they are hung in my bedroom and I really loved the green, so I decided it was good and went to work.
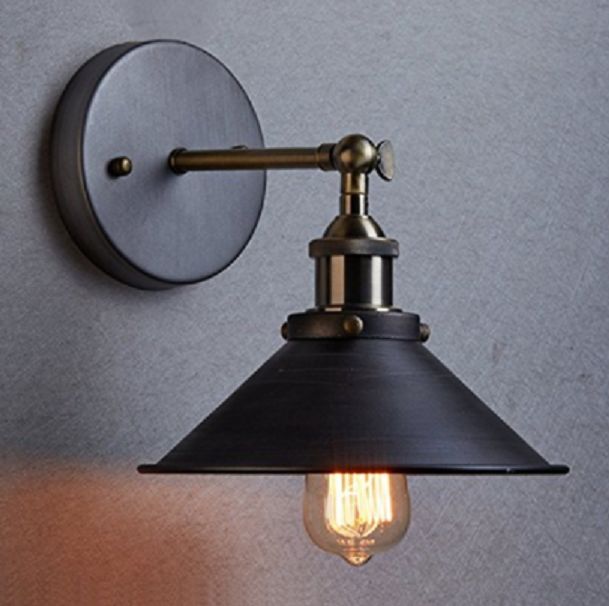
I purchased two of these sconces that originally cost $40 a piece which isn't bad at all, but found them for 2 for $40 which is even better!! Always search the web for better deals, you'll almost always find them! 

I purchased electrical wire so that I could make these lamps into plug in lamps. We purchased an old ranch home, and every light switch in the bedrooms is wired to an outlet. There were no overhead lights and I wanted to be able to walk into the bedroom and just flip the switch. Not have to search around in the dark to find it.
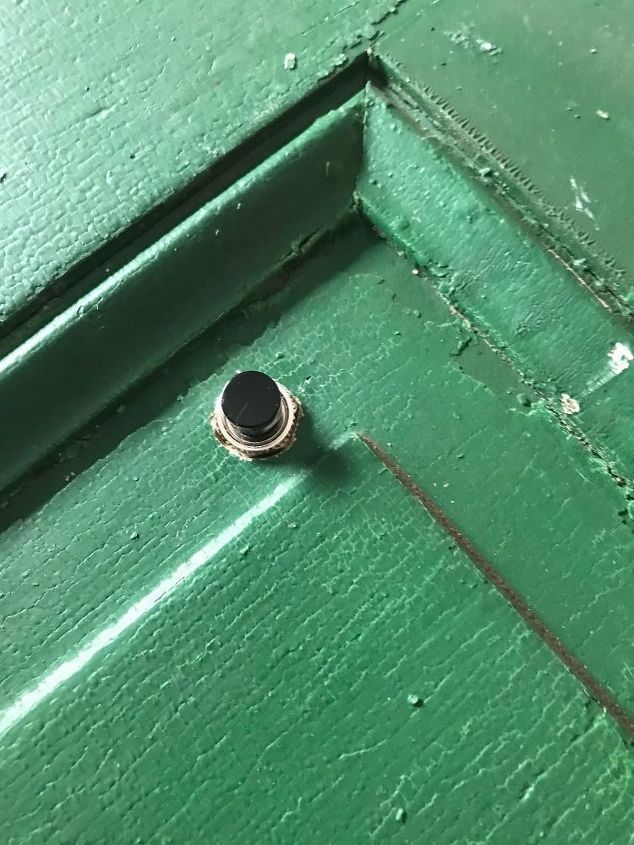
I also purchased these little on/off buttons so that when we're in bed we can also control the lights. We drilled a hole down low on the shutter and just popped this baby in!
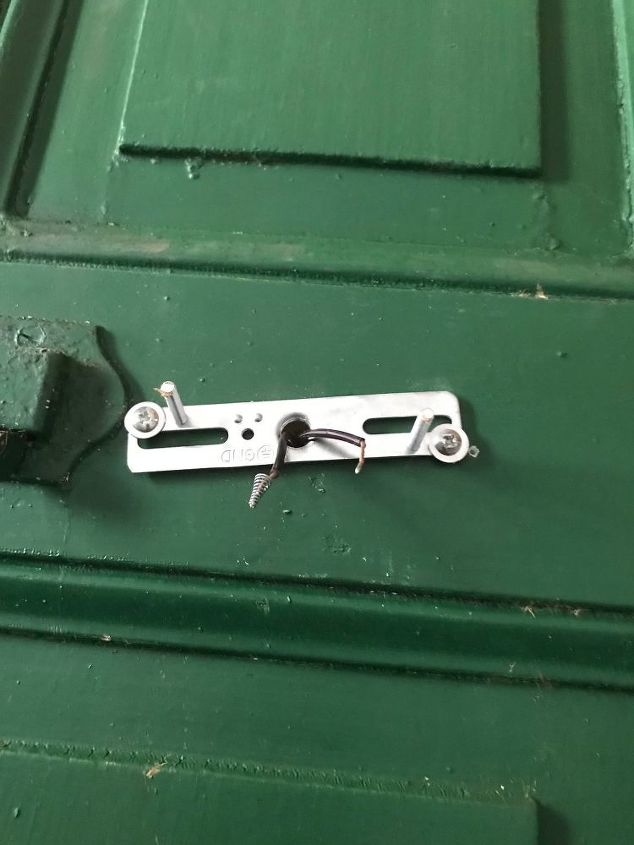
We drilled a hole where we wanted the lights to be and attached this bracket that came with the lamps, ran the wire down to the on/off switch and to the plug. It really was very easy.
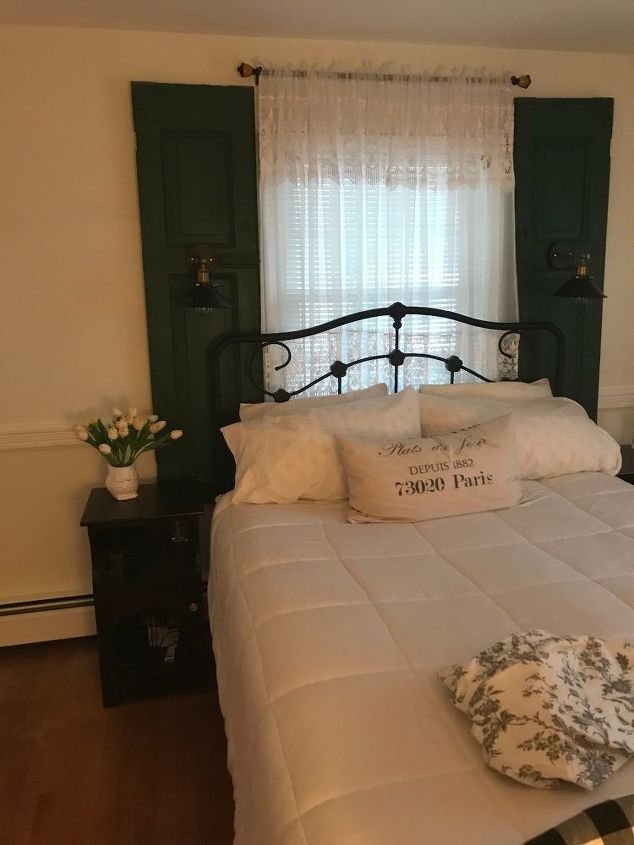
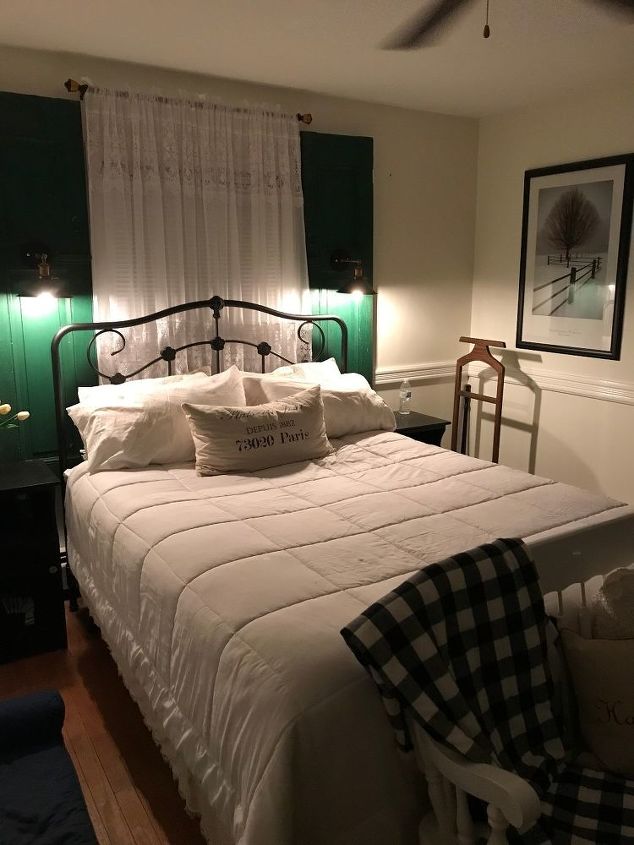
Here they are all finished and hung. Well, at least I thought they were.... I lived with the green for about 3 days and couldn't stand it anymore!  . I couldn't sleep, every time I looked at them they made me feel anxious or something like that.. sooooo off the wall they came and I decided to paint them white!
  My poor wonderful husband is such a good sport!
. I couldn't sleep, every time I looked at them they made me feel anxious or something like that.. sooooo off the wall they came and I decided to paint them white! My poor wonderful husband is such a good sport! 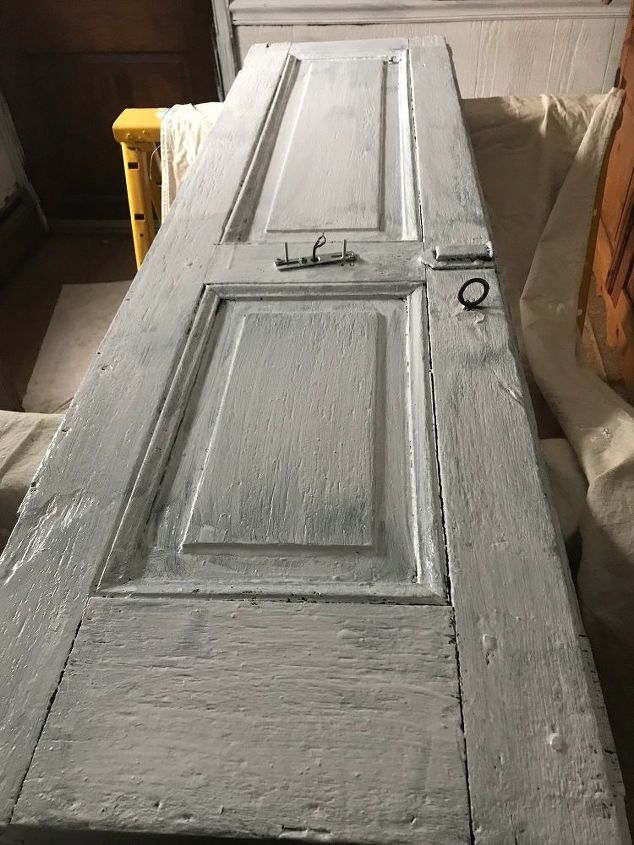
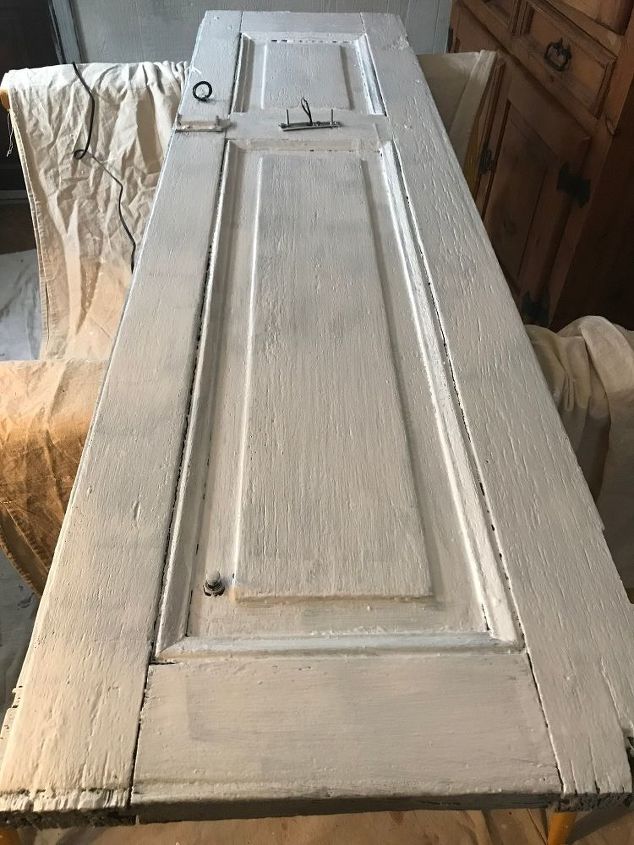
I left all the imperfections, it adds character and painted first with Kilz white primer from Lowe's. Then I painted the third coat with a pure white semi gloss and then attached the lamps back on and hung them up again.
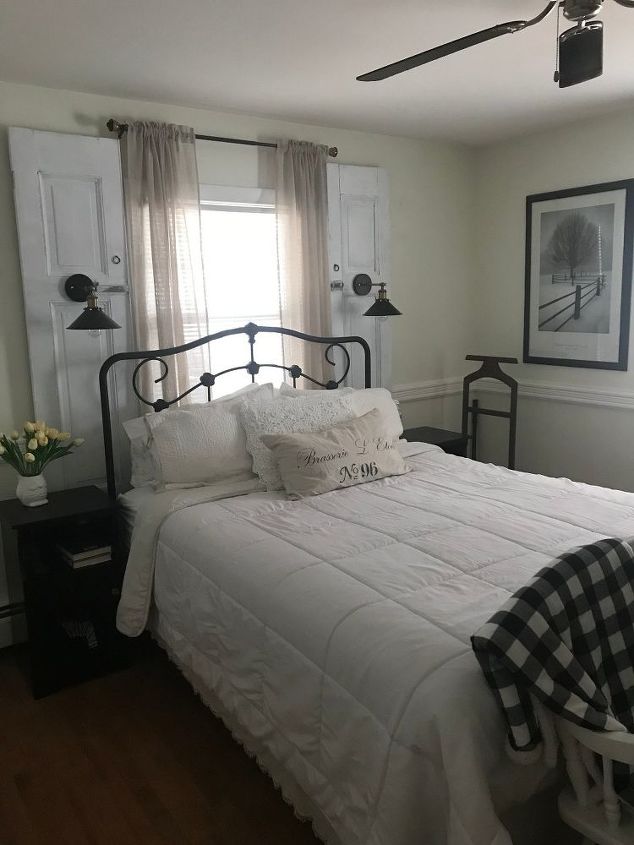
So here they are, white and wonderful and I have no problem sleeping what so ever! Now if I want to take them down and move stuff around I can, with only two holes to patch and paint! Please feel free to let me know what you think.
This whole project took 5 days to do. It would have taken 2 except I had to live with the green for 3 days and then paint them.
Comments
Join the conversation
3 of 12 comments
-
It looks fabulous!
-
Oh I love it 😍 I actually like the green better. But either way is wonderful.. you Go Girl!


Frequently asked questions
Have a question about this project?
I love this. I'm making a vanity and I'm putting lights on the board but I don't understand how you put the wires on the on off switch. So you connected the wires to the on off switch but what was the switch connected to? Was it connected to a plug that went in the wall? I guess I'm wondering about the power source. It's a awesome idea and I really need to figure out how to do it without electrocuting myself lol.