


Recycled Mint Tin Music Box
$15
1.5 Hours
Medium
I just cannot throw away mint tins - they're so tiny and cute! I can't be the only one, right? Today I'm going to share how I got creative with some paint and basic tools to turn an empty mint tin into a meaningful recycled music box.
It would make a really beautiful gift (hey, is coming!) because you can put in a sweet tune like "You Are My Sunshine" or Pachelbel's Canon inside. And bonus? I even punched a couple of extra holes and added a chain to mine, so it can be worn as a locket!
It would make a really beautiful gift (hey, is coming!) because you can put in a sweet tune like "You Are My Sunshine" or Pachelbel's Canon inside. And bonus? I even punched a couple of extra holes and added a chain to mine, so it can be worn as a locket!
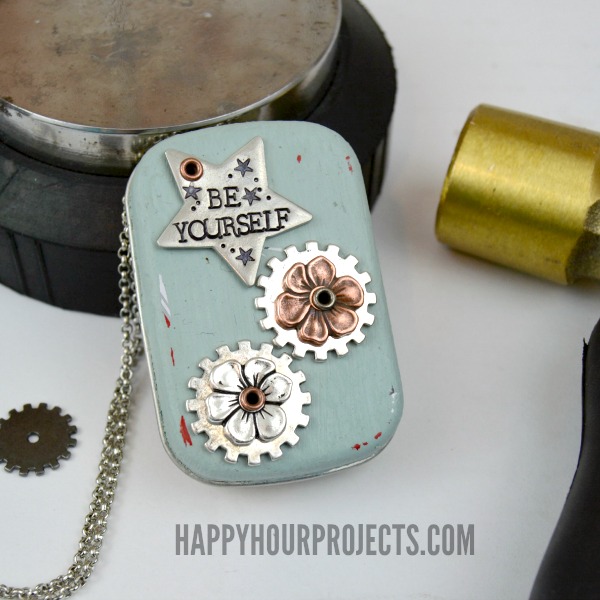
I used chalk paint and distressed the top of the tin to start it out with a vintage feel. Since I was adding the musical movement inside, I riveted on some tiny gears, and made it more feminine by adding some flowers and an uplifting stamped message.
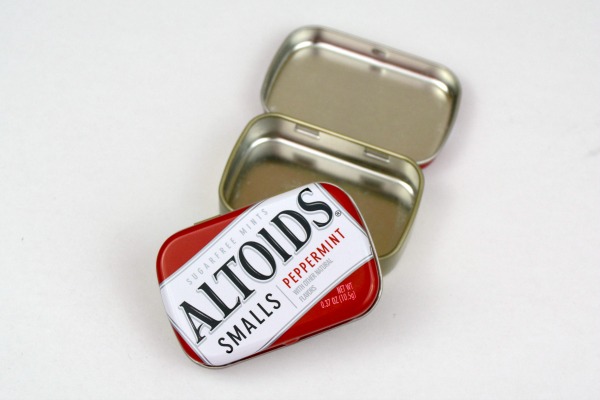
I used an Altoids Smalls tin (the really little ones). The big size would make a great trinket music box that you would set on a shelf - I just loved the size of these little tins!
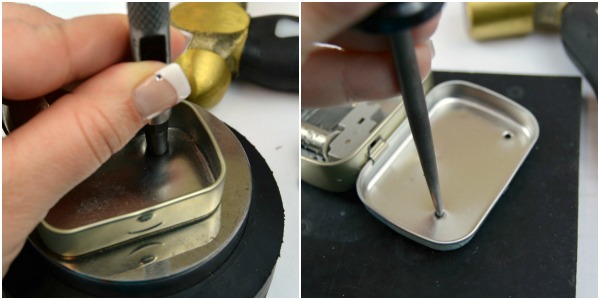
Using a leather punch, an awl, and a hammer, I was able to put the appropriate holes in my tin to accommodate the music box and to rivet on the lid. Because I decided to make mine a hanging locket, I put the 1/4 inch hole for the music box key on the backside. If the music box is intended as a trinket for the shelf, try putting the hole for the winding key on top.
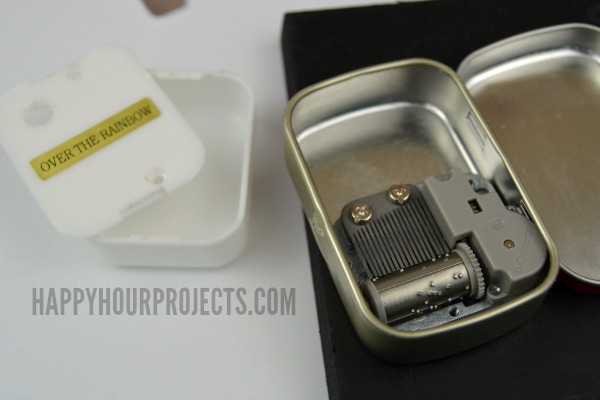
The miniature movement I found to go inside plays 18 notes (I chose "Somewhere Over the Rainbow") and I took it out of its plastic casing so that I could see the notes play - music box movements can be so beautiful! It's also much smaller outside of the casing, so there's plenty of room to tuck a sweet note inside, or a small keepsake.
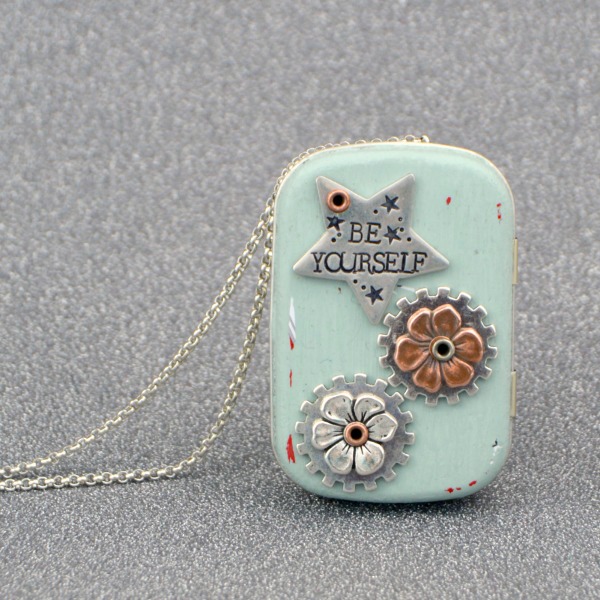
Finally I just riveted the flowers, gears and stamped star onto the front. There are so many ways you could finish this, though! I happen to love hammering and metal, but you could paint or decoupage it, too.
{
"id": "3606",
"alt": "",
"title": "",
"video_link": "https://www.youtube.com/embed/JsNSfFPlnOk",
"youtube_video_id": "JsNSfFPlnOk"
}
{
"width": 634,
"height": 357,
"showRelated": true
}
If you'd like to see how it came together, here's a brief video demo of how it winds and what it sounds like. Such a fun project, this is one of my favorites! If you're looking for more detail on the process, just check out the link at the bottom of this post.

Want more details about this and other DIY projects? Check out my blog post!
Comments
Join the conversation
3 of 166 comments
-
I made three of the music boxes but the components sent me were encased and don't look like yours. What, exactly did you order? Thanks Karla
-
Can the winding key be removed? I'd like to make one with a larger tin but all the music box movements I have seen the winding key is at the bottom. I don't think the box would sit flat,


Frequently asked questions
Have a question about this project?