


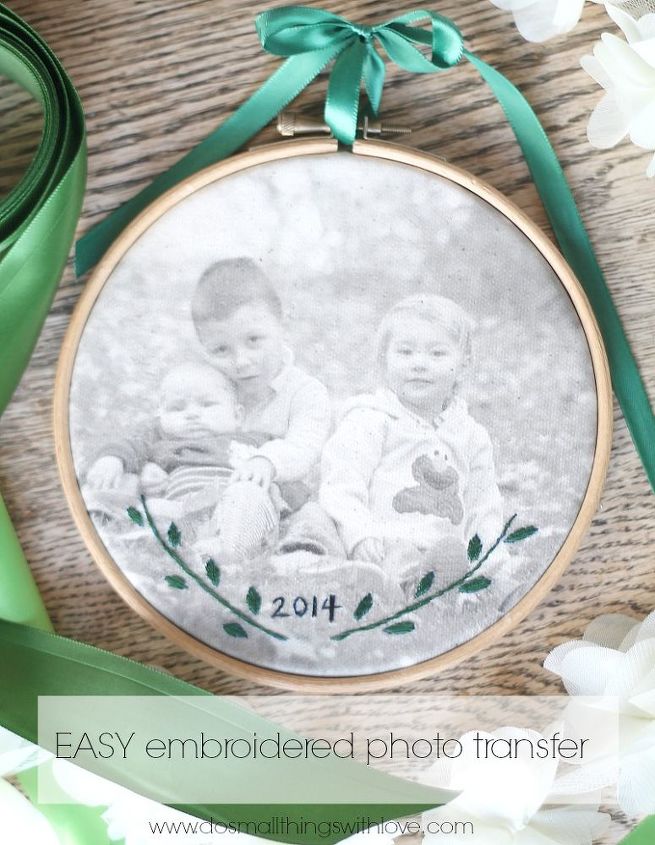
Embroidered Photo Transfer
Take any picture and easily add sweetest embroidered details. Only two steps and soon you will have a treasured and special photo of those you love.
For this project you will need:
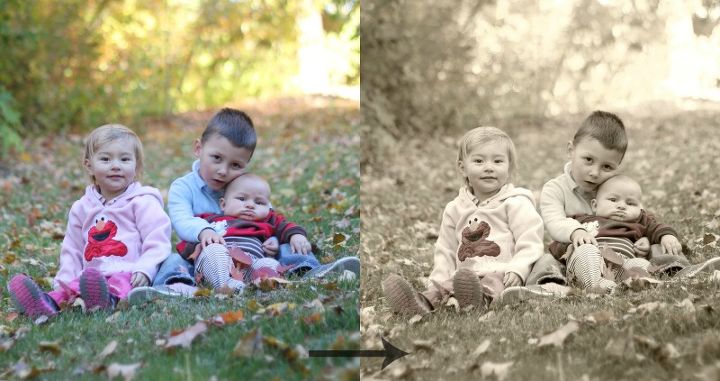
As a first step I edited my picture using PicMonkey, an online photo editing site so that it was a more classic sepia. Once this was done I printed it out of the Iron-On transfer paper.

Following package instructions I then ironed the image onto my canvas. Be aware the the image will be backward--so either flip the photo in the editing process or just be cool with the fact that it's backward. I left mine as is since there wasn't any writing. Next I took a permanent marker and drew on the details I planned on stitching. I used a thin tipped marker so that the marks would be hidden under my stitches.
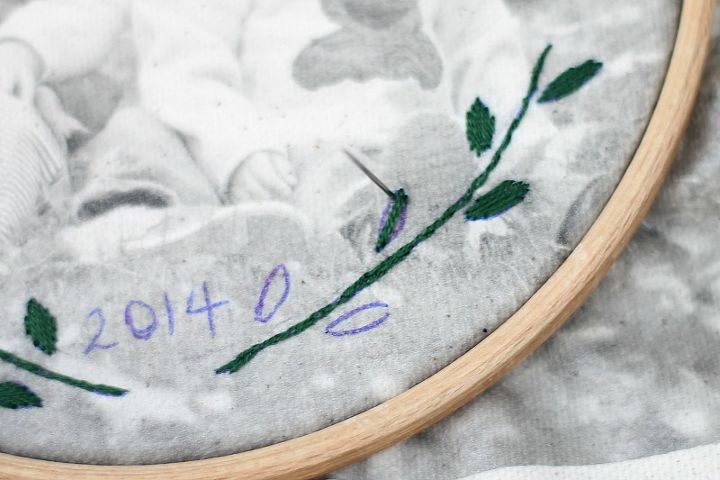
Next, I stitched on the stems with a split stitch, the leaves with a satin stitch and the date with black thread and a back stitch. Make sure you have a sharp needle for this part as the transfer paper can be a little rubbery...
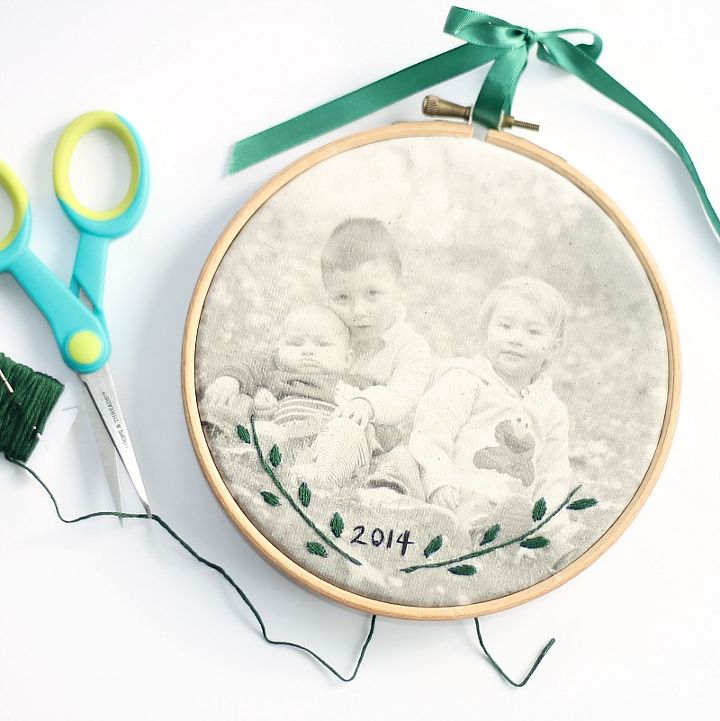
And, you are done! I displayed my in classic embroidery hoop and trimmed off the excess fabric. Then I used a basic green ribbon to hang it.

Want more details about this and other DIY projects? Check out my blog post!
Comments
Join the conversation
2 of 5 comments
-
I absolutely love this! Want to try one with my grandsons. Great idea
-
I love that! So simple and charming. Looks like a family heirloom.


Frequently asked questions
Have a question about this project?